8
3 Basic Operation
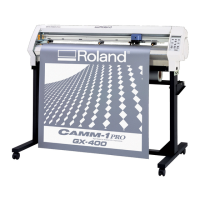
If you are using any of the following kinds of materials, neither of the methods described earlier will result in correct cutting.
- A material with edge holes for sprocket feed that has no material layer (only base paper) along the hole area at the edges
* If you are using the PNC-960 and DIP switch SW-9 is set to ON (piece material), then turn off the power, set DIP switch
SW-9 to OFF (roll material), and switch the power back on. On the PNC-960, it is not necessary to make any DIP switch
settings.
1
11
2
22
Pass the end of the material between the pinch rollers and the
grit rollers so that it extends from the front of the unit.
If you are using roll material, then install the roller base on the
back of the unit, place the roll material on the base, and pull
out the length of material that is to be cut from the roll.
Align both edges of the material with the grit rollers. Use the
guide lines to load the material so that it is perfectly straight
with respect to the unit.
- There are two guide-line marks on the front surface of the
unit.
- Align the left-hand edge of the sheet with the same guide-line
marks.
3
33
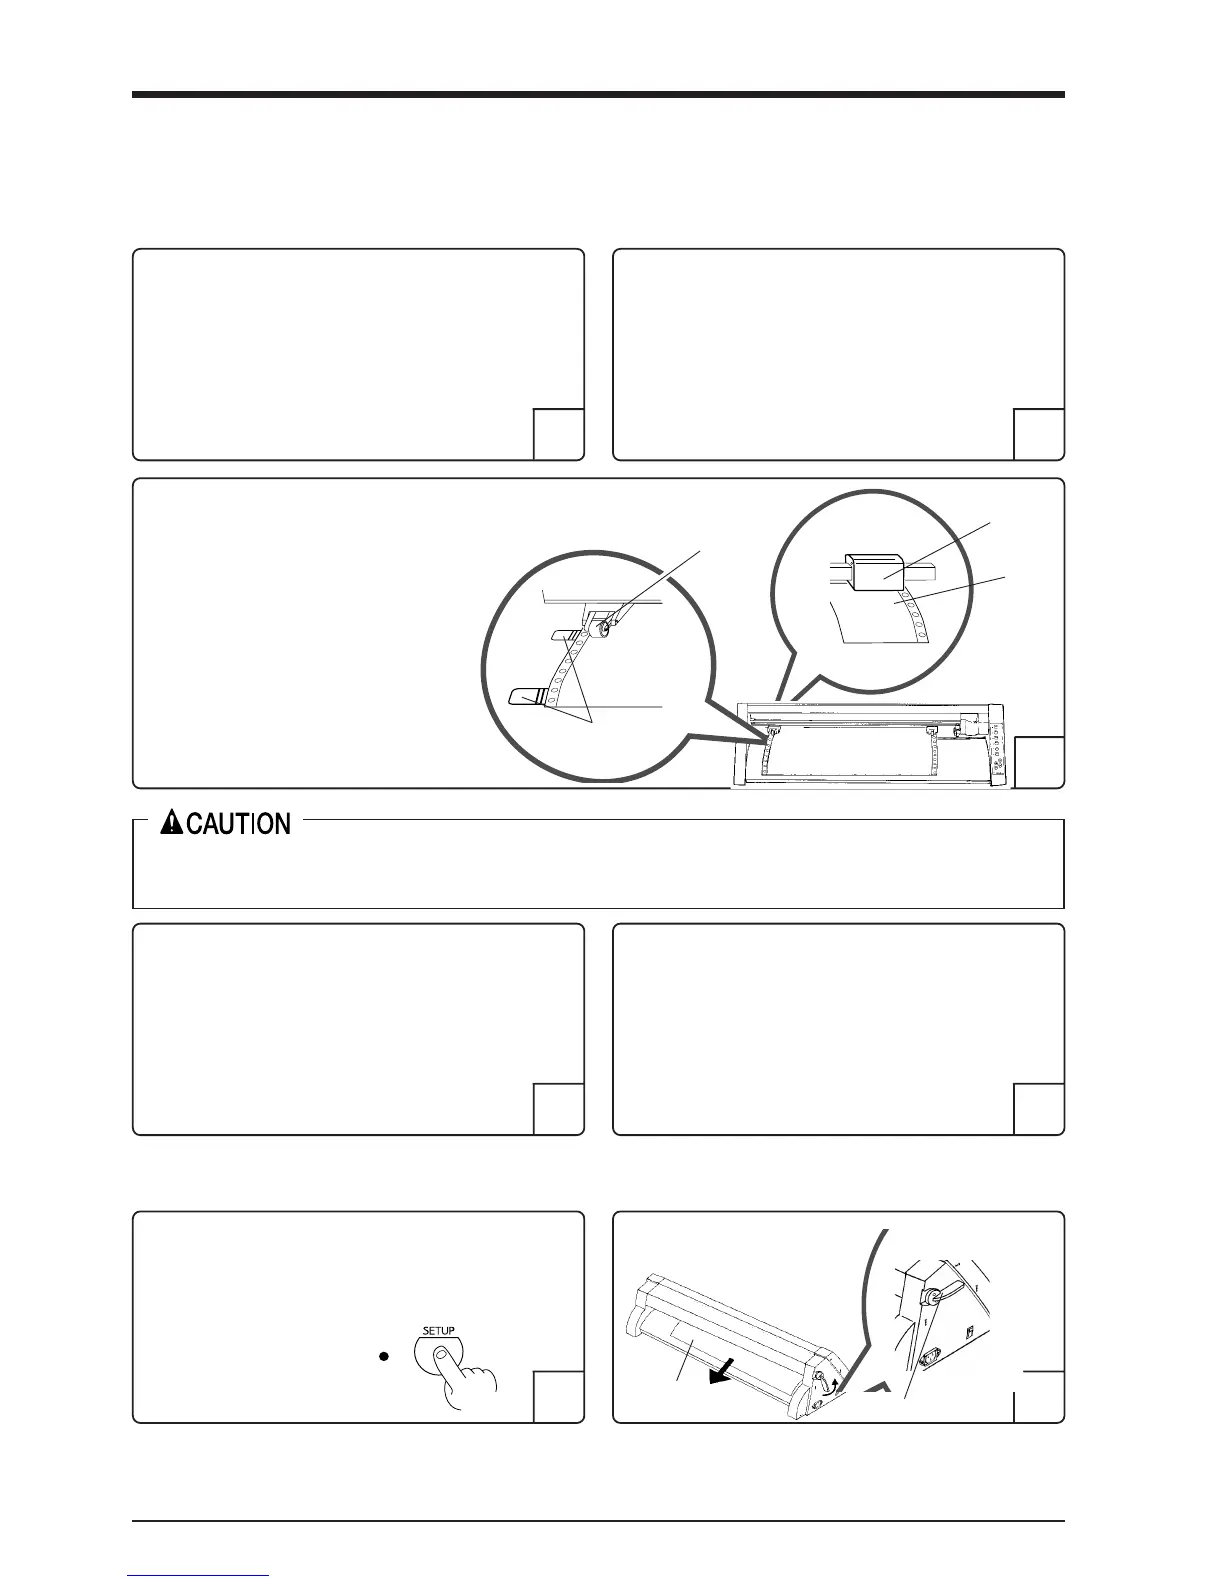
[Rear View]
Pinch roll
frame
Move the left and right movable pinch
rollers to the left and right edges of the
material.
- If a pinch roller does not move easily, it
may help to grasp the corresponding pinch
roll frame at the back of the unit and move
it together with the pinch roller.
Material
The tool carriage moves when the SETUP key is pressed. Take care to ensure that your hands or other
objects do not get caught in the moving parts.
4
44
5
55
Lower the sheet loading lever.
- The pinch rollers are lowered and the material is secured in
place.
- When using scrap material or unfomed material, do not put
the pinch rollers at the far ends of the materials.
- When using sprocket-feed paper, do not put the pinch rollers
on the hole area at the edges.
Press the SETUP key.
- The width of the material is detected and the unit is made
ready for cutting.
- The tool carriage moves to the cutting origin point.
1
11
2
22
Removing the Material
Press the SETUP key. Hold down for about 1 sec.
The SETUP LED goes out and the tool carriage moves to the
right edge of the cutting area.
(1) Raise the sheet loading lever.
(2) Remove the material.
Material
Sheet loading lever
The SETUP LED
goes out
Movable pinch roller (left)
[Front View]
Guide-line mark
 Loading...