7
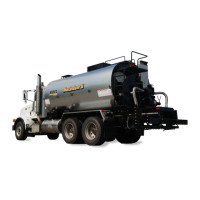
Rosco Maximizer 2B Asphalt Distributor 7-15
Maintenance
Safety Label Installation
Anytime the Rosco Model Maximizer 2B Asphalt
Distributor has been repainted or the safety labels have
been removed, damaged or can’t be read, a new set
of labels should be ordered and reinstalled for safe
operation (see Safety Label Locations in Section 2).
1. Be sure that the installation area is clean and
thoroughly dry before installing decals.. Use hot
soapy water to install decals.
2. Determine the exact position by taking
measurements and test tting before you remove
the backing paper.
3. For decals with no top protection paper, determine
the decal location and remove the smallest portion
of the split backing paper.
4. Align the decal over the specied area and carefully
press the small portion with the exposed adhesive
backing into place.
5. Peel back the remaining paper and carefully smooth
the remaining portion of the decal in place.
6. Small air pockets can be pierced with a pin and
smoothed out using the piece of decal backing
paper.
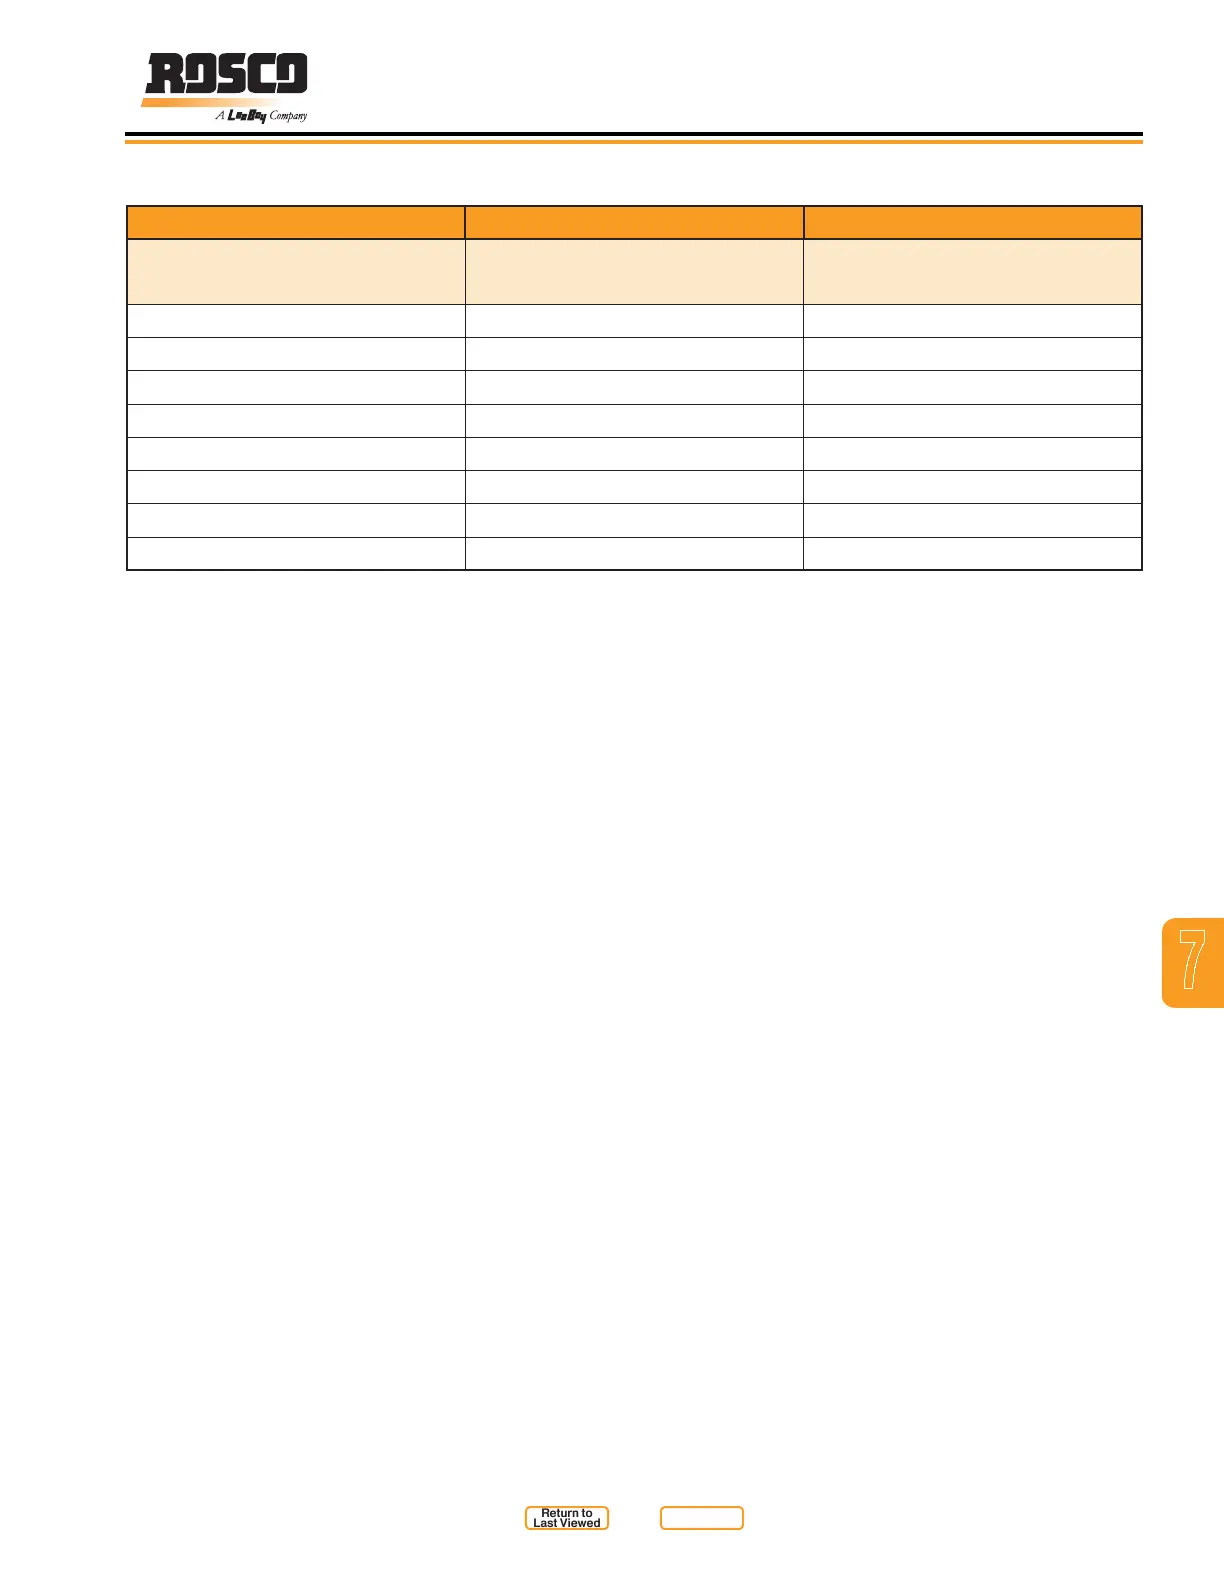
Table 7-2. Hydraulic Fluids Chart
ISO 46 / SAE 20 ISO 68 ISO 100 / SAE 30
AMBIENT TEMP
-15°F to 80°F (-26°C to 27°C)
AMBIENT TEMP
0°F to 100°F (-18°C to 38°C)
AMBIENT TEMP
15°F to 115°F (-9°C to 46°C)
Mobil DTE 25 Mobil DTE 26 Mobil DTE 100 / DTE 18M
CITGO AW 46 CITGO AW 68 CITGO AW 100
Conoco Phillips 46 Conoco Phillips 68 Conoco Phillips 100
Chevron Texaco AW 46 Chevron Texaco AW 68 Chevron Texaco AW 100
Shell Tellus 46 Shell Tellus 68 Shell Tellus 100
Exxon Nuto 46 Exxon Nuto 68 Exxon Nuto 100
Special Start-up below 5°F (-15°C) Special Start-up below 20°F (-7°C) Special Start-up below 32°F (0°C)
Hyd Res Temp Max 165°F (74°C) Hyd Res Temp Max 185°F (85°C) Hyd Res Temp Max 200°F (93°C)
7. If the decal has a protective top paper, use hot
soapy water on the surface to which the decal is
being applied. Leave wet. After determining the
location, remove the backing paper and soak the
decal in clean soapy water before application. This
will help prevent air bubbles in the nished decal.
8. Smooth the decal into place with a sponge and
check for air bubbles. Small air pockets may be
pierced with a pin and smoothed out. When the
decal is completely smoothed out, carefully remove
the top paper.
Return to
Last Viewed
Return to
Thumb Index