NOTE: The charger is equipped with a plug
featuring a grounding pin and must be plugged
into a matching outlet that has been properly
installed and grounded in accordance with
all local codes and ordinances. Do not use
adaptors or modify the plug provided. If it
does not t the outlet, have the proper outlet
installed by a qualied electrician.
When powered, the LED indicator on the
charger illuminates to indicate the charger’s
status. See the chart that follows to determine
the meaning of the LED’s display.
WARNING
Always turn the power switch to the OFF
position and remove the start key when
charging the product and when the product
is not in use.
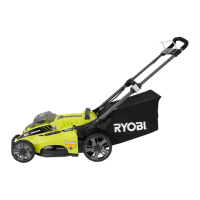
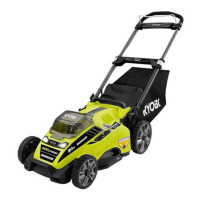
CHARGER PLUG
CHARGING
PORT
LED INDICATOR
ON CHARGER
Fig 14
Fig 15
CHARGER LED INDICATOR
Charger
status
Connected to LED
Status
Power supply Mower Charger Mower
Standby Yes No On O Ready to charge battery pack
Charging Yes Yes On
Slow
ashing
—
Charger error
Yes Yes O Fast ashing
Battery temperature, battery capacity, or charger may be
faulty.
If the LED status shows error, wait for about 15 minutes to allow the battery and charger to cool down.
If the LED status repeats a second time, reset the charger or reinsert the battery.
If a dierent charger charges normally, the charger may be defective.
If a dierent battery charges normally, battery capacity may be faulty.
Fully charged Yes Yes On On
Fast charging is complete; charger maintains charge
mode.
Interlock No Yes O Fast ashing
The plug is still connected to the mower. The mower
cannot be started.
Defective
Yes Yes On Fast ashing The battery pack could be defective.
If the LED status shows defective, reset the charger or reinsert the battery.
If the LED status repeats a second time, try charging a dierent battery.
If a dierent battery charges normally, dispose of the defective pack (see maintenance section).
24