WARNING
Maintaining correct air pressure in the
tyres is very important. Too little pressure
could allow the tyre to rotate o the wheel
rim. Too much pressure could cause the
tyre to burst. Failure to maintain correct air
pressure in the tyres could cause problems
with mower operation and stability, causing
serious personal injury.
TYRE REPAIR
If a leak or at tire occurs due to a puncture,
the tyre may be repaired using a plug-type
patch. If the damage is from a cut, or if the
puncture cannot be repaired using a plug,
replace the tyre
REPLACING TIRES
When tyres are worn, the traction of the mower
decreases, which increases the chance of
having an accident. Tyres should be replaced
when the depth on the tread is 4 mm (0.16
in.) or less, or any time there is damage to
the tyre. Always use original replacement
tires. Using improper tyres on the product
could cause loss of control, which could cause
serious personal injury.
Have the tyres replaced by an authorised
service centre only.
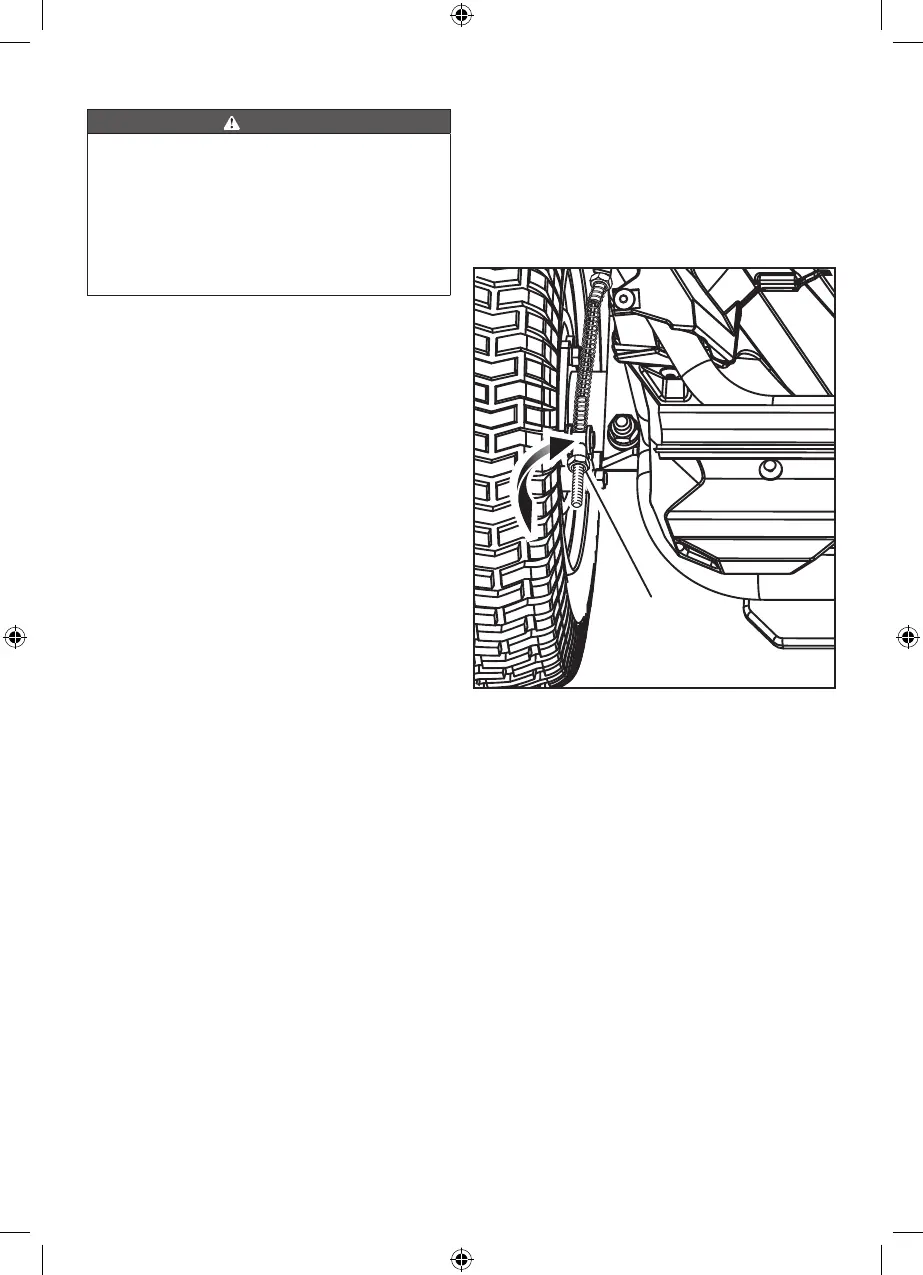
ADJUSTING THE BRAKES
See fig. 27
Being able to stop the mower properly is
critical to mowing safety. If the mower travels
farther before stopping when you step on the
brake pedal, the brakes may need adjusting.
To test:
1. Stop the product on a level surface, and
engage the parking brake.
2. Set the direction control switch in the
neutral (N) position.
3. Stand behind the mower and try to push it
forward. If the rear tyres turn, the brakes
need to be tightened.
To tighten:
■ Locate the brake adjustment nuts on the
interior side of each of the rear wheel.
■ Turn each adjustment nut 1/4 turn
clockwise, then try again to push the
mower.
■ Continue rotating each nut 1/4 turn and
testing until the mower can no longer be
moved by pushing.
After nal adjustment, test the brakes by
driving the mower at normal speed on at
ground to be sure that the mower stops
quickly when stepping on the brake pedal.
ADJUSTMENT NUT
Fig 27
REPLACING THE HEADLIGHTS
See fig. 28
Contact an authorised service centre to order
a new headlight.
1. Stop the product on a level surface, and
engage the parking brake.
2. Turn off the product, and remove the start
key.
3. Remove and set aside the hex head
screw and flat washer that holds the
mower floor panel in place.
4. Slightly lift the floor panel to access the
two hex head screws and flat washers that
secure the headlight in place. Remove
and set aside the screws and washers.
5. Disconnect and discard the old headlight.
6. Connect the new headlight. Reinstall
and securely tighten thew washers and
screws.
7. Lower floor panel. Reinstall the washer
and screw to secure the floor panel.
33