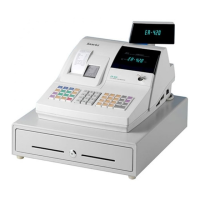
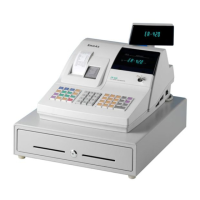
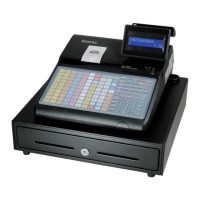
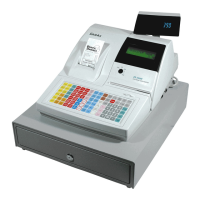
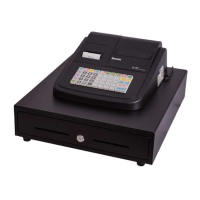
3 Installation and Operation
SAM4S ER-420M/F SERIES 3-7
3-3 E. Self Test
3-3 E-(a) Test Printer
1. Turn the Mode switch to Service Mode position.
1. Press ‘1’, ‘0’ and ‘SBTL’ key on key board.
2. Then the printer prints the test pattern. The printing message shows some information sush as ‘TM
value’,’stbIdx (Strobe index)’.
3. After printing, The drawer is opened. Then the printer test is finished.
3-3 E-(b) Test Display
1. Press ‘1’, ‘1’ and ‘SBTL’ key on key board.
2. Then the buzzer will work for 1 sec.
3. After testing the buzzer, Some characters are displayed on the rear VFD display
3-3 E-(c) Test Key Board
1. Press Press ‘1’, ‘2’ and ‘SBTL’ key on key board.
2. Press any key you want on the key board.
3. The key code of pressed key will be showed on the VFD.
4. Turn the mode switch to any position to finish this test.
3-3 E-(d) Test Mode Switch
1. Press Press ‘1’, ‘3’ and ‘SBTL’ key on key board.
2. Turn the mode switch to any position.
3. The corresponding Mode name will be showed on the VFD.
3-3 E-(e) Test RS232C (COM1)
1. Install the serial loop back test jig. (Short “pin 2,3” and “pin 4,6” of DSUB connector)
2. Press Press ‘1’, ‘4’ and ‘SBTL’ key on key board.
3. If error occurs, the message (232 NOGOOD) is displayed on VFD and the Buzzer beep.
Then Press “Clear” key.
3-3 E-(f) Test RS232C (COM2)
1. Install the serial loop back test jig. (Short “pin 2,3” and “pin 4,6” of DSUB connector)
2. Press Press ‘2’, ‘4’ and ‘SBTL’ key on key board.
3. If error occurs, the message (232 NOGOOD) is displayed on VFD and the Buzzer beep.
Then Press “Clear” key.
Note : When the ports is unconnected with the cable , the Error occur.