I
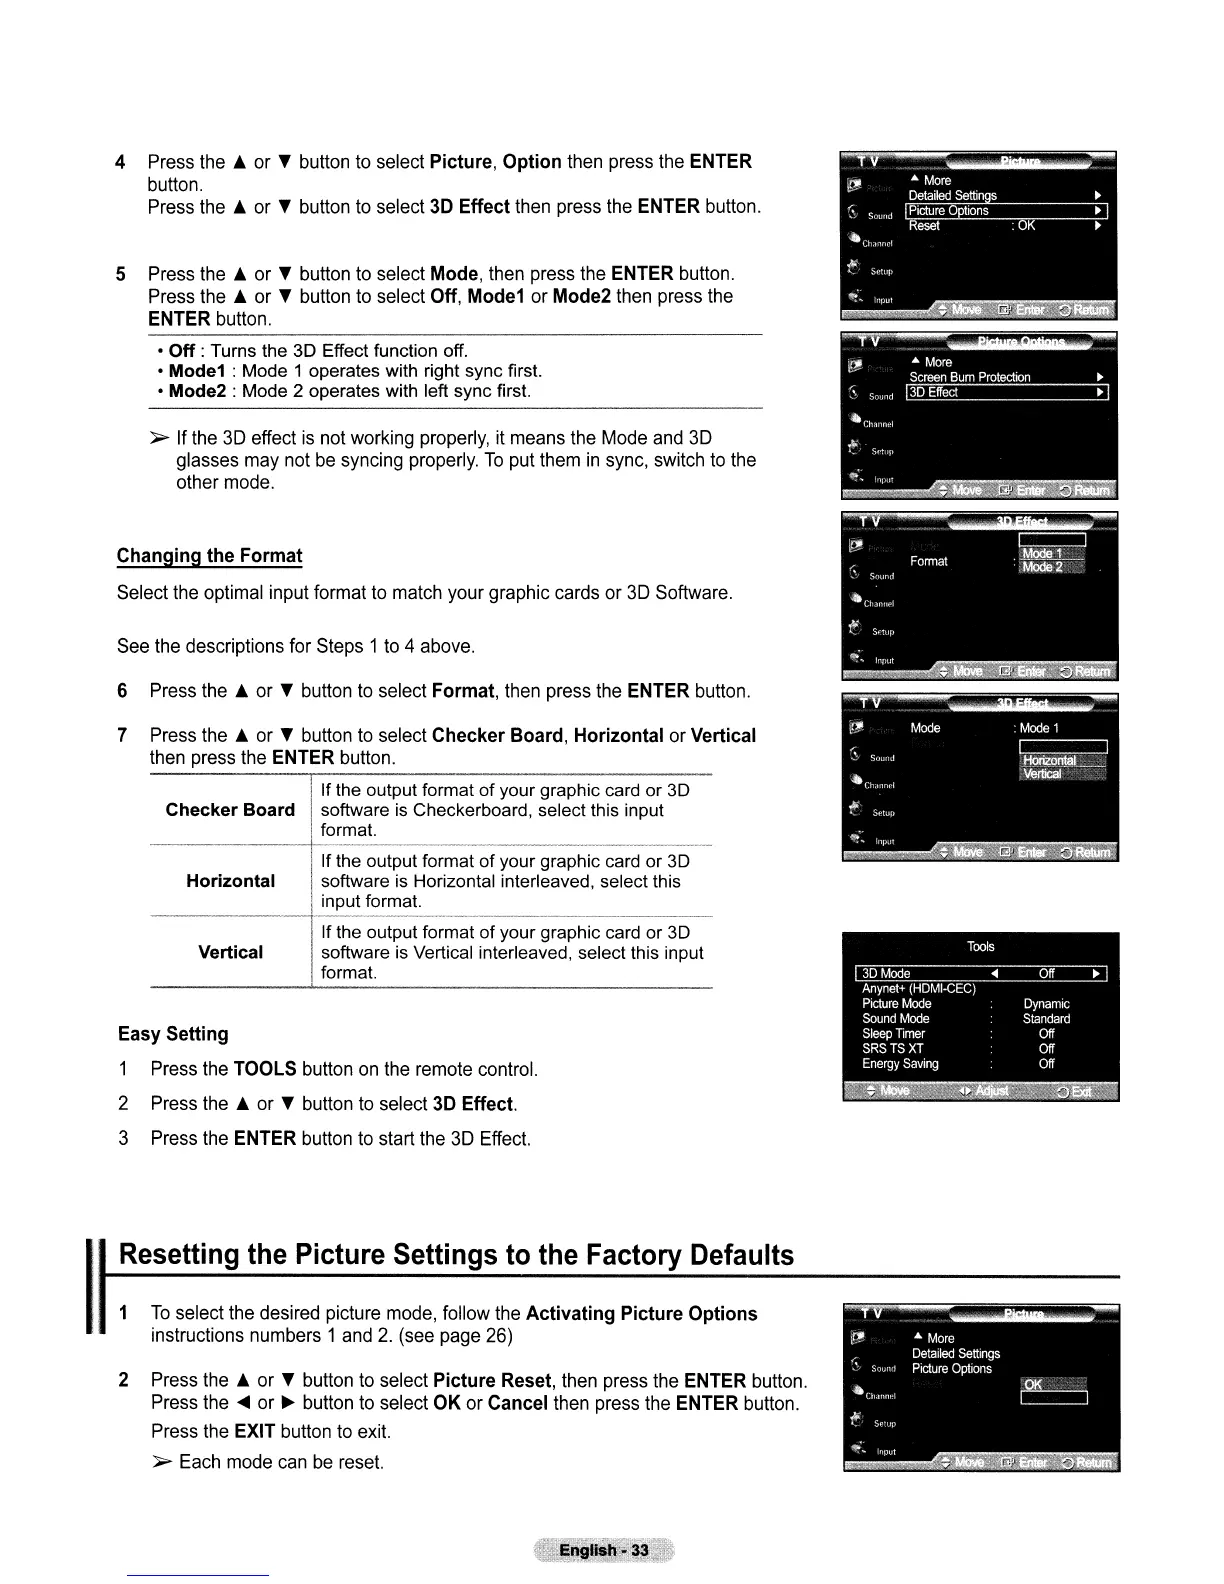
4
Press
the
..
or
T
button
to
select
Picture, Option
then
press
the
ENTER
button.
Press
the
..
or
T
button
to
select
3D
Effect
then
press
the
ENTER
button.
5
Press
the
..
or
T
button
to
select
Mode,
then
press
the
ENTER
button.
Press
the
..
or
T
button
to
select Off,
Mode1
or
Mode2
then
press
the
ENTER
button.
•
Off
: Turns the 3D Effect function off.
•
Mode1
: Mode 1 operates with right sync first.
•
Mode2
: Mode 2 operates with left sync first.
~
If
the
3D
effect
is
not
working
properly,
it
means
the
Mode
and
3D
glasses
may
not
be
syncing
properly.
To
put
them
in
sync,
switch
to
the
other
mode.
Changing the Format
Select
the
optimal
input
format
to
match
your
graphic
cards
or
3D
Software.
See
the
descriptions
for
Steps
1
to
4
above.
6
Press
the
..
or
T
button
to
select Format,
then
press
the
ENTER
button.
7
Press
the
..
or
T
button
to
select
Checker Board, Horizontal
or
Vertical
then
press
the
ENTER
button.
If the output format of your graphic card or
3D
Checker Board software
is
Checkerboard, select this input
format
the output format
of
your graphic card or
3D
Horizontal software is Horizontal interleaved, select this
input format.
If the output format of your graphic card or 3D
Vertical software is Vertical interleaved, select this input
format.
Easy Setting
1
Press
the
TOOLS
button
on
the
remote
control.
2
Press
the
..
or
T
button
to
select
3D
Effect.
3
Press
the
ENTER
button
to
start
the
3D
Effect.
Resetting
the
Picture
Settings
to
the
Factory
Defaults
1
To
select
the
desired
picture
mode,
follow
the
Activating Picture Options
instructions
numbers
1
and
2.
(see
page
26)
2
Press
the
..
or
T
button
to
select Picture Reset,
then
press
the
ENTER
button.
Press
the
~
or
~
button
to
select
OK
or
Cancel
then
press
the
ENTER
button.
Press
the
EXIT
button
to
exit.
~
Each
mode
can
be
reset.
 Loading...