22
Preparatory Steps for Cleaning and Repairs
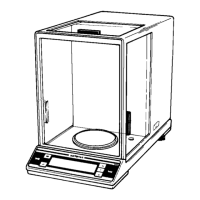
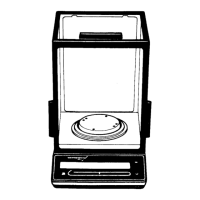
Opening the Balance Housing
– Disconnect the balance from the power supply.
– Remove the weighing pan (108), shield ring (107) and shield disk (106)
from the balance.
– Remove the screws (111). Slide the cover (110) back (about 1 cm) until
it slides no further; then carefully lift it off.
Removing the PCBs and the Enclosure
– Remove the six fastening screws (F) from the protective plate (204) and lift
it off.
– Unplug the connectors (A, B, C) from the main PCB (201). From the
side, disconnect the conductor (A) by pulling it out from the cut-out in the
spacer plate (205).
– Remove the screws (E) and lift off the main PCB (201).
– Push the cable with the connector (C) to the side; then lift off the enclosure
frame (206).
Installing the PCBs and the Enclosure
– Route the cables (A) and (B) through the enclosure frame.
– Insert the cable (C) in the slot (G) of the enclosure frame (206) and place
the enclosure frame (206) on the base plate (207).
– Place the main PCB (201), together with the spacer plate (205), on the
enclosure frame (206); position the cables (A) and (B) through the
openings of the spacer plate (205) and refasten with the screws (E).
– Plug the connectors (A, B, C) back into the main PCB (201).
– Carefully replace the protective plate (204) and refasten it with the 6
screws.
– Close the balance housing (see the section, “Closing the Balance
Housing”).
bild_14d.tif
bild_15d.tif
bild_16d.tif
207