14
Service Adjustments
Preparing the Balance for Calibration and Adjustment:
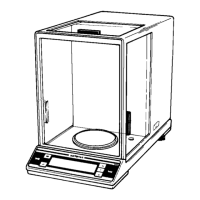
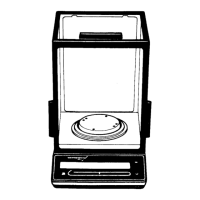
Place the balance on a stable surface, e.g., a table with a stone slab, level
the balance using the level indicator and allow the balance to warm up for
at least 2 hours.
Adjust the balance at this location.
Calibration/Adjusment Sequence
You will need to check and, if necessary, adjust the following, in the order
given, any time the balance is moved to a new location and after any
servicing or repair work:
1. Preload
2. Off-center loading error
3. Linearity
4. Span adjustment
Preload
Adjusting the Preload
It is necessary to adjust the preload, if “l” or “err54” is displayed after you
have turned on the balance, if “h” is displayed before the maximum load
has been placed in the weighing pan, or if “err02” is displayed at the start
of the span adjustment.
Checking the Preload
Note: Extreme changes in the preload values indicate a mechanical or electronic
error:
Model Preload Test Weight Preload Voltage A/D converter
control
BP210D 0 g –200 mV to +350 mV 1.6 % ± 0.4 %
BP300S 0 g –100 mV to –225 mV 0.9 % ± 0.38 %
– Open the balance housing (see page 22).
– Connect the digital voltmeter parallel to the precision resistor R1 on the
main PCB (201).
– Set the measuring range of the digital voltmeter to 20 V DC; place the
weighing pan on the balance.
– Turn on the balance.
– Unload the weighing pan.
– Switch the voltmeter to a lower measuring range (e.g., 2 V DC or 200
mV DC).
– Compare the voltage displayed on the digital voltmeter with the preload
voltage given above.
If the preload voltage measured is different from the voltage indicated (see
above), then you will need to adjust the preload.
Bild_09d.tif