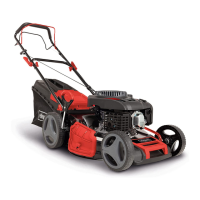
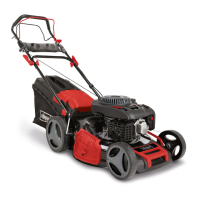
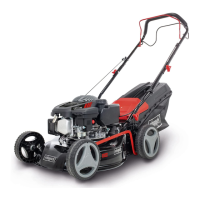
11.1.1 Inserting the grass collection
basket(23) (Fig.13)
1. Lift the rear discharge flap (22).
2. Hold the grass collection basket (23) by the carrying
handle.
3. Hang the grass collection basket (23) in the grass
collection basket suspension provided at the rear of
the product.
4. Put down the rear discharge flap (22), it holds the
grass collection basket (23) in position.
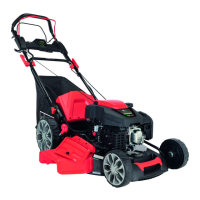
11.1.2 Emptying the grass collection
basket(23) (Fig.13)
WARNING
Before removing the grass collection basket,
switch off the engine and wait for the blade to
stop.
ATTENTION
Danger of injury!
Remove the grass collection basket only when the
engine is switched off and the blade is stationary.
The grass collection basket must be emptied as soon
as grass cuttings are left lying behind on the ground
during mowing.
1. To remove the grass collection basket (23), lift the
rear discharge flap (22).
2. Take out the grass collection basket (23) by the car-
rying handle. In accordance with the safety regula-
tion, the discharge flap (22) drops when the grass
collection basket is unhooked
If grass cuttings remain in the opening, it is advisable to
pull the lawnmower back about 1m to make it easier to
start the engine.
ATTENTION
Do not remove cuttings in the mower housing and on
the working tool by hand or with your feet, but with
suitable aids, e.g. brush or hand brush.
To ensure good collection, the grass collection basket
(23) and in particular the air filter (12a) must be cleaned
from the inside after use.
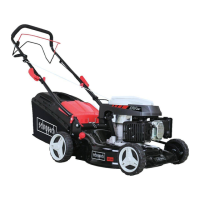
11.2 Mowing with side discharge
The side discharge (19a) enables you to even manage
high and wild grass that is only mown rarely.
11.2.1 Inserting the side discharge (19a)
(Fig.14)
1. First remove the grass collection basket (23) and in-
sert the mulching insert (26) (see 11.3.1).
2. Open the side discharge flap (19) and hold it tight.
3. Insert the side discharge (19a).
4. Close the side discharge flap (19) slowly. The side
discharge flap (19) secures the side discharge (19a)
to prevent it falling out.
11.2.2 Removing the side discharge (19a)
(Fig.14)
1. Open the side discharge flap (19) and hold it tight.
2. Remove the side discharge (19a) and close the side
discharge flap (19).
11.3 Mowing with the mulching insert
When mulching, the cuttings are shredded in the closed
mower housing and then dispersed on the lawn. Grass
collection and disposal are not required. The fine green
waste falls back into the grass root as a natural fertilis-
er, adds moisture to the lawn and supplies it with im-
portant nutrients.
NOTE
Mulching is only possible on relatively short lawns.
11.3.1 Inserting the mulching insert (26)
(Fig.15)
1. Lift the rear discharge flap (22).
2. Remove the grass collection basket (23) (if used) by
the carrying handle.
3. Press the unlocking knob on the mulching insert
(26) down and insert the mulching insert (26). The
unlocking knob latches into place.
4. Adjust the cutting height (see 10.2).
Tips for mulching and mowing:
• Cut the grass back by 2 cm if the grass is 4-6 cm
high.
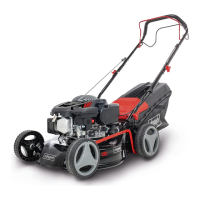
11.4 Starting the engine
NOTE
The blade rotates when the engine is started.
Do not start the product if the ejector chute is covered
by one of the following parts:
• Grass collection basket
• Mulching insert
11.4.1 Starting the engine (Fig.1,11,21)
1. Check the fuel and engine oil levels before each
start (see sections 9.1 and 9.2). Make sure that the
spark plug connector (16) is connected to the spark
plug (16a).
2. Stand behind the lawnmower. One hand pushes the
engine brake lever (3) to the steering (1), the other
pulls the pull starter (25).
GB | 37www.scheppach.com
 Loading...