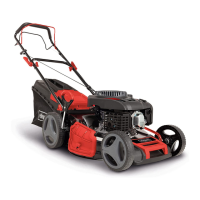
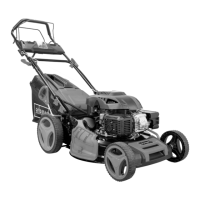
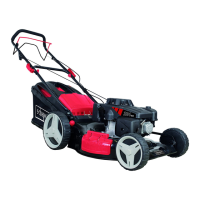
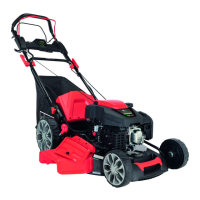
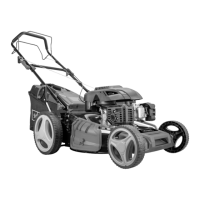
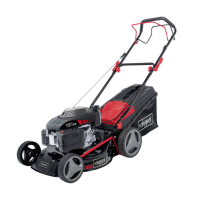
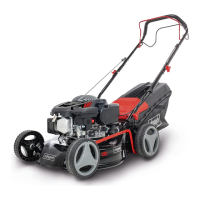
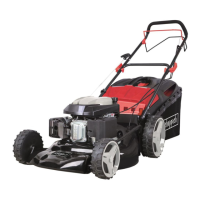
1. It is best to tilt the lawnmower backwards. Make
sure that the spark plug (16a) is pointing upwards. If
the spark plug (16a) points downwards, oil can leak
out and cause major damage to the engine and car-
burettor.
2. Alternatively, you can tilt the product on its side, but
you must make sure that the air filter cover (12) is
on the upper side.
3. Clean the underside of the lawnmower with a spatu-
la and hand brush. The spatula helps to remove
coarse and larger plant debris from the area of the
blade (27). Cleaning the underbody is easier and
more thorough immediately after use. Then dirt and
plant residues are still fresh and can be loosened
more easily.
4. If necessary and if the dirt is difficult to remove, you
can also use a special cleaner. Do not use aggres-
sive cleaning products such as cold cleaners or
white spirit.
5. Check that the grass ejection is clear of grass resi-
dues and remove these if necessary.
12.2 Cleaning the lawnmower via the
water connection(14) (Fig.1,16)
NOTE
Push the spark plug connector onto the spark
plug properly again.
1. First remove the mulching insert (26) or the grass
collection basket (23).
2. For cleaning, connect a garden hose to the water
connection (14) via the built-in plug-in coupling.
3. Turn on the water and start the lawnmower (see ).
4. The rotating blade (27) swirls the water.
5. After a few minutes, the lawnmower is free of all ad-
hering dirt and grass residues.
6. Allow the lawnmower to run for a short time without
water to remove most of the moisture through the
circulating air of the blade (27).
12.3 Cleaning the V-belt(32) (Fig.17)
1. Tilt the lawnmower backwards.
2. Use a brush or compressed air to clean the V-belt
(32) after each use.
13 Transport
WARNING
Danger of injury and burning!
The product can start unexpectedly and cause inju-
ries.
– Switch off the motor before carrying out any
cleaning or maintenance work.
– Allow the motor to cool down.
– Disconnect the spark plug connector from the
spark plug.
NOTE
For transport, the cutting height must always be set in
the highest position.
1. Empty the fuel tank using a petrol extraction pump
(not included in the scope of delivery) into a collec-
tion container.
2. Drain the motor oil of the warm motor.
3. Clean the cooling fins of the cylinder and the hous-
ing.
4. Fold in the top push bar (4) (see 14.2).
5. Wedge a few layers of corrugated cardboard be-
tween the upper (4) and lower push bars (8), and
the engine to prevent any chafing.
6. The product must be secured against tipping and
slipping during transport in vehicles in order to pre-
vent damage and injuries.
14 Storage
ATTENTION
Clean and maintain the product before storage.
ATTENTION
Do not store the product with the grass collection
basket full. In hot weather, the grass begins to fer-
ment under heat. There is a risk of fire!
Store the product and its accessories in a dark, dry and
frost-free place that is inaccessible to children.
The optimum storage temperature is between 5°C and
30˚C.
Store the product in its original packaging.
Cover the product to protect it from dust or moisture.
Store the operating manual with the product.
• Never store the product with fuel in the tank inside a
building in which fuel vapours may come into con-
tact with naked flames or sparks.
• Allow the engine to cool down before parking the
product in enclosed spaces.
GB | 39www.scheppach.com
 Loading...
