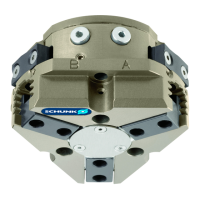
Assembly
24
11.00 | PGN | Assembly and Operating Manual | en | 389286
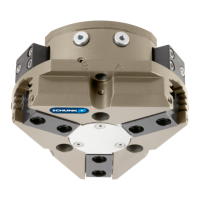
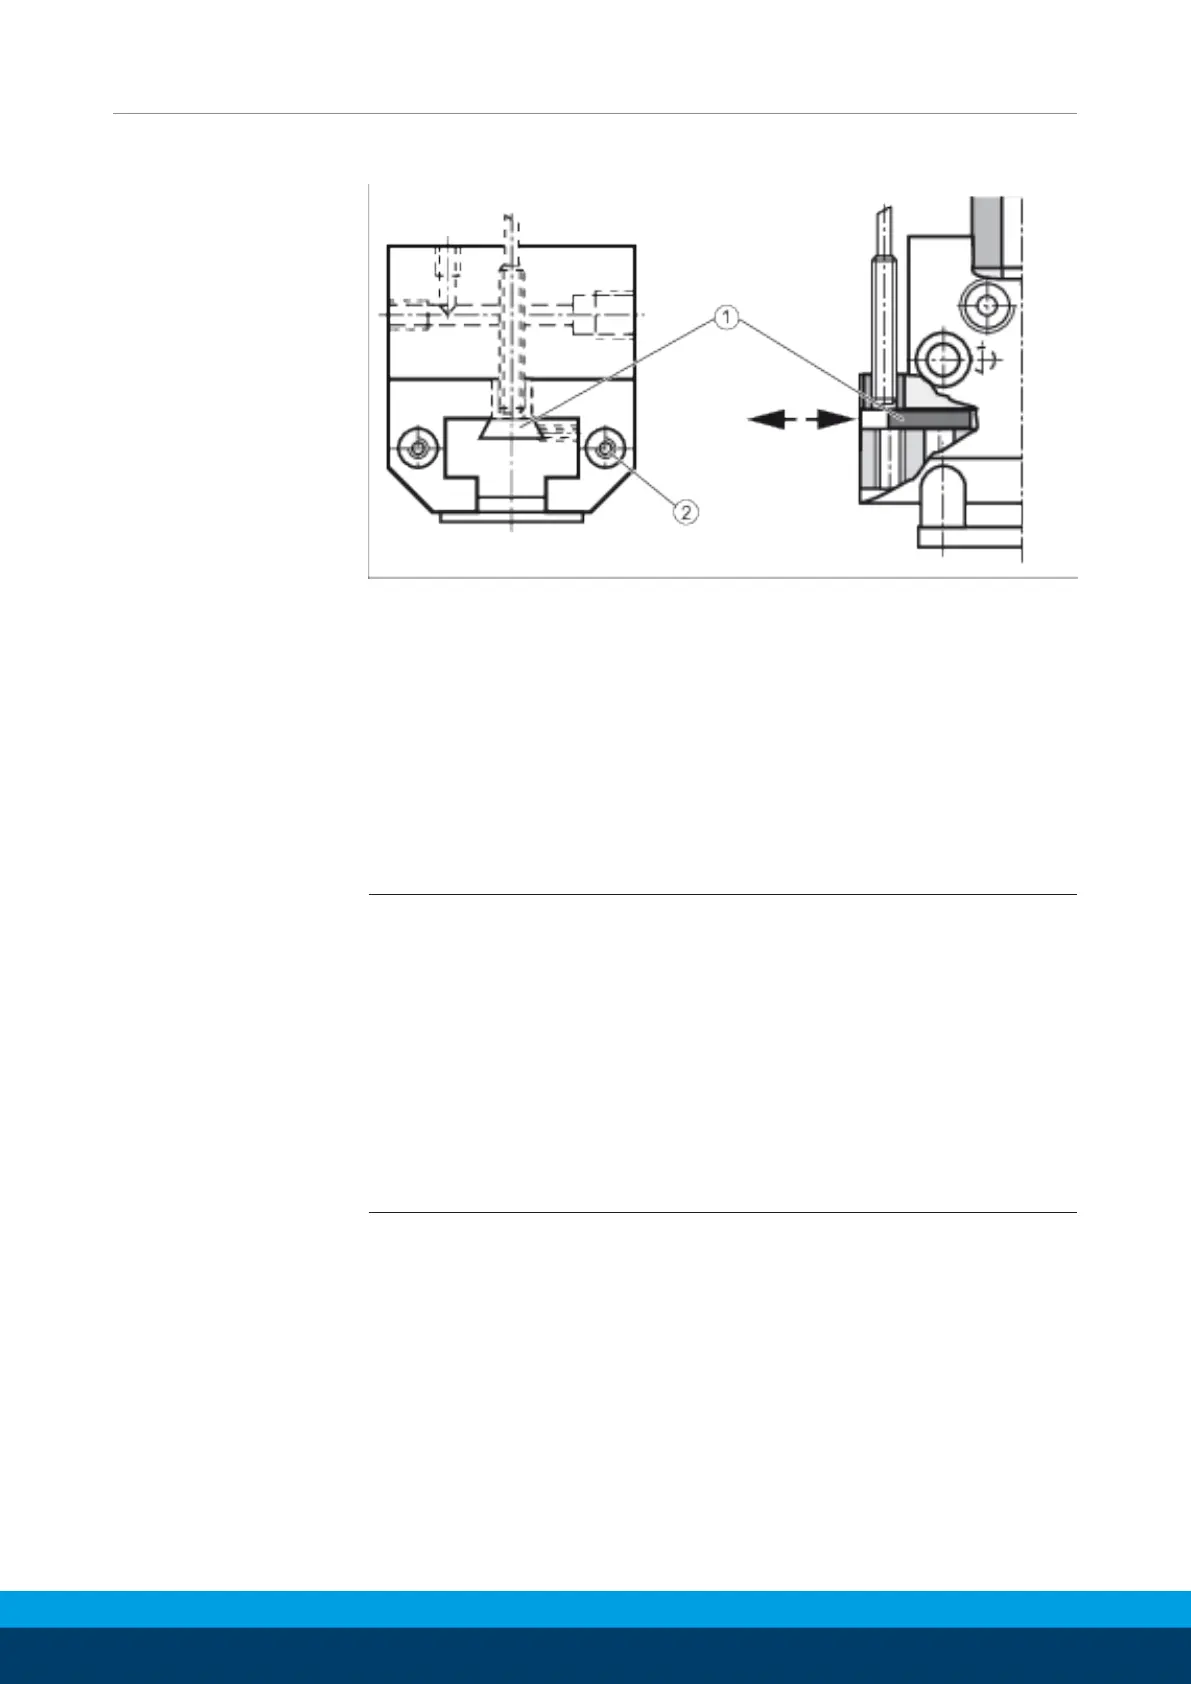
Part gripped:
Ø Mount the proximity switch as described before.
Ø Set the gripper onto ”open“ postion.
Ø Loosen the set-screw (2) which clamps the control cam (1).
Ø Clamp the component to be gripped.
Ø Slide the control cam (1) which switches the proximity switch.
Ø Carefully set the gripper onto ”open“ position.
Ø Fasten the control cam (1) with the set-screw (2) and check the
function.
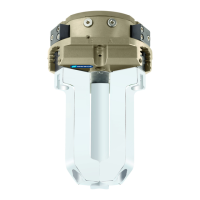
Assembly and
adjustment of
Proximity Switch PGN
200, 300 and 380
NOTE
• For standard applications proximity switch M 8 x 1 x 32 is used.
• If proximity switches Ø 12 x 60 are used, the bushing (item 68) has
to be replaced by the one of (item 67) from the little plastic bag.
• Proximity switches are accessories and have to be ordered
separately.
• The control cams may be adjusted so that additionnally to the
two positions gripper ”open“ and gripper ”closed“ every
intermediate position may be monitored by sliding the control
cam.
 Loading...