Assembly
210.00 | PZN-plus | Assembly and Operating Manual | en | 389374 43
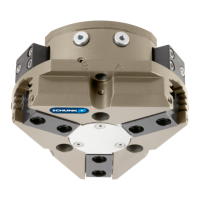
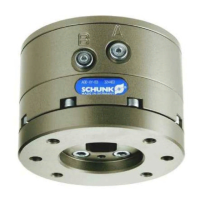
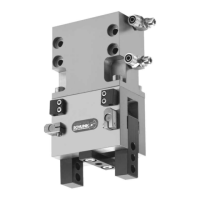
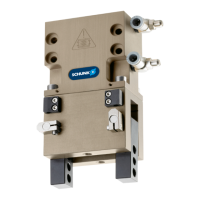
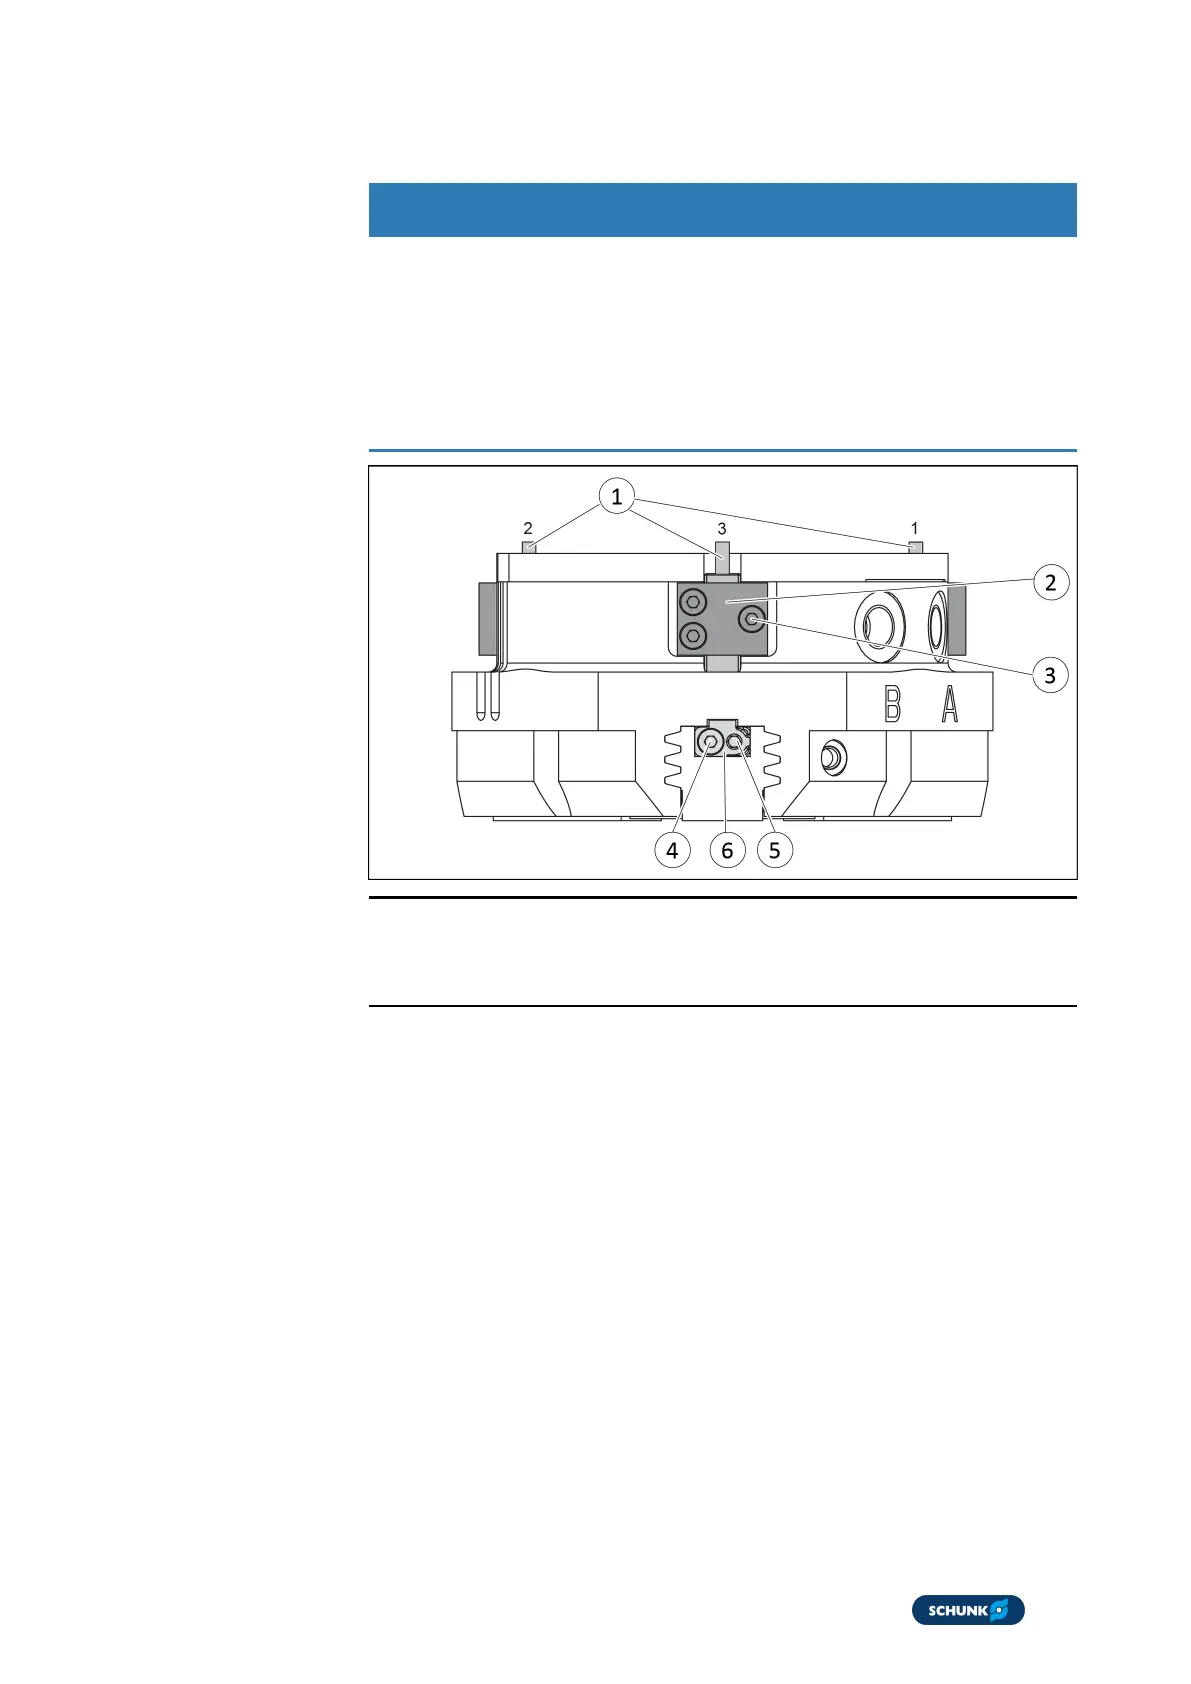
5.3.13 Mounting the reed switch RMS 80
CAUTION
Blockade of the gripper after setting or replacing of the
switching cam!
The switching cam can be tilt in the guide, if it was not fixed
exactly in the base jaw.
l
Apply the switching cam in the direction of the base jaw, so
that the cam does not contact the housing of the gripper.
NOTE
The screws (4) and (5) differ in length. With size 380, these
screws on sensor 3 (1) are the same length.
Variant Dust-tight:
Before attaching the sensor, remove the sealing bolts from the
bracket. Before adjusting the control cam, unscrew the set-screw
from the side cover.
Position "Gripper open" or "Part gripped (I.D. gripping)"
1. Slide the sensor 1(1)or sensor 2 (1) to the stop into the
bracket (2).
2. Tighten the screw (3) on the bracket (2).
Tightening torque: 0.2 Nm
3. Open gripper or grip part.
4. Undo the screw (4).
5. Turn the screw (5) to push the position of the control cam (6).
 Loading...