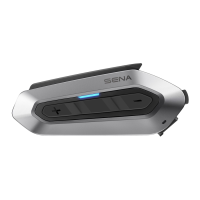
EasyManuals Logo

Sena SRL2 User Manual

Sena SRL2
54 pages
To Next Page IconTo Next Page
To Previous Page IconTo Previous Page
Page #14 background imageLoading...
Page #14 background image
SRL2
14
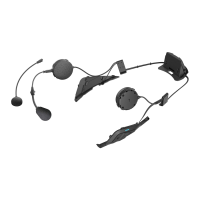
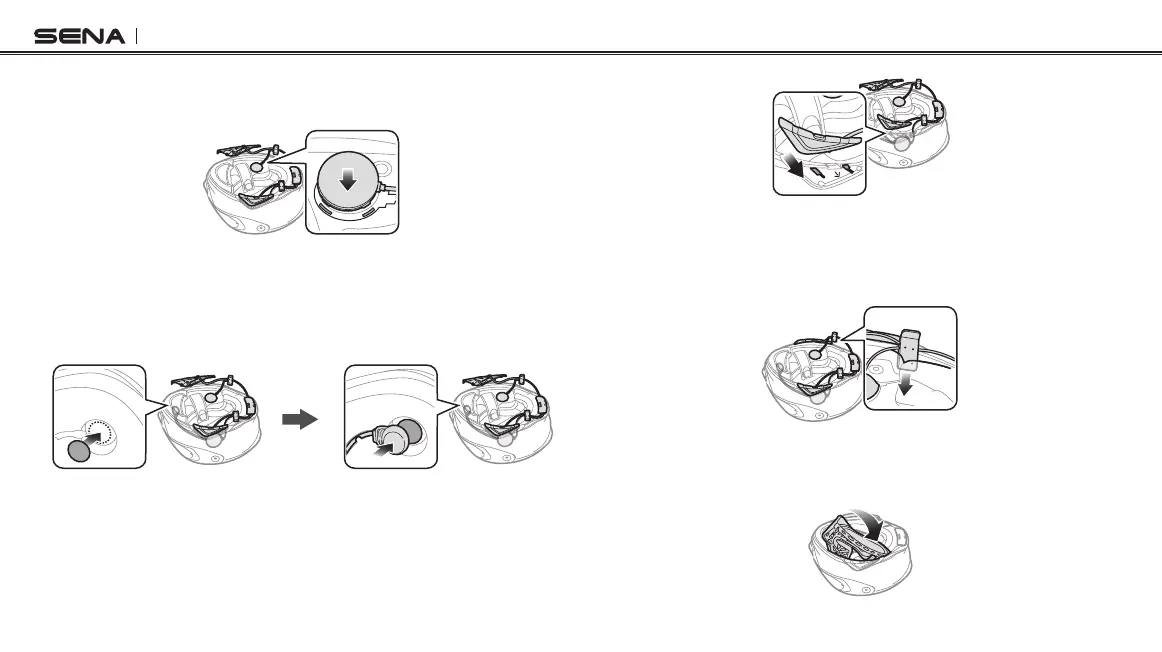
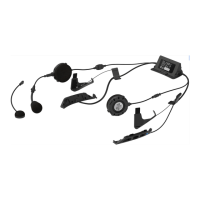
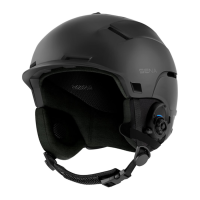
3. Insert the helmet speakers into the grooves in the inner shell of
the helmet.
4. Peel off the cover of the adhesive tape of the hook and loop
fastener for microphone and attach it to the inside of the helmet’s
chin guard. Then, attach the wired microphone to the hook and
loop fastener.
5. Slide the antenna into the corresponding place. Make sure that
the grooves under the antenna t the corresponding grooves.
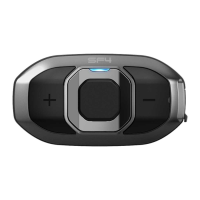
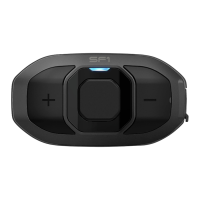
6. Repeat the process on the other side to install the button module.
7. Slide the left and right clips into their corresponding sides
between the external shell and the inner shell.
8. Reattach the internal paddings beginning with the rear and click
the snap fasteners.

Table of Contents

Other manuals for Sena SRL2

Questions and Answers:

Question and Answer IconNeed help?

Do you have a question about the Sena SRL2 and is the answer not in the manual?

Sena SRL2 Specifications

General IconGeneral
Bluetooth VersionBluetooth 4.1
Talk Time10 hours
Charging Time2.5 hours
FM RadioYes
Battery TypeLithium Polymer Battery
CertificatesCE, FCC, IC
Music SharingYes
Voice CommandYes
Intercom Range1.6 km (1.0 mile)
Operating Temperature-10°C to 55°C (14°F to 131°F)
ProfilesHeadset Profile (HSP), Hands-Free Profile (HFP), Advanced Audio Distribution Profile (A2DP), Audio Video Remote Control Profile (AVRCP)
Audio FeaturesAdvanced Noise Control™
CompatibilityShoei GT-Air II, Shoei Neotec II, Shoei J-Cruise II
Mobile App SupportYes
Intercom Participants8-Way Intercom

Related product manuals