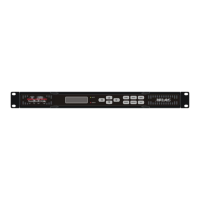
MRD 5800 – User Manual
Page 16 (116)
3. Use the and buttons to
move the cursor to “Unit Networking”,
then press the button.
Note: The first menu displayed is status
menu. In order to begin making
changes to networking settings press
the button.
4. Use the and buttons to
move the cursor to “DHCP”, then
press the button.
5. Use the and buttons to
change the selection to “Disabled”
then press the button.
IP Address/Subnet Mask/Gateway
1. Use the and buttons to
move the cursor to “IP”, then press the
button.
2. Use the and buttons to
select the column to edit and use the
and buttons to change the
IP, then press the button to
save the selection.
3. The cursor will now be on “Mask”.
4. Use the and buttons to
select the column to edit and use the
and buttons to change the
Subnet Mask, then press the
button to save the selection.
5. The cursor will now be on “Gateway”.
6. Use the and buttons to
select the column to edit and use the
and buttons to change the
Gateway, then press the button
Admin ↔↕
>Unit Networking
System Time
About System
Configure Network ↔↕
Host Name:
>DHCP: Disabled
Configure Network ↔↕
Host Name:
DHCP: Disabled
>IP: 0.0.0.0
Configure Network ↔↕
Host Name:
DHCP: Disabled
>IP: 000.000.000.000
Configure Network ↔↕
Host Name:
DHCP: Disabled
IP: 0.0.0.0
Configure Network ↔↕
DHCP: Disabled
IP: 0.0.0.0
Mask: 0.0.0.0
>Gateway: 000.000.000.000
 Loading...