SCORPIO 38’ - 45’ - SET UP THE EQUIPMENT - Starting the crane
Version 1.02 May 27, 2022
SERVICEVISION BIS SL
Ríos Rosas, 20 · 08940 CORNELLA DE LLOBREGAT (Barcelona) Spain · Tel. 34 93 223 86 30 · Fax 34 93 223 86 31 45
comercial@servicevision.es · www.servicevision.es
3.2 STARTING THE CRANE
Procedure to set up the equipment in location once the crane has been removed from the transport
vehicle:
Use the leveling jacks to level the base of the arm. The level can be
checked in the fulcrum part, in 2 parallel directions or in the dolly base.
Be sure to start leveling from the higher point of the base.
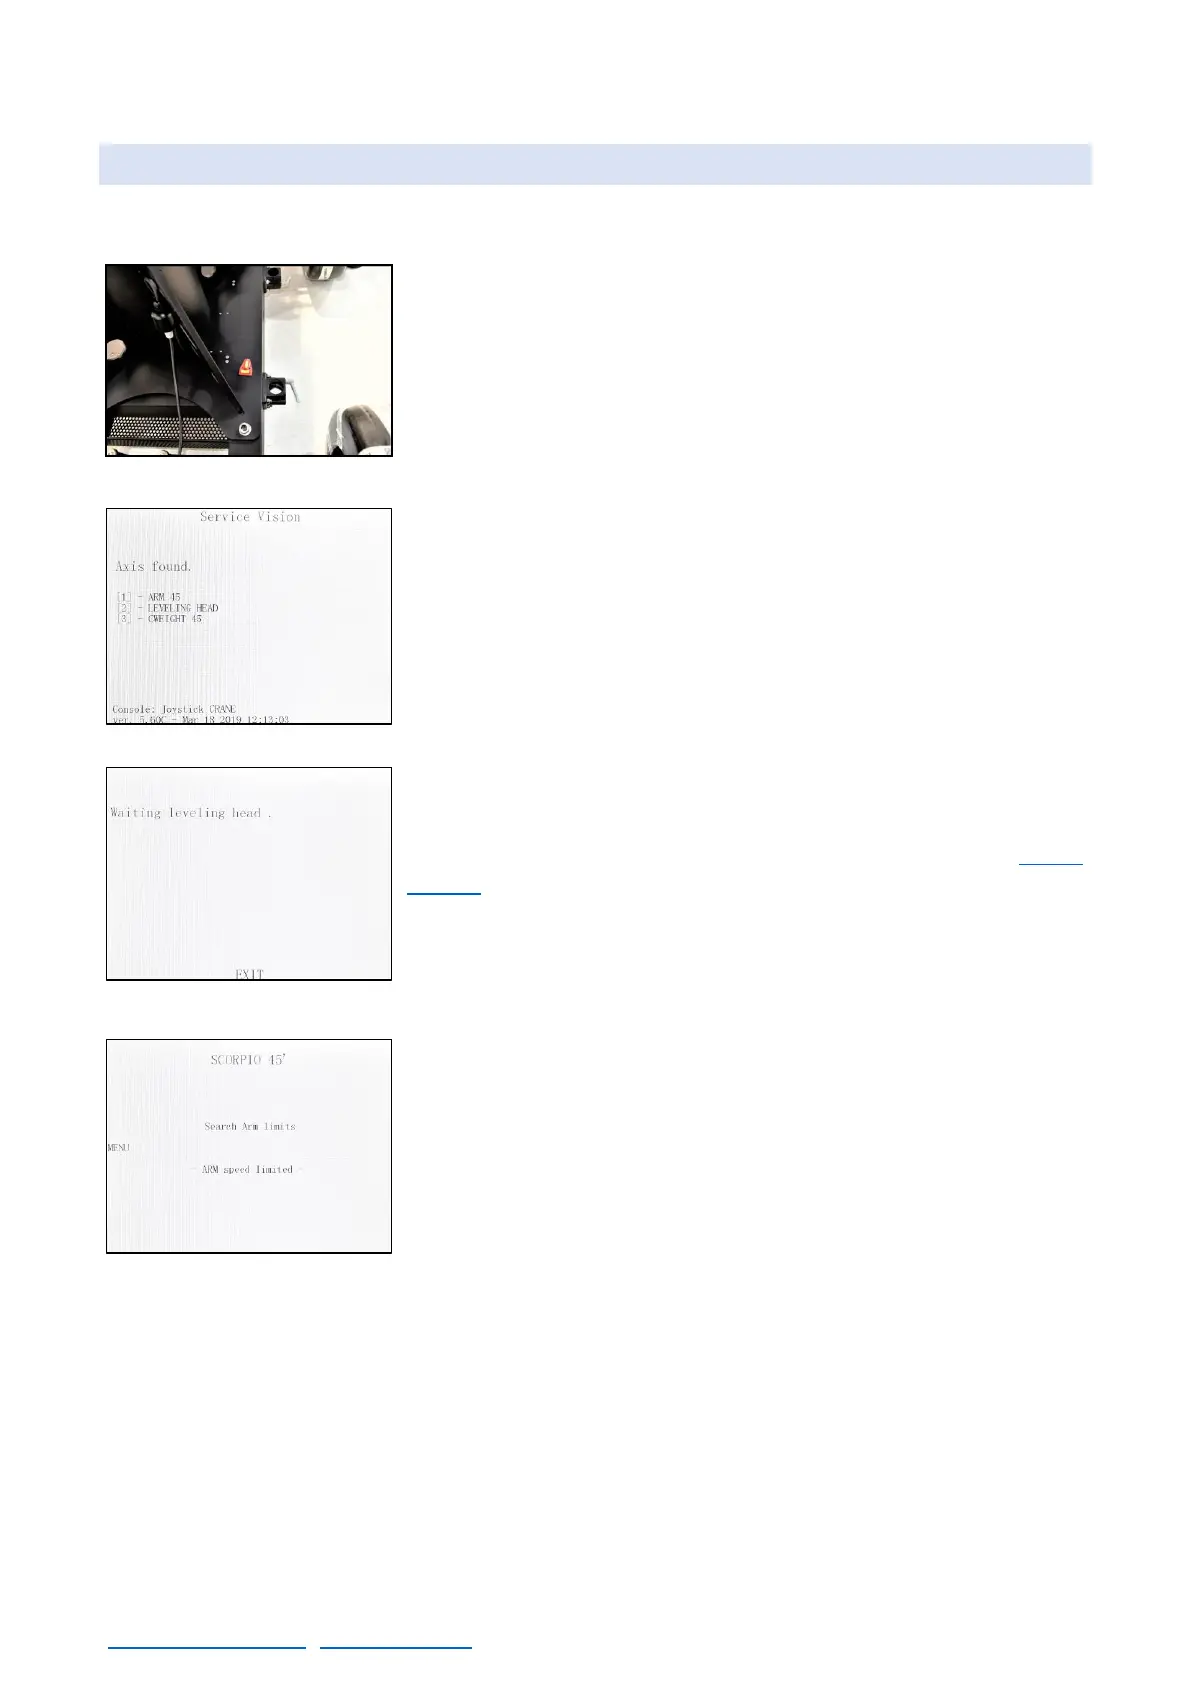
Start the system by arming the AC breaker and then pressing the
START button on the electronic box. Be sure that the hand command
is connected, the emergency stop is released and the system power
LED is ON. The system will start.
The leveling head will find the level and the counterweight system
will calibrate itself. If these events do not occur, check the F.A.Q.
chapter.
Once the Search Arm Limits screen is displayed in the portable
display, it is possible to move the crane with the hand command.
Mount the Head in the Mitchel mount and if possible, mount the whole camera package that will be
used. If there is no possibility to get the full camera package with the head at this moment, there will
be needed to repeat the next steps in order to balance the crane properly.
To balance the crane there are two steps. Step one is to balance the static part of the crane, as if it
is a rigid crane. The second step is to balance the moving part of the crane, the telescoping arm.