MX-M753N MX-LCX3N 3 – 7
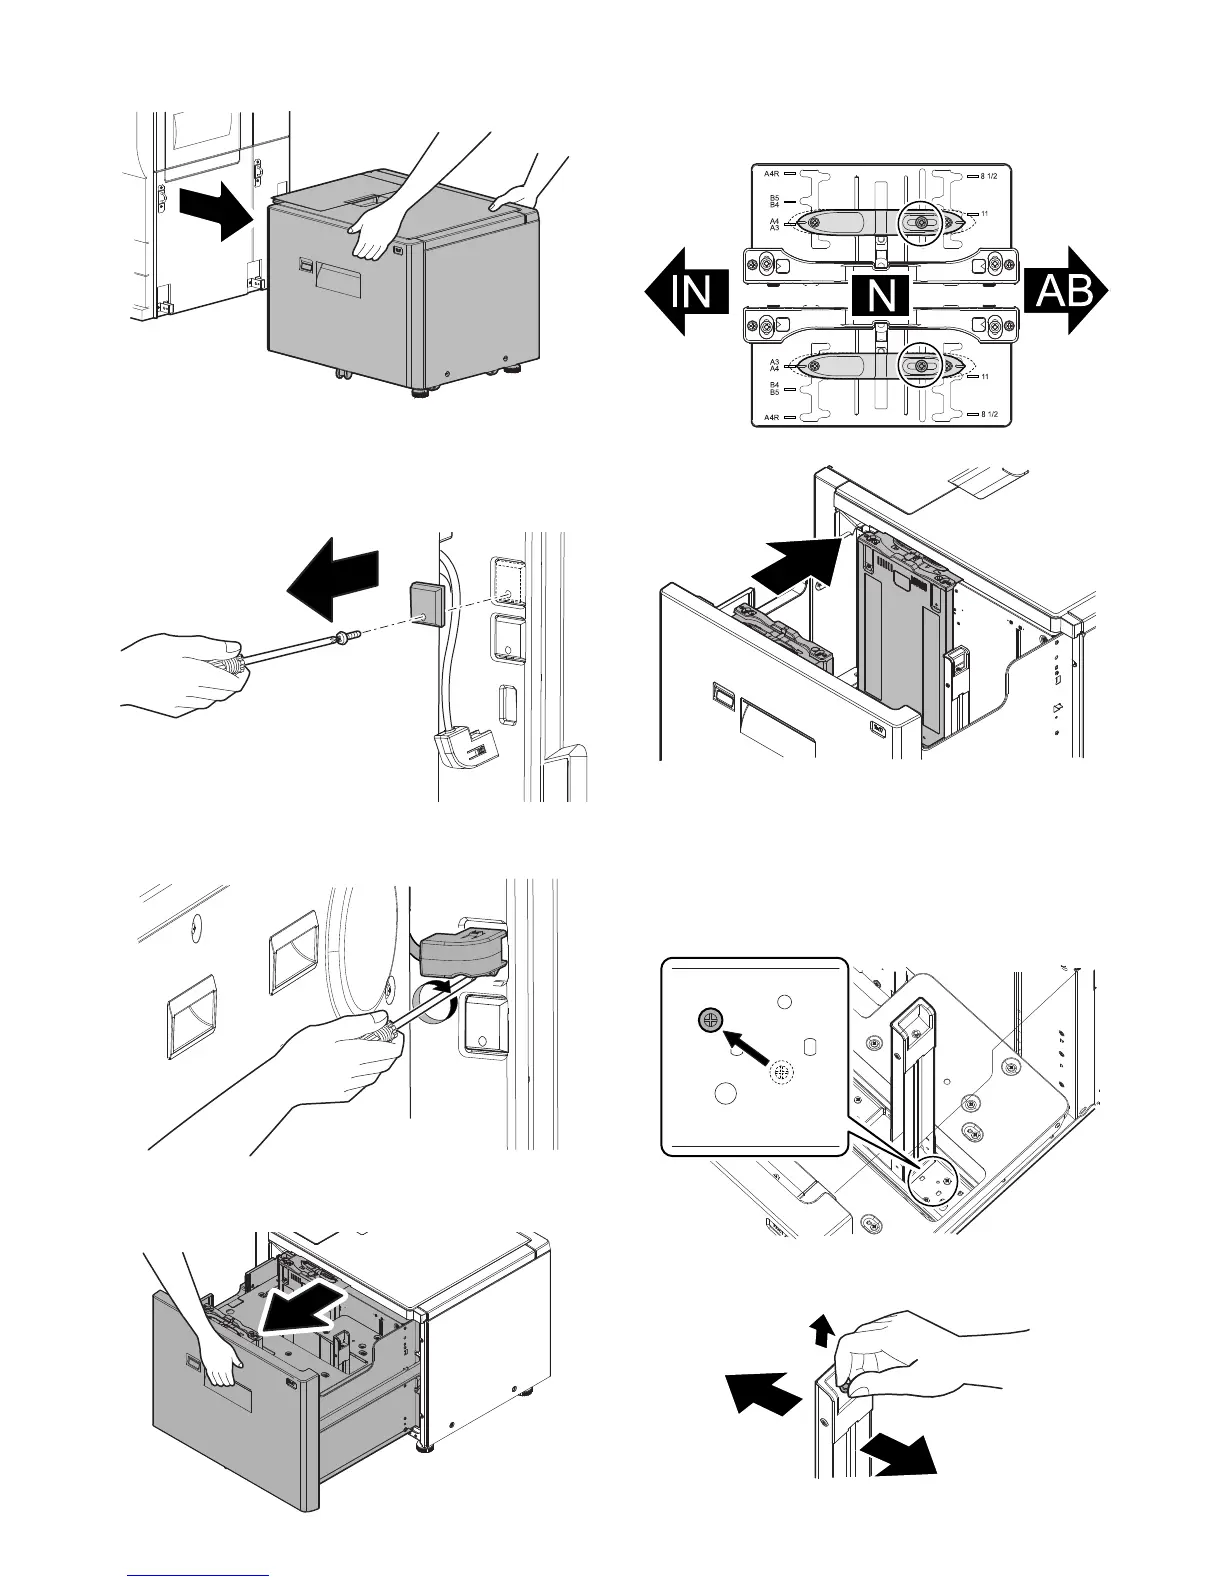
5) Shift the LCC to the right to separate.
E. Connect the connector of the large capacity
tray.
1) Remove the screw from the connector cover on the main unit
and then remove the connector cover.
2) Connect the large capacity tray interface harness connector to
the main unit connector, and tighten the connector screw to fix
the connector.
F. Select the paper size.
1) Slowly pull out the paper feed base tray until it stops.
2) Side plate size changeover
<1> Loosen the blue screws on the front and the rear side of
the LCC, and slide the handle section to the neutral
position.
<2> Move the side plate to the desired paper size position.
<3> Slide the handle to the desired paper size position, and
lock it and tighten the blue screw.
3) Rear edge plate size changeover
<1> Limit movable area of the rear edge plate according to the
maximum size of paper.
Remove the step screw of the mark B position, install that
step screw to the mark A position.
<2> Lift the screw at the top of the rear edge plate and shift it
to the desired paper size position.
 Loading...


