Basic Posture
Look at the
monitor with
both eyes.
Press your
elbows
against
your
stdes
Place your feet at a
45”
angle and take a firm
stance
Kneeling
High Angle
You can record
and still see the
monitor.
This is
onventent when
Low Angle
When kneeling, put one
knee on the ground for
the best stability
Rest
on both
elbows to
stabllize
the
VIEWCAM.
.
More hints for shooting better videos
l Before zooming, think about how to best frame
the shot. Stop zooming when the shot is well
framed.
l When image shake is noticeable during
zoomed telephoto shooting, use a tripod, or
press the Power Zoom
“W”
(wide angle) button
to zoom out. Screw the tripod into the tripod
socket on the bottom of the
VIEWCAM.
l Horizontal panning (lateral movement) and
tilting (vertical movement) should be done
slowly to emphasize the wide expanse of a
scene or the height of a building, and to make
them easy to watch on playback.
l
Use wide-angle settings for fast-moving subjects.
Note:
Focusing may take longer
when zooming and
panning are used frequently.
TlPS
ON RECORDING
POSl’TlONS
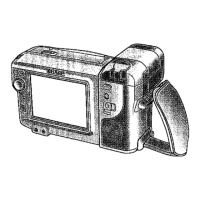
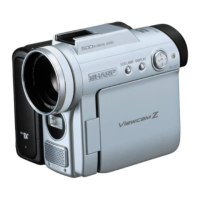
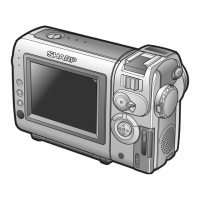
The rotating LCD monitor lets you enjoy easy video
recording with a relaxed posture.
l
You can record using more natural body
postures since you can see’the subject
on-
screen, without having to hold the VIEWCAM
against your eye.
l
The LCD monitor also makes high-angle and
low-angle shots easy.
l
For hand-held recording, the
VIEWCAM
should
be steadied to prevent image shake.
l
Use a tripod for stable recording.
Basic Recording Positions
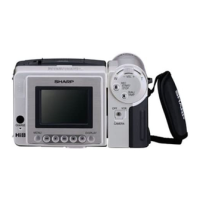
Put the fingers of your right hand through the hand
strap, and place your right thumb close to the REC
START/STOP and Power Zoom buttons. Place your
left thumb in the indentation on the left side of the
LCD monitor.
Notes:
l Take care not to touch the monitor with your fingers, as
perspiration and dirt will smudge it.
l Unless you intend to create a special effect, keep the
VIEWCAM
level with the horizontal plane.
l Take care not to touch the microphone with your fingers
when the
VIEWCAM
is recording, as this will cause noise
on the audio track
HINTS FOR
BETTER
SHOOllNG
Position the subject in the centre of the monitor.
Notes:
l When you are using auto focus, the subject in the centre
of the screen is kept in focus.
Positton
the subject in the
Focus manually when you
centre.
need to
posItIon
the
sublect
off centre (see page 25)
l Avoid backlit subjects. For the best picture, have the
light source behind you.
l When the background is brighter than the subject, the
recording often becomes too dark. If you need to record
with this lighting, use the backlight compensation (BLC)
function to improve the picture (see page 40).
Light from behind
.‘A/
Backlighting
.‘A/
27

 Loading...
