No. Adjusting point Adjusting conditions Adjusting procedure
30
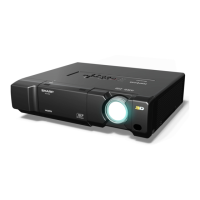
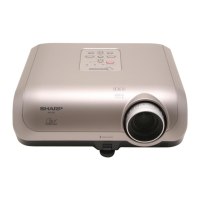
XV-Z12000
Adjusting the PC Board
1. Initializing the EEPROM
1) Press SW2002 to enter the process mode.
2) Execute the S1 command on the SSS menu. (The S1 command initializes the PC board alone. Do not execute
the S2 command because otherwise the adjustment data other than the PC board will be initialized.)
2. Adjustment of input signal level
2.1 Setting the oscilloscope
Set the oscilloscope range to DC 1V/div. and 5 Ésec/div.
2.2 Connecting the PC interface
1) Connect the analog output (signal generator) and the DVI-I connector (INPUT 5 of the projector) with the cable
(DSUB-DVI)
Set the INPUT SELECT of the projector to INPUT 5 (select the analog RGB on the menu.)
2) Set the signal generator to the XGA mode (1024x768, 60 Hz, 32 tones). Adjust the output amplitude to 700
mVp-p between the black and white levels (terminated with a 75-ohm impedance).
3) Turn on the power.
2.3 Adjustment of A/D (RGB)
1) Press SW2002 and enter the process mode.
2) Select AD-AUTO from the A/D (RGB) menu.
3) Press the ENTER key on the remote control. The AUTO adjustment is performed.
4) Exit the A/D (RGB) menu by pressing the UNDO key on the remote control.
2.4 Adjustment of A/D (COMP)
1) Select the A/D (COMP) menu.
2) Set G-BRIGHT to the numeric value of G-BRIGHT of A/D (RGB).
3) Adjust CB-OFFSET to 20.
4) Adjust CR-OFFSET to 20.
5) Exit the A/D (COMP) menu by pressing the UNDO key on the remote control.
2.5 Adjustment of color wheel index
1) Input the pattern for adjusting the color wheel index to INPUT5.
(Refer to "3. Color wheel index adjustment" in the "Adjustment method of each part" section.)
2) Select CW INDEX from the DLP menu.
3) Adjust so that the lamp gradation patterns of R, G and B become smooth without noise.
4) Exit the PLD menu by pressing the UNDO key on the remote control.
2.6 Select S5 from the SSS menu and press the ENTER key on the remote control.
Check that the OSD display of the set 5 appears.
 Loading...