Shure Incorporated
2/59
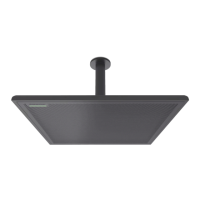
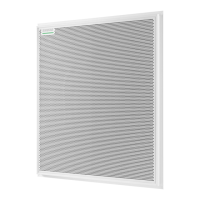
MXA910, MXA910-60CM, MXA910W-ACeiling Array Mi-
crophone 4
NOTICE 4
Overview 4
General Description 4
Features 5
System Overview 6
Differences Between 3.x and 4.x Firmware 7
Getting Started 7
Step 1: Connect to a Network 8
Step 2: Discover the MXA910 in Designer 8
Step 3: Adjust Microphone Coverage 9
Step 4: Apply DSP 10
Step 5: Route Audio 11
System Planning and Gear Requirements 11
MXA910 Equipment Combinations 12
Use Case: Soft Codec with ANIUSB or P300 13
Use Case: ANI22 and Hard Codec 14
Use Case: Medium or Large Room with 2 MXA910s and a
P300 15
Hardware 15
Network Ethernet Port 15
LED Light Bar 16
Reset Button 18
Power Over Ethernet (PoE) 18
Installation 19
Microphone Placement 19
FyreWrap® Fire Protective Wrap System Installation 21
Installing the Array Microphone 22
Model Variations 22
Rubber Scratch Protectors 22
Ceiling Installation 23
Rubber Scratch Protectors (MXA910W-A) 24
Ceiling Installation (MXA910W-A) 25
Suspension Mounting 27
Cable Management 29
Installing the Junction Box Accessory 30
Software Installation, Management, and Security 32
Controlling Devices with Shure Designer Software 32
Accessing the Web Application 33
Firmware Updates 33
Microphone Configuration 34
Software Overview 34
Configuring Microphone Coverage for MXA910 35
Adjusting Levels 37
Parametric Equalizer (PEQ) 37
EQ Contours 40
Custom Presets 41
Mute and Fader Groups 41
AES67 41
Encryption 42
Automix 42
Automix Channel 42
Automix Modes 43
Automix Settings 43
Automix Modes (Firmware <4.x only) 44
IntelliMix DSP 44
DSP Best Practices 45
Acoustic Echo Cancellation 45
Noise Reduction 46