NOTE
The reference point for the working distance is the center of the viewing window
on the screwed-on optics protective hood. If the optics protective hood has been
removed, the leading edge of the illumination unit can be used instead.
✓
The test code in the image comes into focus and the edges are clearly discernible.
5. If necessary, use the Shutter time, Brightness and Contrast sliders to optimize the
brightness and contrast.
6. Available in Extended mode: if necessary activate the sharpness diagnostic bar. To
do this, go to the Camera & Illumination area and click the Display sharpness checkbox.
✓
The sharpness diagnostic bar is now at its maximum position. The test code in the
image comes into focus and the edges are clearly discernible.
7. Keep adjusting the sharpness setting on the lens until the test code in the image
comes into focus and the edges of the test code are clearly discernible. If the
sharpness diagnostic bar is activated: until the sharpness diagnosis bar reaches
its maximum position and the color of the bar graph changes to green.
8. Once the online image adjustment process has been successfully completed, use
the locking screws to lock both adjusting rings of the lens unit in place.
9. Define a suitable aperture setting for the depth of field. In order to do this, check
the settings with the test code. Adjust the mask to a higher value.
NOTE
The higher the aperture number the lower the image brightness. The image bright‐
ness can be increased in SOPAS ET using the Brightness slider. Increasing the
image brightness will, however, reduce the image quality.
10. Attach the optics protective hood again and screw it tight.
Continuing configuration
1. Make settings for additional functions during planned operation such as codes,
trigger, data processing, data interface, etc.
2. In the Online Images window, click the Operation button and test the settings in
operational use.
Completing the configuration
1.
To permanently save the parameter set in the device: Click the button.
2.
To permanently save the parameter set on the PC: Click the button.
7.2 Configuring the device via buttons without configuration software (SOPAS ET)
The two function buttons, the second display level of the status LEDs and the bar
graph display are used to manually adjust the reading characteristics of the device with
Auto-Setup (A-S).
NOTICE
Auto-Setup (A-S) is not supported for a Pharmacode.
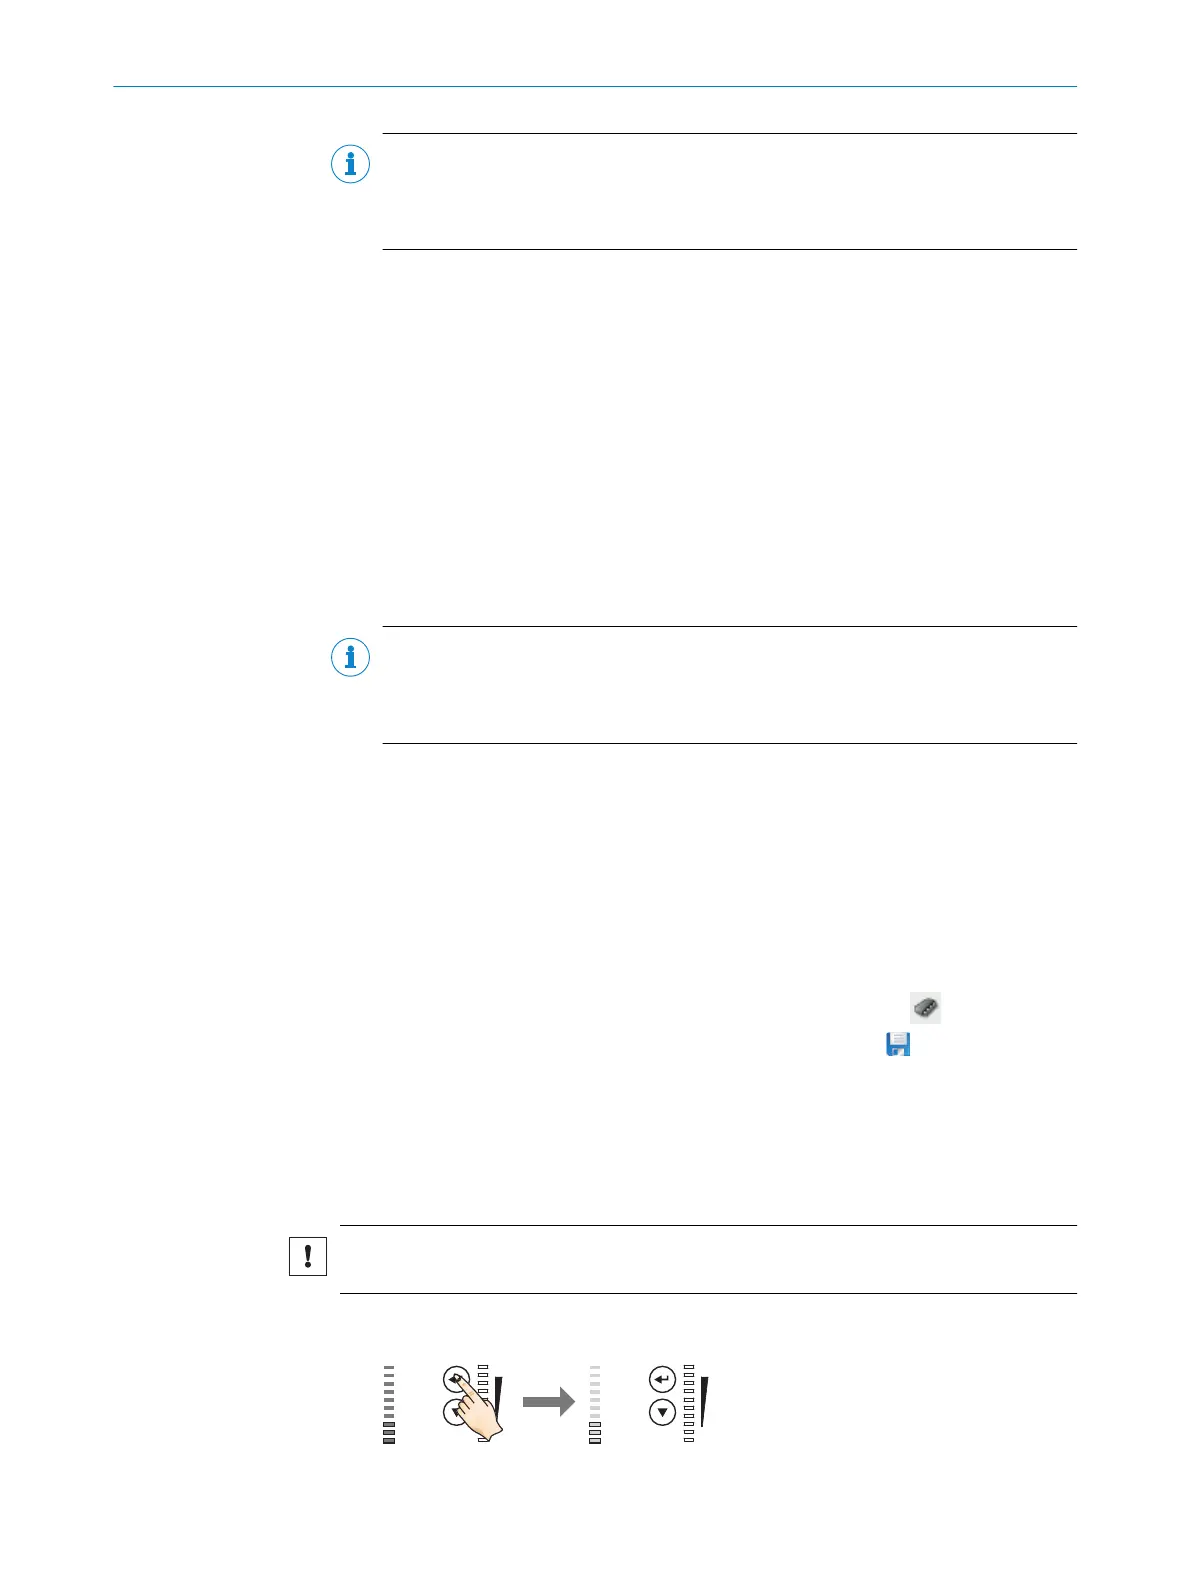
1. Start Setup mode.
Press key 3 seconds 1
0%
100%
Ready
Result
FB|ERR|MS
|Tst
|Tch
|Usr
|A-S
SF|RUN|NS
L/A P1 FB
L/A P2 FB
L/A P1 GbE
L/A P3 GbE
Funct
Light
0%
100%
Ready
Result
FB|ERR|MS
|Tst
|Tch
|Usr
|A-S
SF|RUN|NS
L/A P1 FB
L/A P2 FB
L/A P1 GbE
L/A P3 GbE
Funct
Light
O
1 Press the p function button for 3 seconds
7 COMMISSIONING
48
O P E R A T I N G I N S T R U C T I O N S | Lector64x/65x Flex, Lector65x Dynamic Focus 8016185/19E9/2020-10-21 | SICK
Subject to change without notice