Configuration
81
Siemens Building Technologies
Fire Safety & Security Products 03.2007
2. Highlight the box beside Time Server and press the button.
3. Change the numbers by highlighting them and using the Up and Down arrow
buttons to increase or decrease the number value.
4. Highlight the box beside Interval and press the
button.
5. Set the time interval for synchronization from 30 minutes to 1 day at various
time intervals.
Î Last Sync-Time displays the last time the DVR was synchronized with the
time server.
6. Highlight Run as Server and press the
button.
Î Pressing the button toggles between On and Off. When it is On, the DVR
you are setting up will run as a time server.
Î You can save your changes by highlighting Save and pressing the button.
Î Selecting Cancel exits the screen without saving the changes.
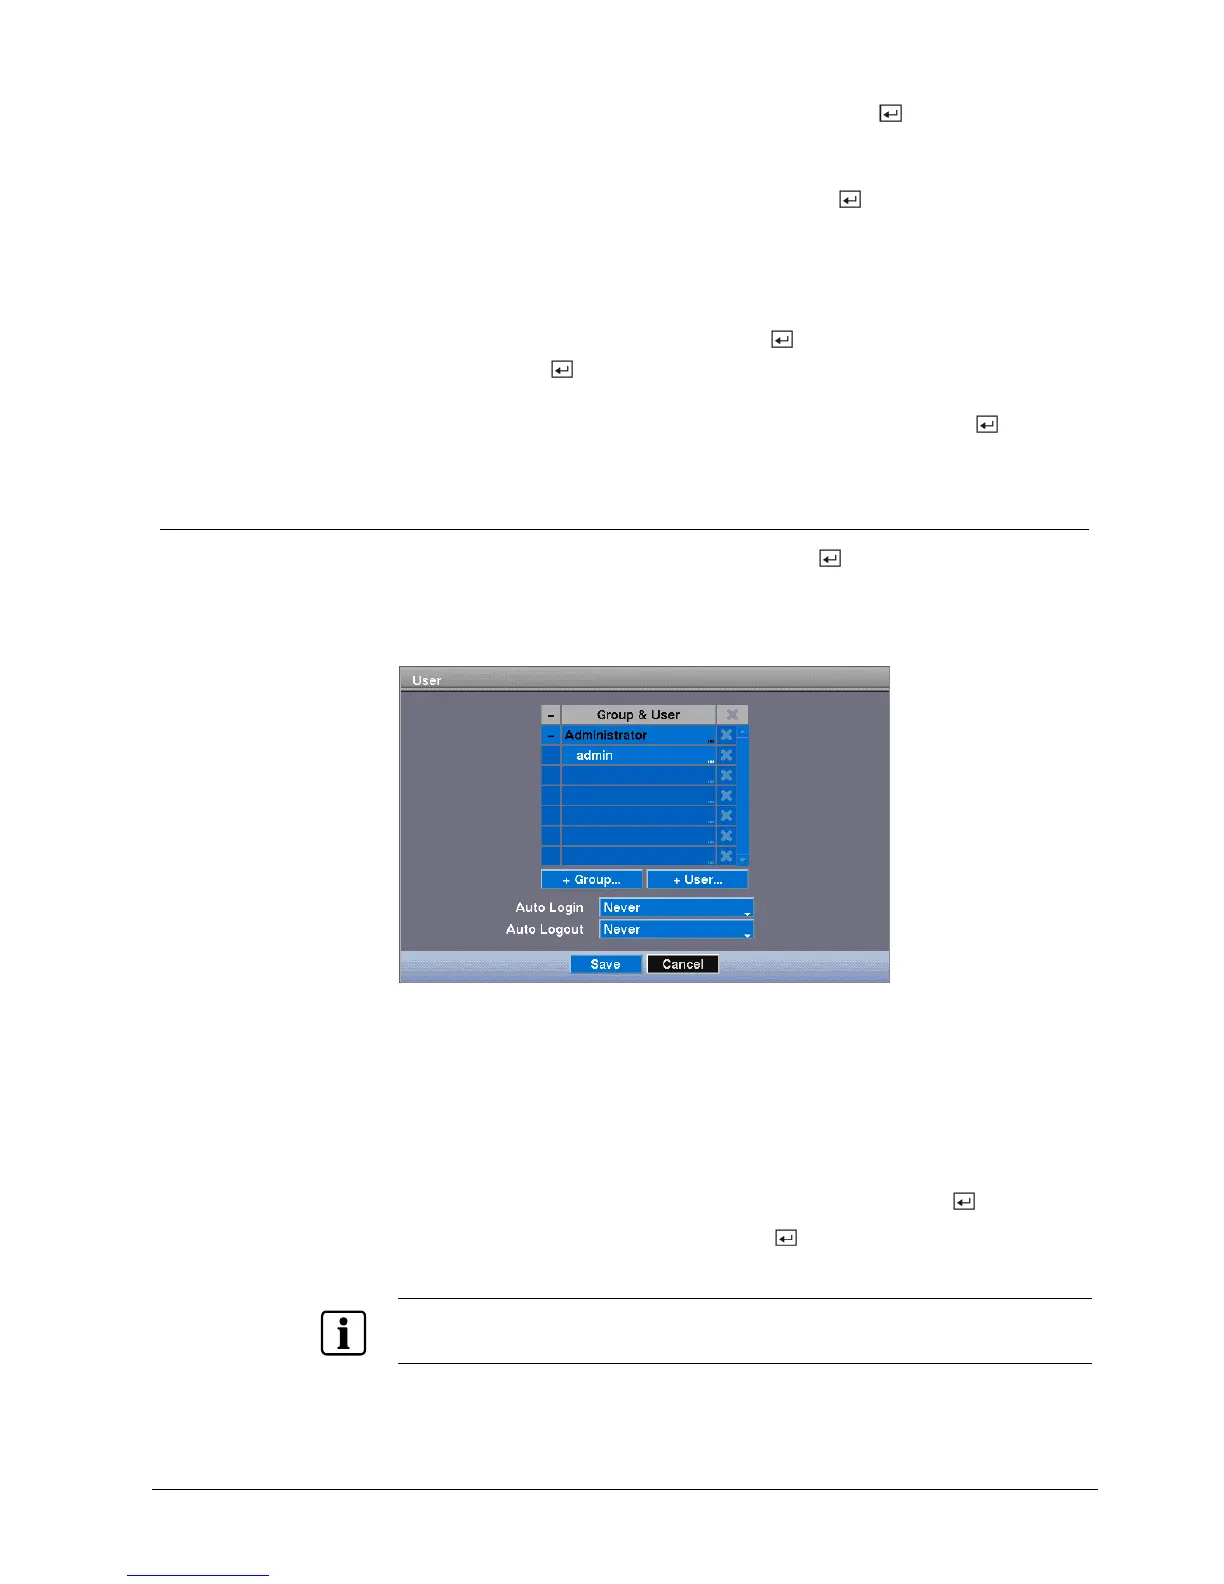
8.11.3 User setup screen
Highlight User in the System menu and press the button.
Î The User setup screen displays the authorized groups and users.
Î You can add and delete groups and users. When adding a group, you can
assign authority levels to the group.
Fig. 94 User setup screen
The +/- column is used to collapse and expand user groups. If there is a "+" or "–"
in this column, it indicates the item is a Group Name. If there is a "–" in front of the
Group Name, it indicates that the group has been “expanded” and all of the User
Names within that group are displayed below the Group Name. If there is a "+" in
front of the Group Name, it indicates that the group has been “collapsed” and all of
the User Names within that group are hidden. To collapse or expand a group,
highlight the +/- column in front of the desired group and press the
button.
Highlighting a Group Name and pressing the
button allows you to change the
authority levels assigned to the group.
NOTE
Write down the new password and save it in a secure place. If the password is forgotten, the unit must
be reset using the Factory Reset button and all data settings will be lost.
 Loading...