02
Easy Operation Guide
50
2
-
3
Basic workflow of printing and cutting
This section describes steps for using Silhouette Studio up to printing and cutting.
There are the following three ways to create cut lines (contour lines).
Pattern
1
. Using the Drawing Tool to create cut lines
Operation method
1
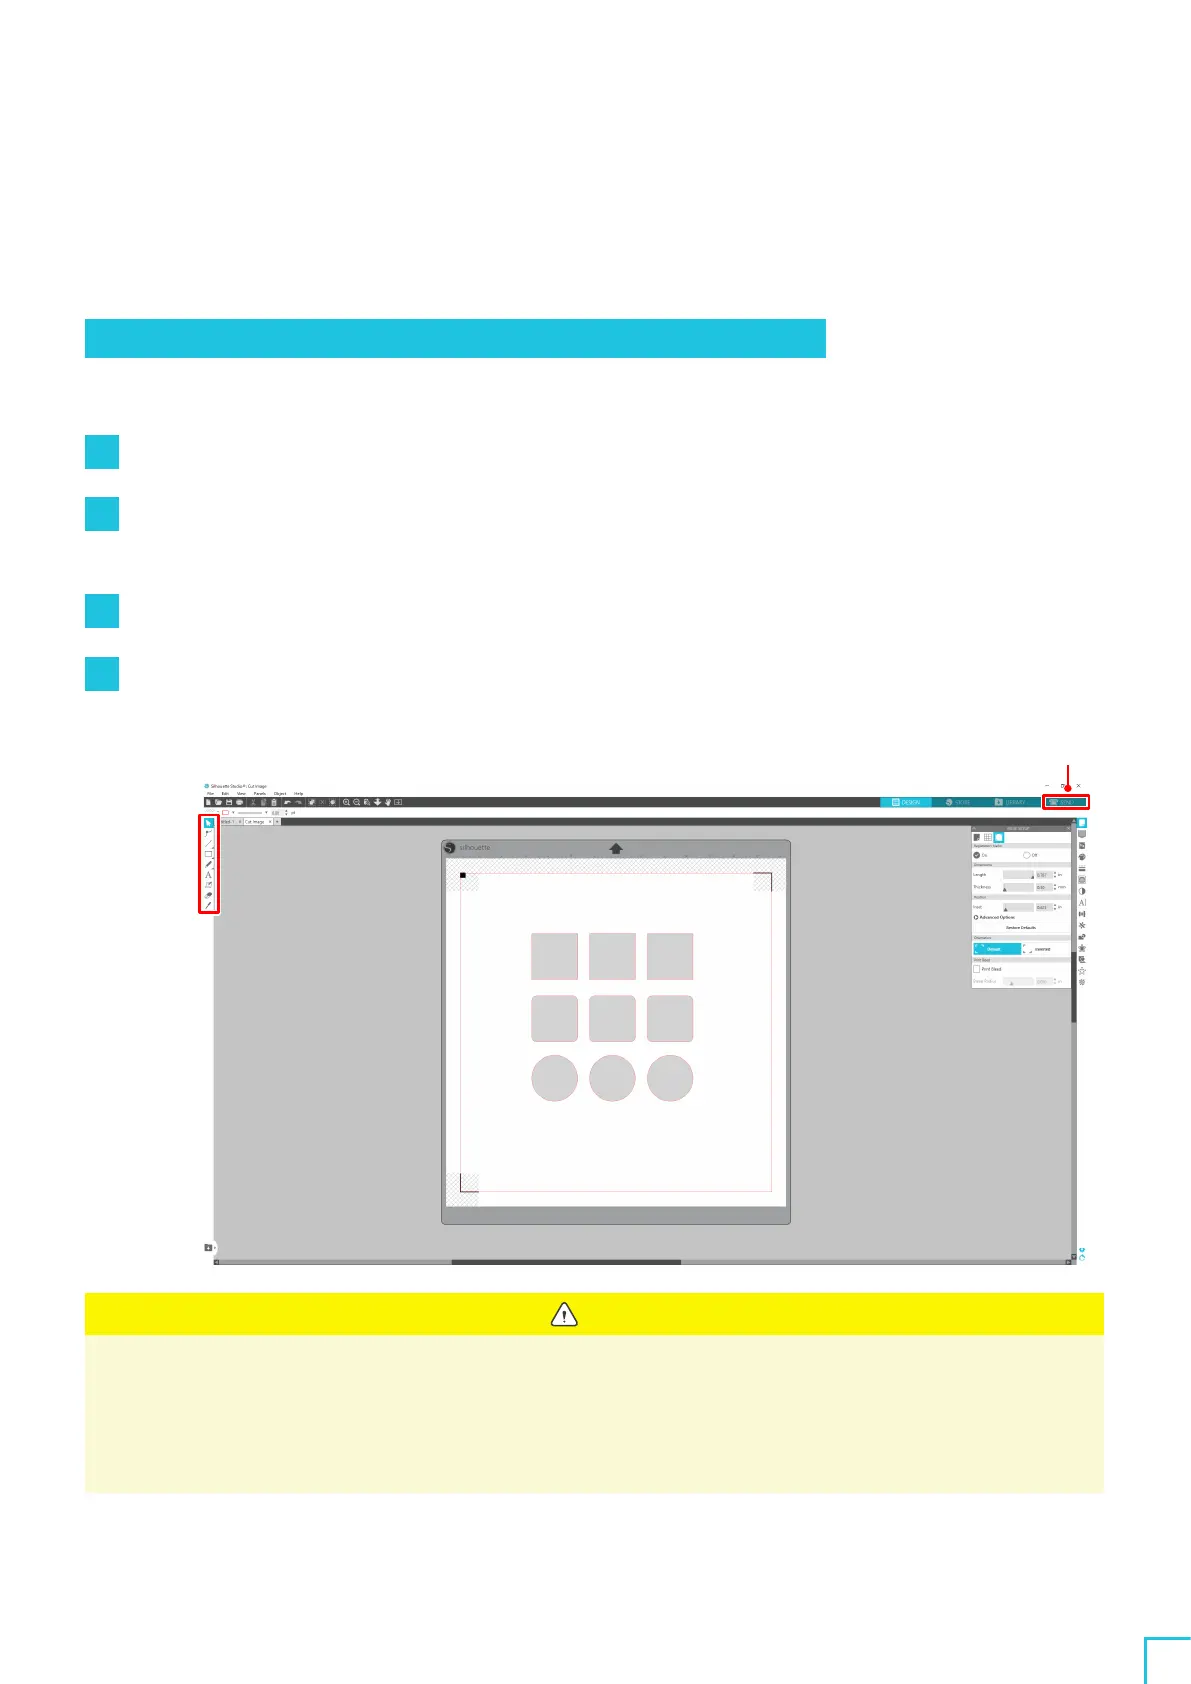
Use "Drawing Tool" on the left to draw figures.
2
On the Page Setup Panel, select the "Registration Marks" tab and set the thickness and length of the
registration marks.
3
Print the design data.
4
Cut the printed media.
Click the "SEND" tab on the top right of the Silhouette Studio screen.
Drawing Tool
SEND tab
Note
<How to add registration marks (alignment marks)>
•
Do not place your design in the shaded area. It may cause registration mark scanning errors.
•
If the registration marks are too small, the scanning may fail.
•
Arrange the registration marks and then print them with the printer.
•
Do not change the registration marks or design after printing. The cutting position will shift.
 Loading...