50
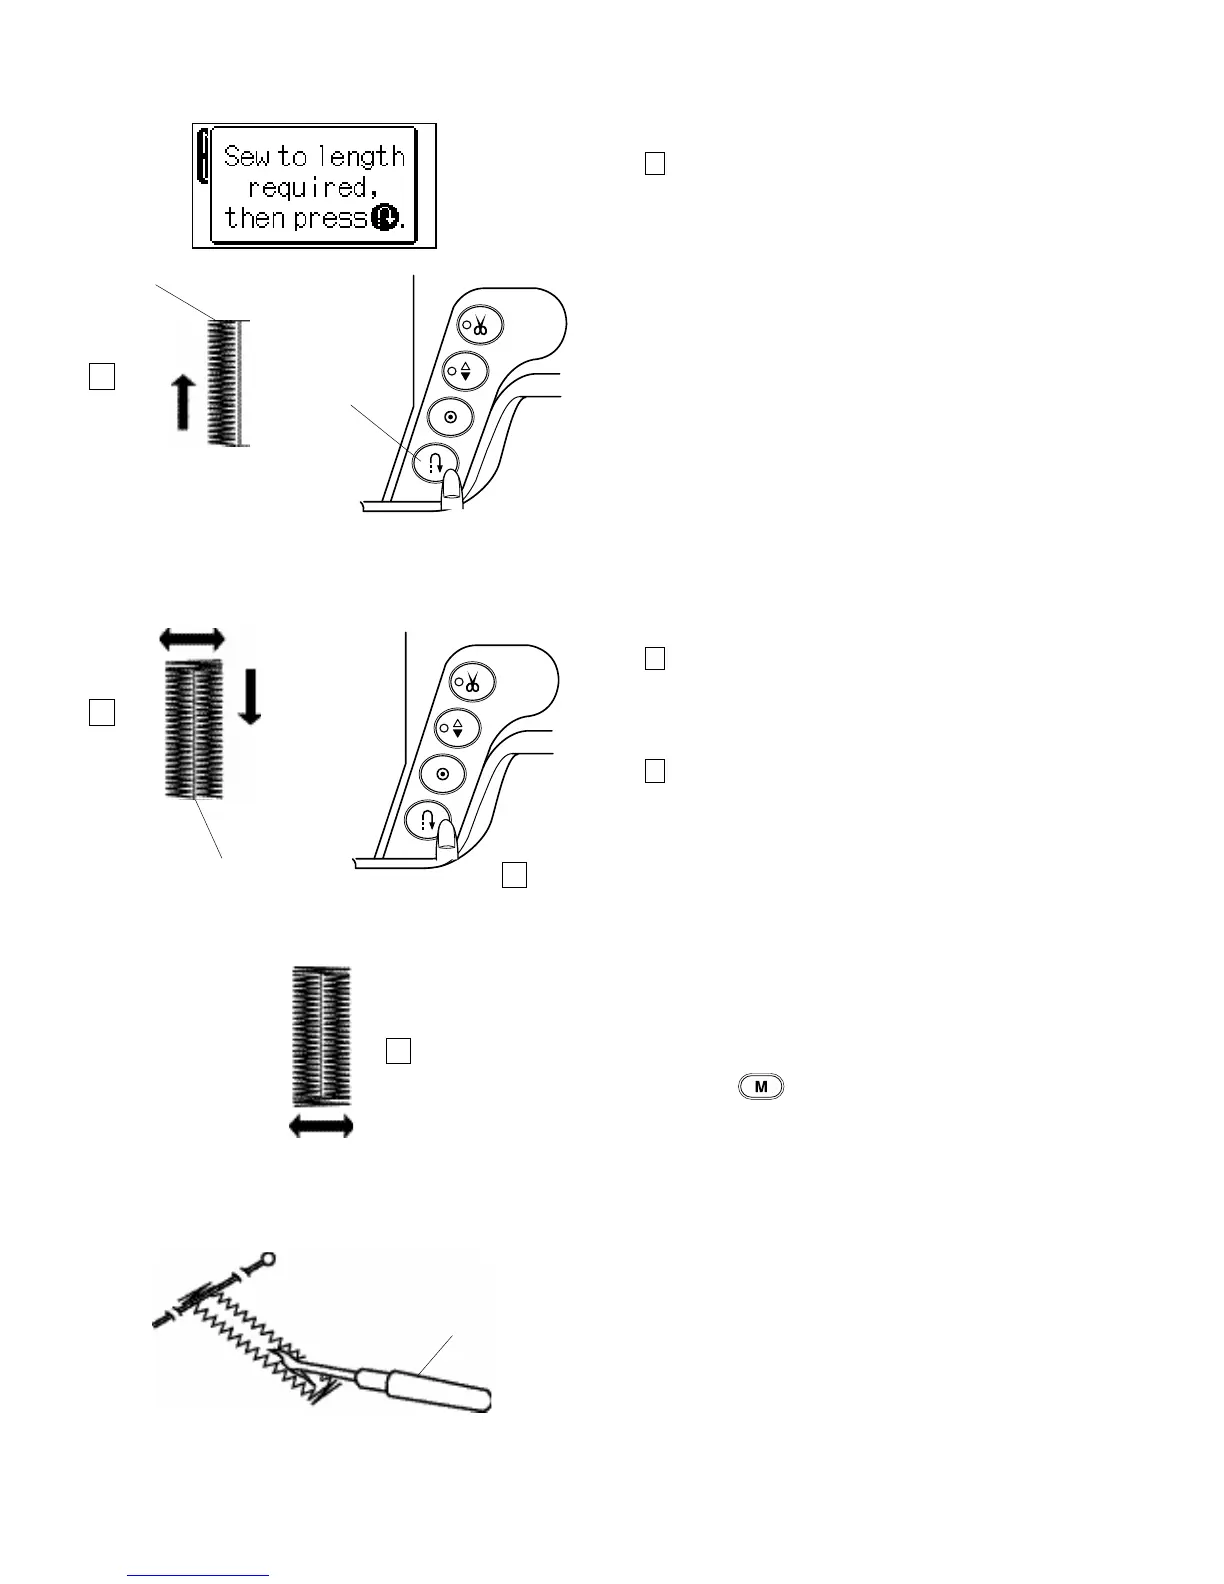
Step 3
Depress the foot control to sew the left side up to the
required length of the buttonhole.
Stop the machine and press the reverse button.
4 Required length
5 Reverse button
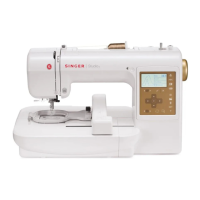
Step 4
Depress the foot control to sew the right side of
buttonhole. The machine will automatically bartack and
sew down the right side of the buttonhole.
Step 5
Stop the machine when you are directly opposite the
starting point.
Press the reverse button.
6 Starting point
7 Bartack and lock stitches
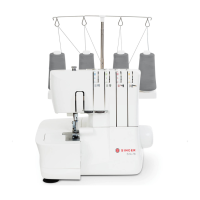
Keep the foot control depressed. The machine will sew a
bartack, lock the stitches and automatically stop when the
buttonhole is completed.
To repeat this size buttonhole, position the fabric and step
down on the foot control.
To sew the next buttonhole a different size, press the
memory button to memorize a new size and start
sewing from the beginning.
NOTE
You can not change the stitch density of a memorized
buttonhole.
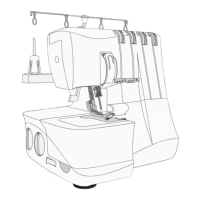
Cut the buttonhole opening with the seam ripper.
(Refer to page 46.)
7 Seam ripper
4
5
6
7
3
4
5
6