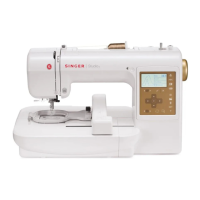
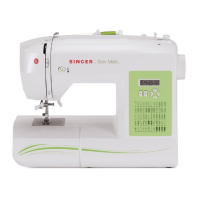
51
Button Sewing
Buttons can be sewn quickly and very securely with your
machine.
Machine Setting
Stitch pattern: 08 (Mode 1)
Thread tension: 3-7
Presser foot: Button sewing foot T
Foot pressure: 3
Feed dog: Dropped
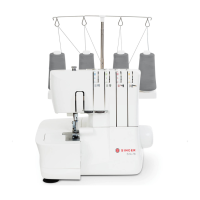
Attaching the button sewing foot T
Step 1
Attach the button sewing foot T by inserting the rear pin
on the foot into the groove of the presser foot holder.
Gently lower the presser foot lifter while holding the foot
with your fingers.
1 Rear pin
2 Groove of the presser foot holder
Step 2
Unthread the needle thread.
Step 3
Place a button on the fabric. Lower the needle by
turning the handwheel, so that the needle enters into the
left hole in the button.
Step 4
Align the holes in the button with the slot on the foot and
lower it to hold the button in place.
Step 5
Turn the handwheel to lower the needle into the right
hole in the button.
Adjust the stitch width if necessary.
To sew in place
Step 6
Re-thread the machine and sew about 8 stitches. Select
the auto-lock button. The needle will stitch in place to
lock the threads and the machine will stop.
NOTE
When the foot control is pressed an alarm will tell you
the feed dogs are down. Also the LCD screen shows a
warning to raise the feed dog. Disregard the warning and
continue to sew.
Raise the presser foot and remove the fabric.
Trim needle and bobbin threads at the beginning.
Cut remaining threads leaving 8” (20cm) tails.
Pull the bobbin thread on backside of fabric to bring the
needle thread to the wrong side of the fabric. Knot the two
threads to lock threads from coming unthreaded.
1 Needle thread at the beginning
2 Bobbin thread
3 Needle thread
1
2 3
2
1
1
3