61
PROGRAMMING STITCH PATTERNS AND
BUTTON FUNCTIONS IN MODE 2 AND 3
Programming Stitch Patterns and Button
Functions
Programming a Single Stitch Pattern with Auto-lock
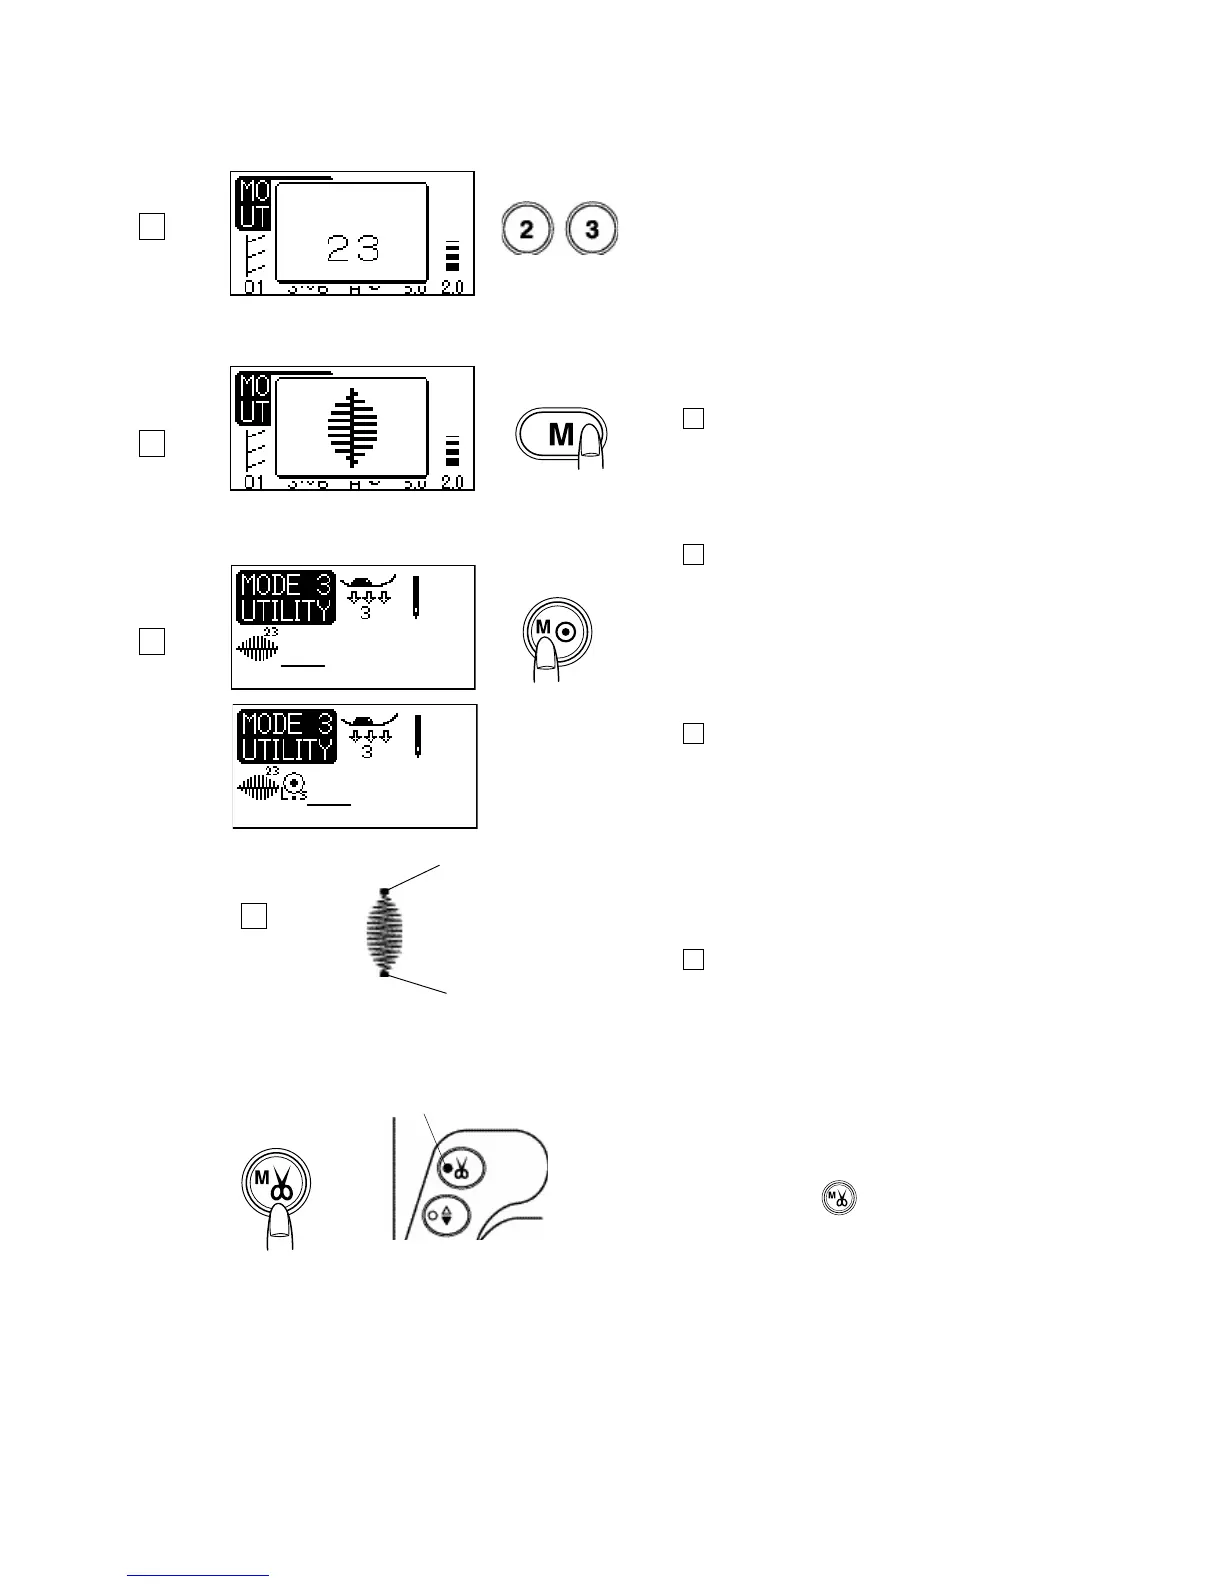
Stitch Pattern: 23 (Mode 3)
Thread tension: 3-6
Presser foot: Satin stitch foot F
Foot pressure: 2-3
Step 1
Select stitch pattern 23.
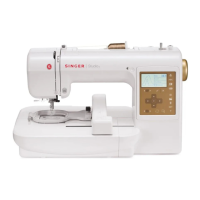
Step 2
Press the memory button.
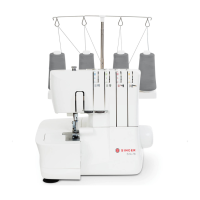
Step 3
Press the locking stitch button.
NOTE
No further patterns can be memorized after pressing the
auto-lock button.
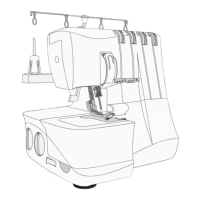
Step 4
Depress the foot control to sew.
The machine will lock the beginning of stitch pattern 23
and sew the pattern one time. At the end of the
pattern the machine will sew locking stitches and stop
automatically.
1 Locking stitch
1
1
Programming Tip:
Auto thread cutter
The LED signal will turn on when programmed in the
memory.
Press the auto-lock button at the end of sewing.
Programming the auto thread cutter after the
locking stitch and the machine will trim the threads after it
locks stitch 23 in place.
LED Signal
1
2
3
4