24
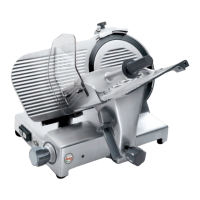
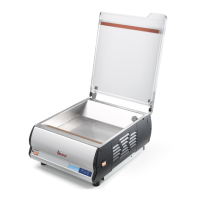
6.2.2 - Cleaning the blade, the bladeguard and the ring (see FIG.n°50-51-52)
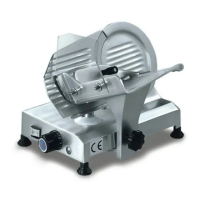
WARNING: a pair of metal gloves must be worn
wh
en cleaning the blade (1) (Fig. n°50) and use
a damp cloth. Unscrew the hand grip from the
bladeguard tie rod (1) and extract the bladeguard
(2) using the proper grip to hold it (Fig. n°50). At
this point it is possible to clean the blade Fig. n°
51. To clean the surfaces opposite the blade
and the ring, the blade must be extracted in the
following way:
1.
2.
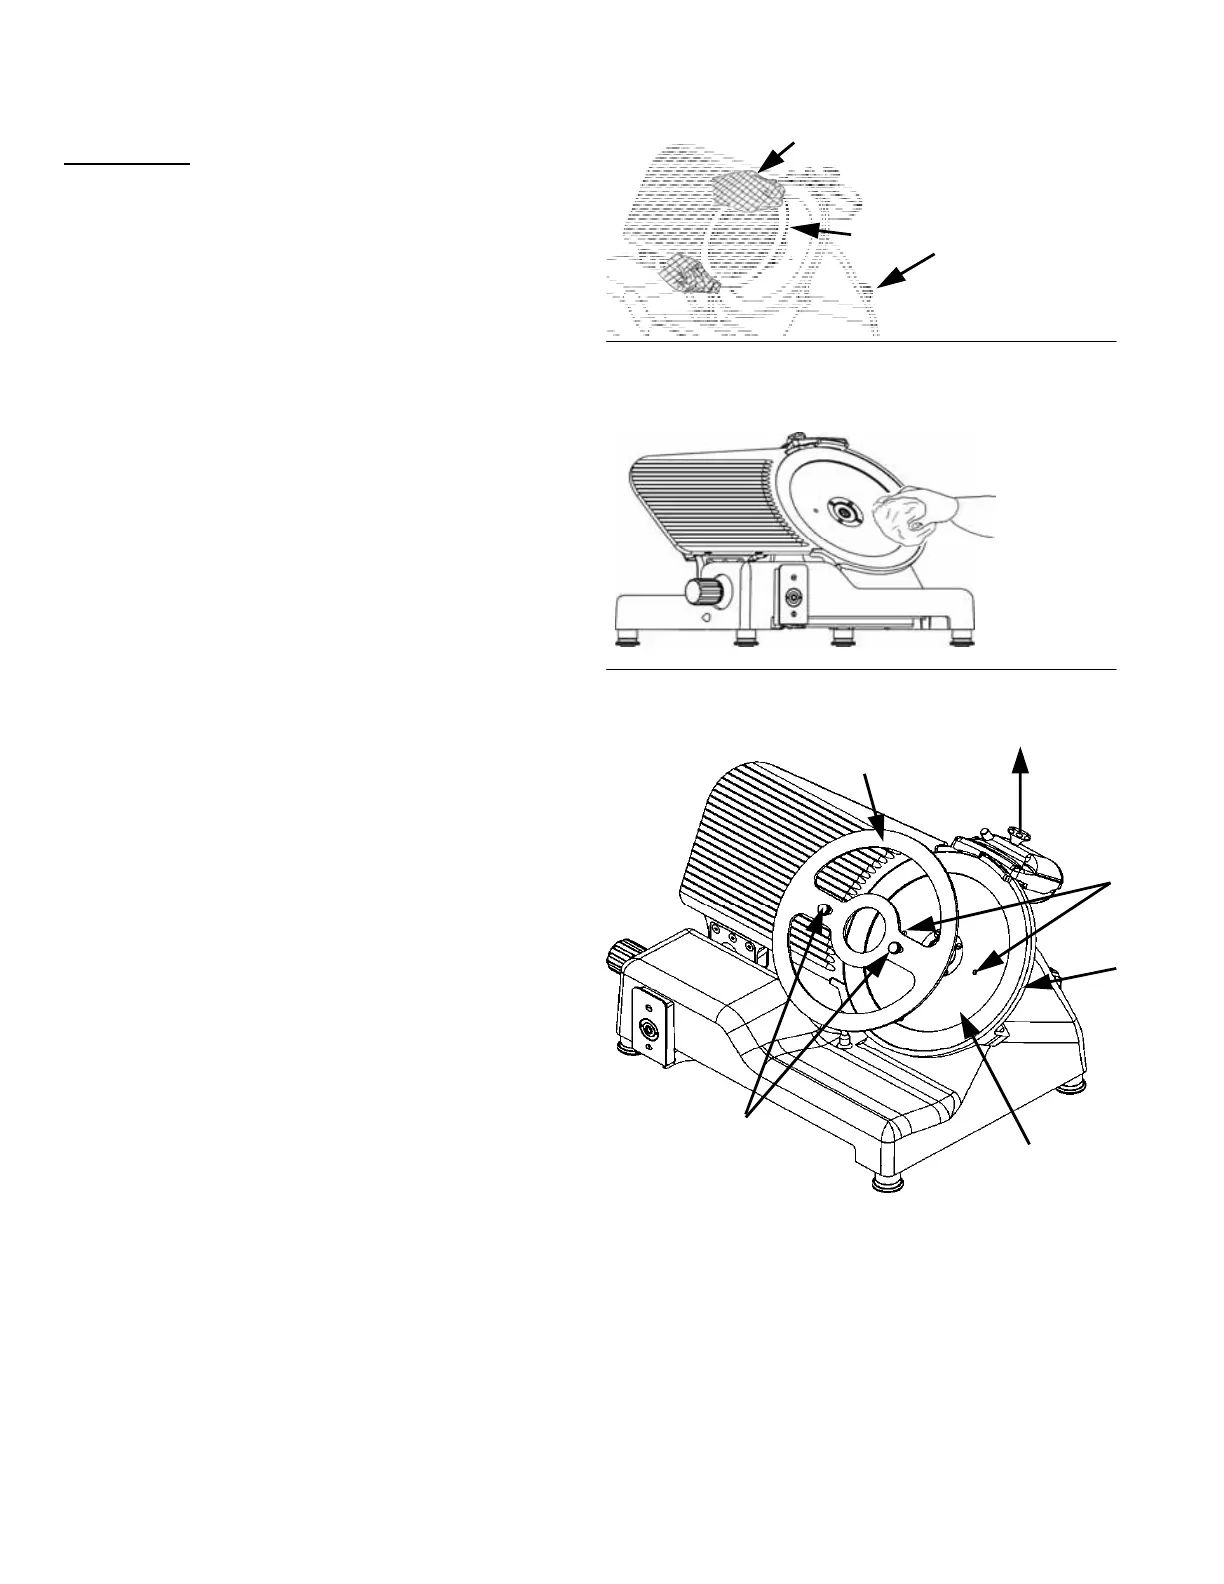
unhook the bladeguard (Fig. n°50); remove
the
sharpening device (Fig. n°52 ref. a) and
open, utilising the thickness selection
knob, the thickness gauge so that the jig
(Fig. n°52 ref. b) adheres to the blade;
3.unscrew the three or four screws (Fig.
n°52 ref. f), depending on the model, which
fasten the blade
in position;
4.
5.
position the jig (b) on the blade so that the
split in the jig fits in the ring (
Fig. n°50 ref. c);
match the axes of the two holes (Fig. n°52
ref.d) on the blade with the two knobs(Fig. n
°52 ref.e) on the jig, simply making the
blade turn to the desired position;
6.screw the two knobs (e) without
excessively tightening them.
N.B. The bladeguard must be cleaned with
warm water and the detergent provided or
with a warm water and neutral detergent
(pH 7) solution.
Fig. n°50
Fig. n°51
Fig. n°52
3
2
1
a
d
f
b
e
c
 Loading...