Chapter 2
Installing and securing your interactive whiteboard
smarttech.com/kb/001414 17
To wall-mount your interactive whiteboard
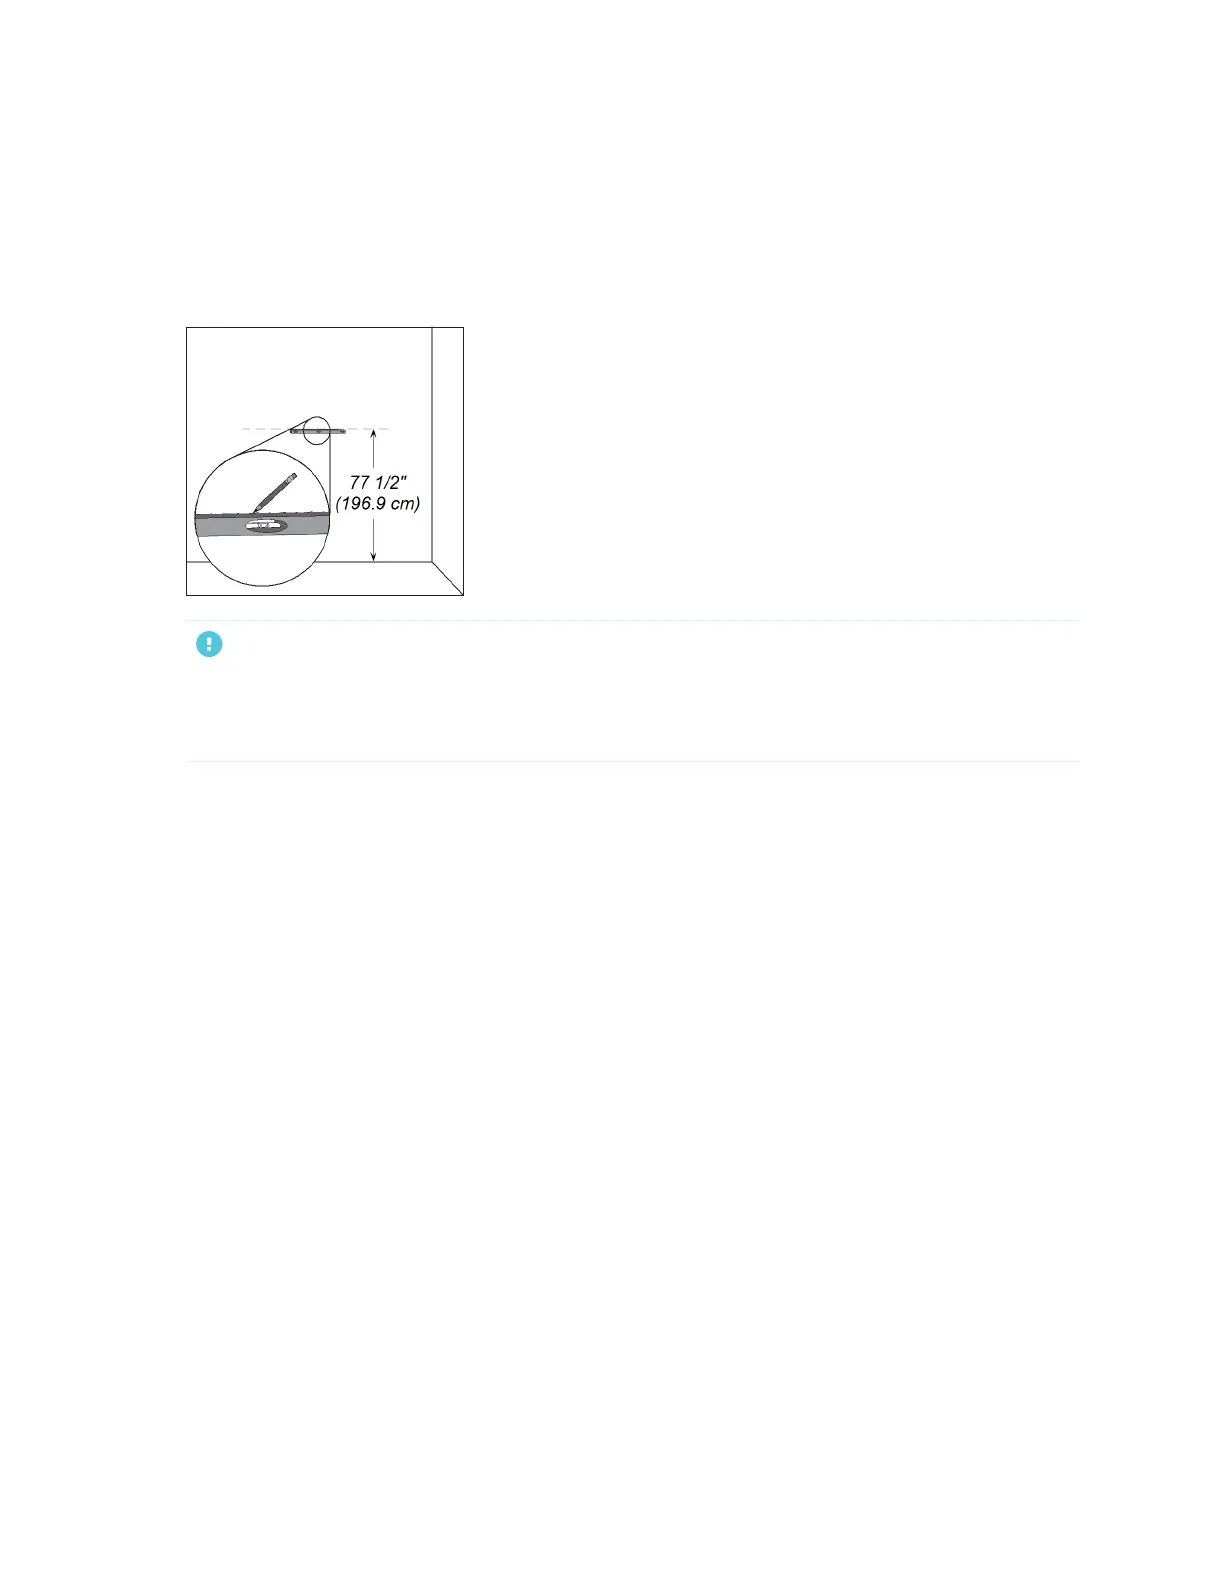
1. Using a pencil, a carpenter’s level and a ruler or measuring tape, draw a horizontal line on the wall,
centered on the mid-point of your interactive whiteboard’s future position. If your projector is already
mounted on the ceiling, this is roughly the center of your projected image.
IMPORTANT
The illustration shows a common height for adult users of SMART Board 680, D680, 685, D685, 690
and D690 interactive whiteboards. Refer to Recommended heights for wall-mounting on page13 for
recommendations for other models and audiences.
 Loading...