Chapter 2
Installing and securing your interactive whiteboard
smarttech.com/kb/001414 18
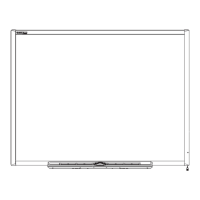
2. Using the mounting bracket as a template, mark the location of the five mounting holes on the wall.
OR
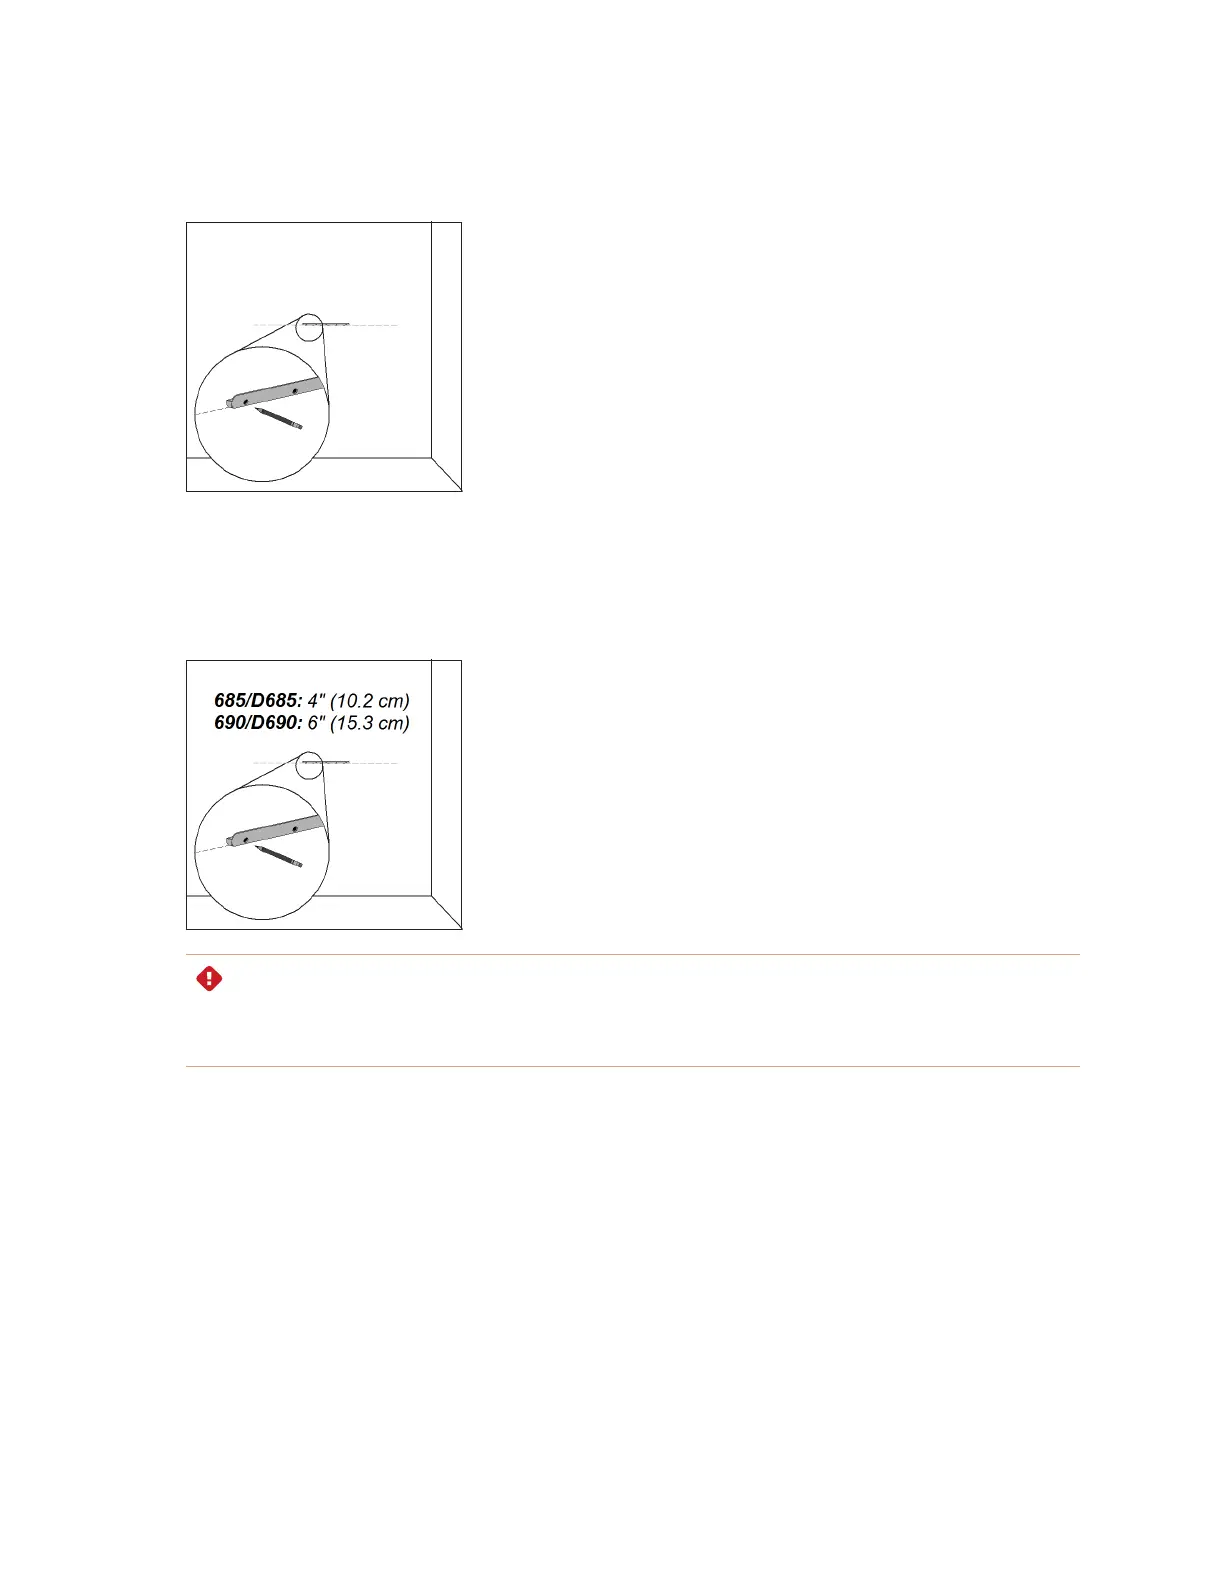
If you’re installing a SMART Board 685/D685 or 690/D690 interactive whiteboard, space your wall-
mounting brackets’ innermost screw holes 4" (10.2 cm) or 6" (15.3 cm) apart respectively, and then
mark the location of the 10 mounting holes on the wall, as illustrated.
WARNING
Use two wall-mounting brackets to install your SMART Board 685/D685 or 690/D690 interactive
whiteboard. Using only one bracket could result in personal injury or product damage.