General saftey information
2. Connect the other ends of the USB cables to USB connections on the rear of your computer.
3.
Connect the scanner to a power source via the mains connection on the rear.
4.
Now switch the scanner on at the mains switch.
5. Now first switch the scanner off again and continue by installing the computer and operating
software.
Install the computer following the installation instructions of the computer manufacturer.
As each scanner has been calibrated individually at the factory, the data on the installation
CD is valid only for the corresponding scanner. This calibration data contains a code that
can be enabled only by the corresponding scanner. Therefore, compare the serial number
indicated on the data plate of the scanner with the serial number indicated on the CD to
make sure they match before installation.
If you have mistakenly installed an incorrect version of the software, you must uninstall the incorrect
version first.
If you are installing the Activity software on your computer for the first time, use the installation CD
provided with the scanner.
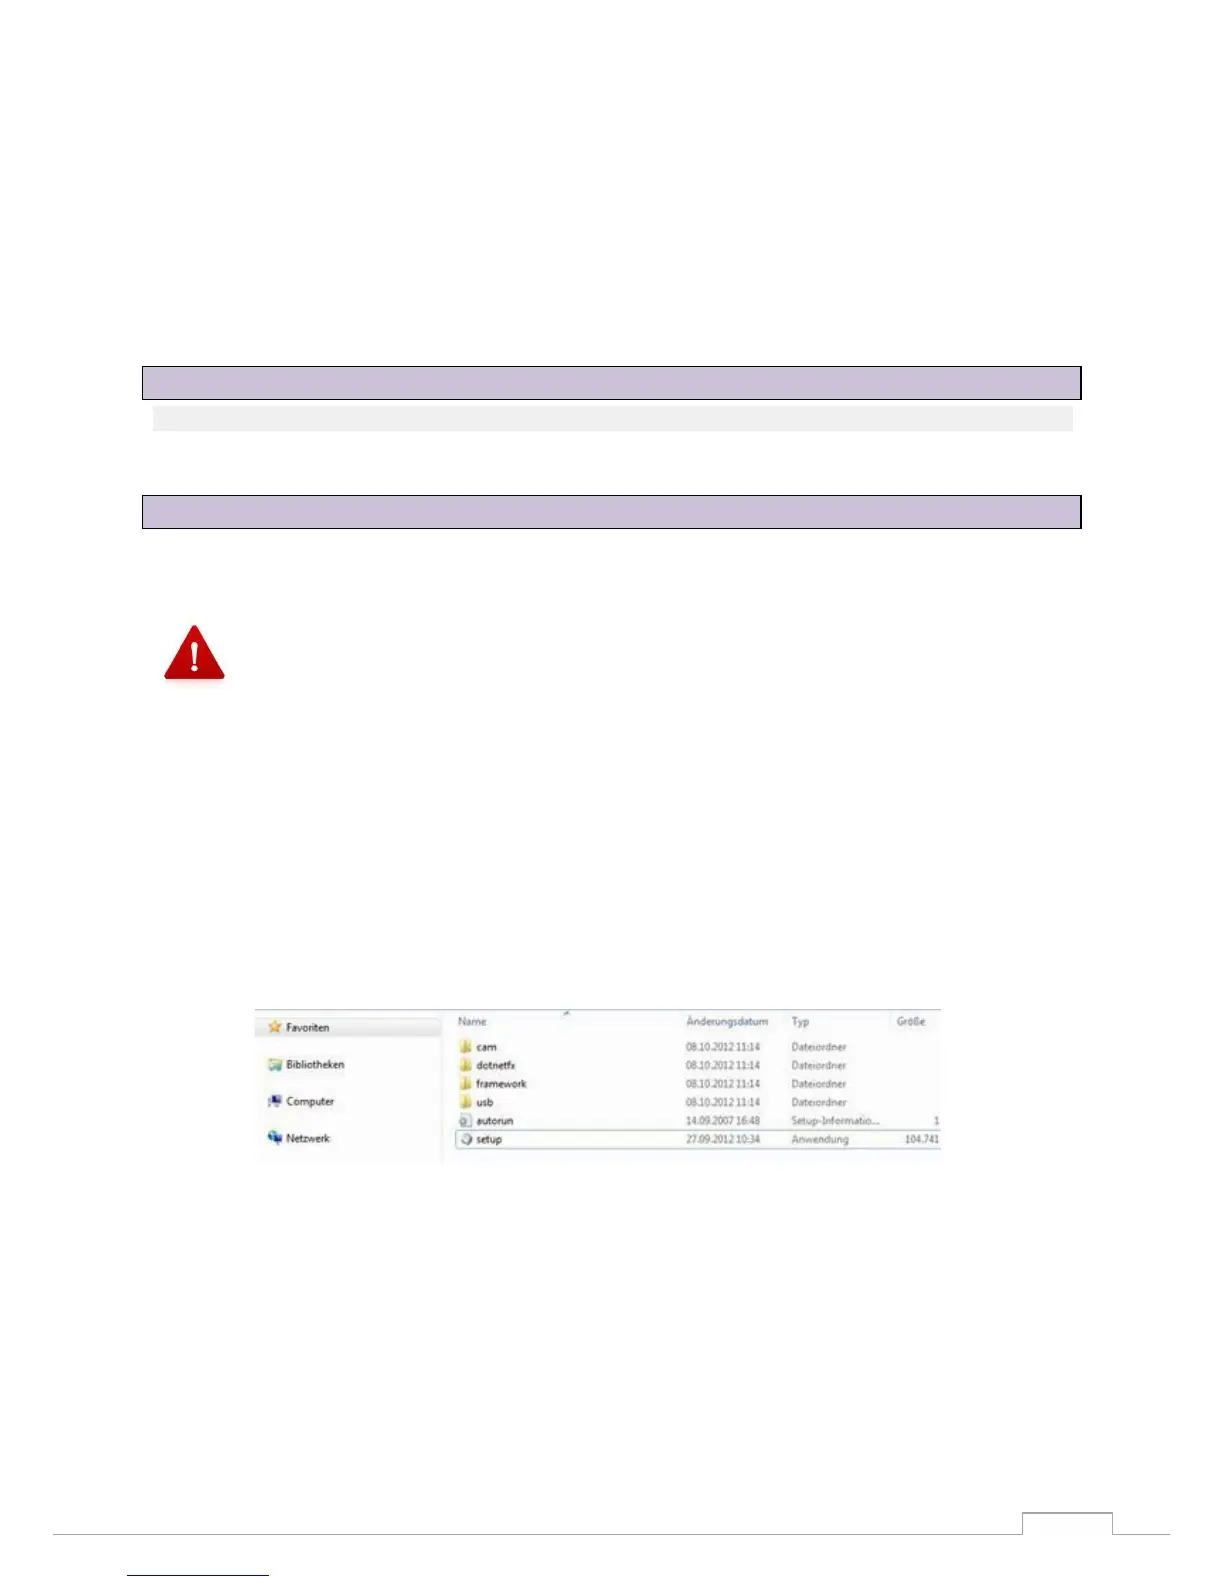
A window will open after inserting the CD. The "Setup" icon opens and must be selected to start the
installation.
Figure 5: set up/Installation
Now select the required language (Fig. 6) and confirm your selection with the "Next" icon (Fig. 7).
9.2 Installing the computer
9.3 Installing the software