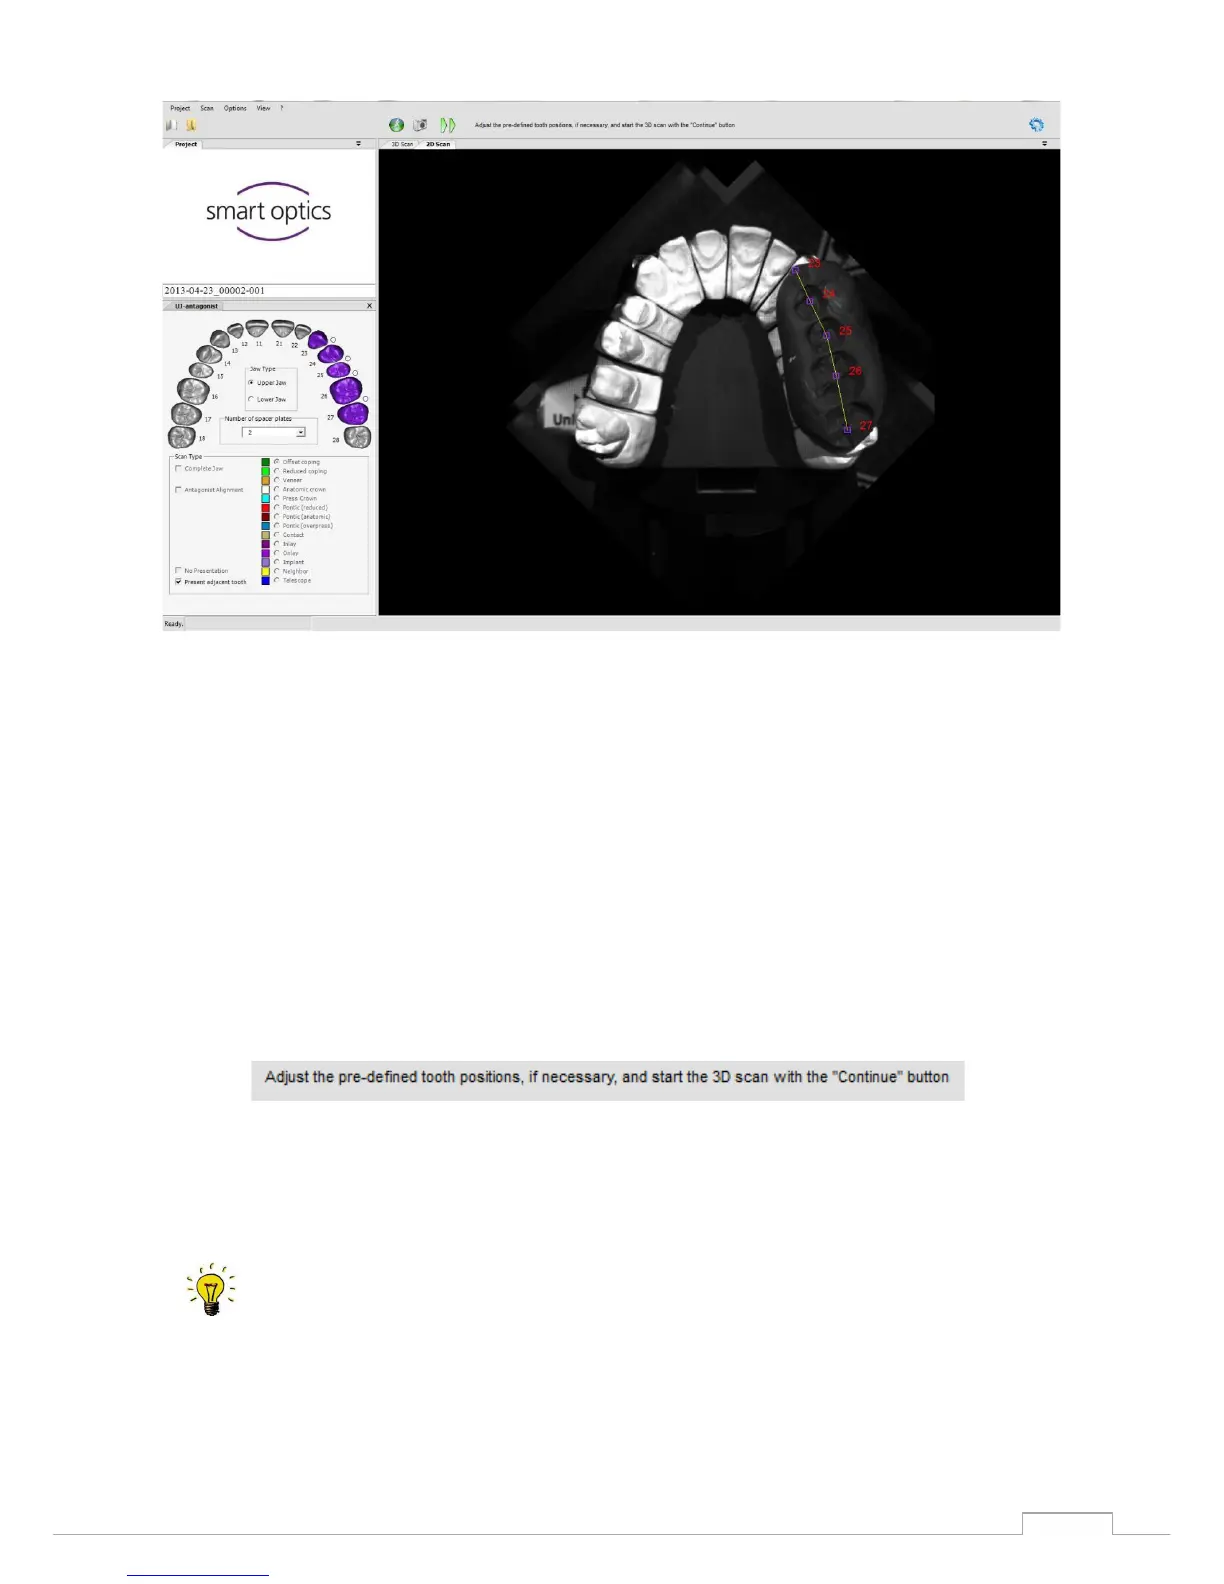
Coloured squares will appear simultaneously in the preview. (See fig.33)
These squares indicate the scan area of the tooth/ squeeze occlusion. The respective colour scheme is
the same as the selected scan strategy/ scan type in the tooth schema on the left-hand side. By
pressing the left mouse button, you can slide these squares so that they centre on the respective tooth
stump/ squeeze occlusion. The scan software can now recognise the position of the tooth/squeeze
occlusion and will apply the respective scan strategy for these coordinates.
The software will indicate the next steps in the workflow
(See fig.34)