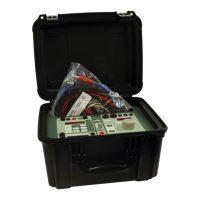
SECTION 3: ADVANCED CONTROL
Introduction
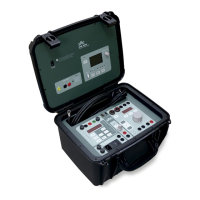
If you press the button marked “Advanced Control” on the
right-hand column of the main screen you access a set of
advanced test functions that enable the user to quickly and
simply carry out a series of tests types that are very typical
for protection relays. These tests permit determining the
state of the relay and obtaining readings and results of
different relay parameters under different test conditions that
can be configured entirely by the user.
There are two screens in all the functions that comprise the
Advanced Control. One of them, which appears when you
select the Function is called “Graphic” or test configuration,
where the graphic appears that explains what the function
will do as well as the controls necessary to configure it
correctly. The other screen is the “Execution” screen, which,
when selected, shows a graphic of what the equipment is
doing. This screen moves in real time enabling the operator
to see how the test he has configured is carried out. One or
several vertical yellow-colored lines appear on the graphic of
the execution screen, when this ends, indicating the time
when the TRIP condition selected occurred. Depending on
where these TRIPs occur, (expected or not expected) the
function will stop or not, but in any case all the TRIPS will be
shown, be they valid or not to stop the test.
How to select values, times, etc. will not be described in this
chapter, as this has been described in depth in section 1
(Basic Control). One of the great advantages of the Mentor 12 is precisely this. The use
of all the controls is shared by all the functions so they are extremely easy to use, once
you know the setting and control process.
Not only the levels and angles of the analog power outputs can be configured in all the
Advanced Control Functions, but also the state of the different digital binary outputs.
The latter can be configured by pressing the rectangle that contains the 8 digital outputs
 Loading...