Antenna cable from the communication board
RS485 connection from the communication board
Grounding cable
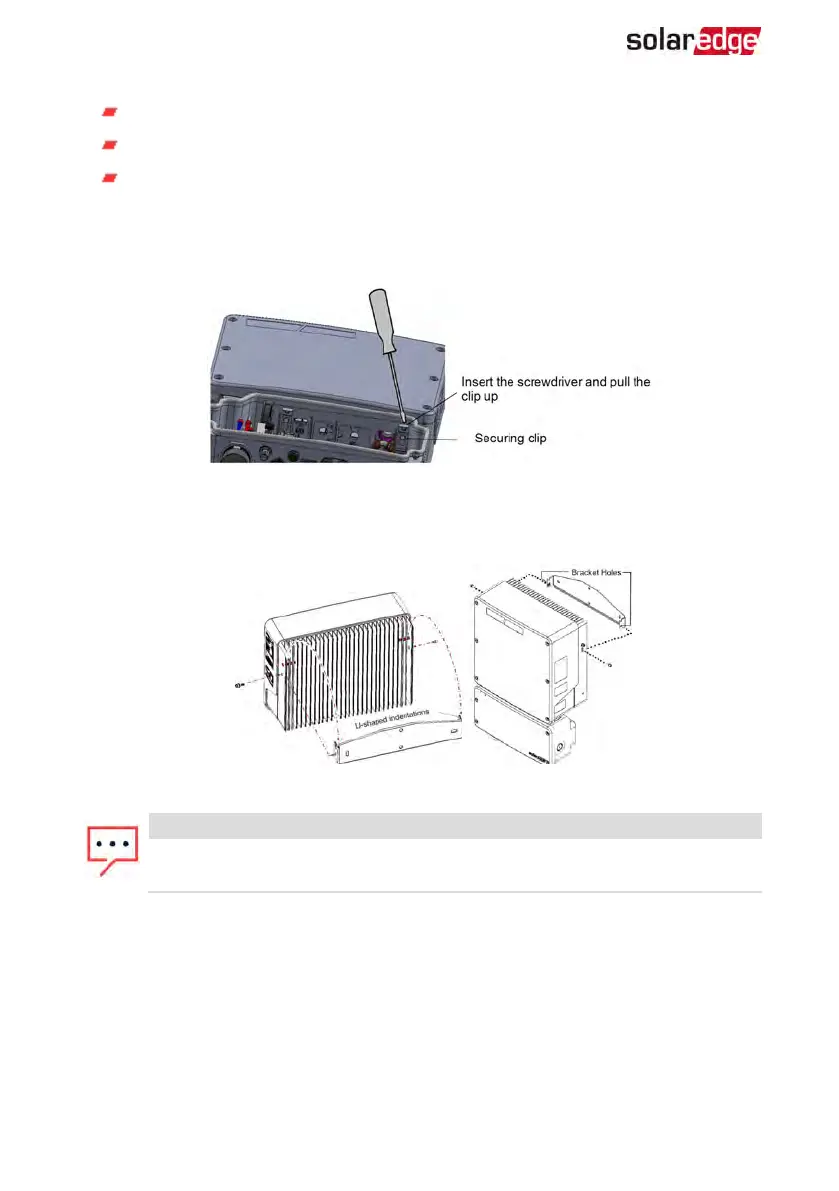
8.
Disconnect the Connection Unit from the inverter by opening the two clips securing
the Connection Unit to the inverter: Carefully place a screwdriver between the clip
and the enclosure and pull the clip.
Figure 30: Disconnecting the Connection Unit from the inverter
9.
Remove the screws securing the inverter to the mounting brackets and lift the
inverter from the mounting bracket.
Figure 31: Mounting brackets
NOTE
If you remove the old inverter and do not immediately install a new one, use
insulation tape to isolate each of the AC and DC wires
10. Place the new inverter on the mounting brackets and secure it using the screws.
11. Insert the wires from the Connection Unit into the openings in the inverter and the
ferrite bead.
12. Fasten the two clips securing the Connection Unit to the inverter.
13. Reconnect the cables: Follow the instructions of
Installing the Inverter
on page 22.
14. Close the inverter and Connection Unit covers.
EV Charging Single Phase Inverter Guide MAN-01-00583-1.5
72 Replacing an Inverter