18
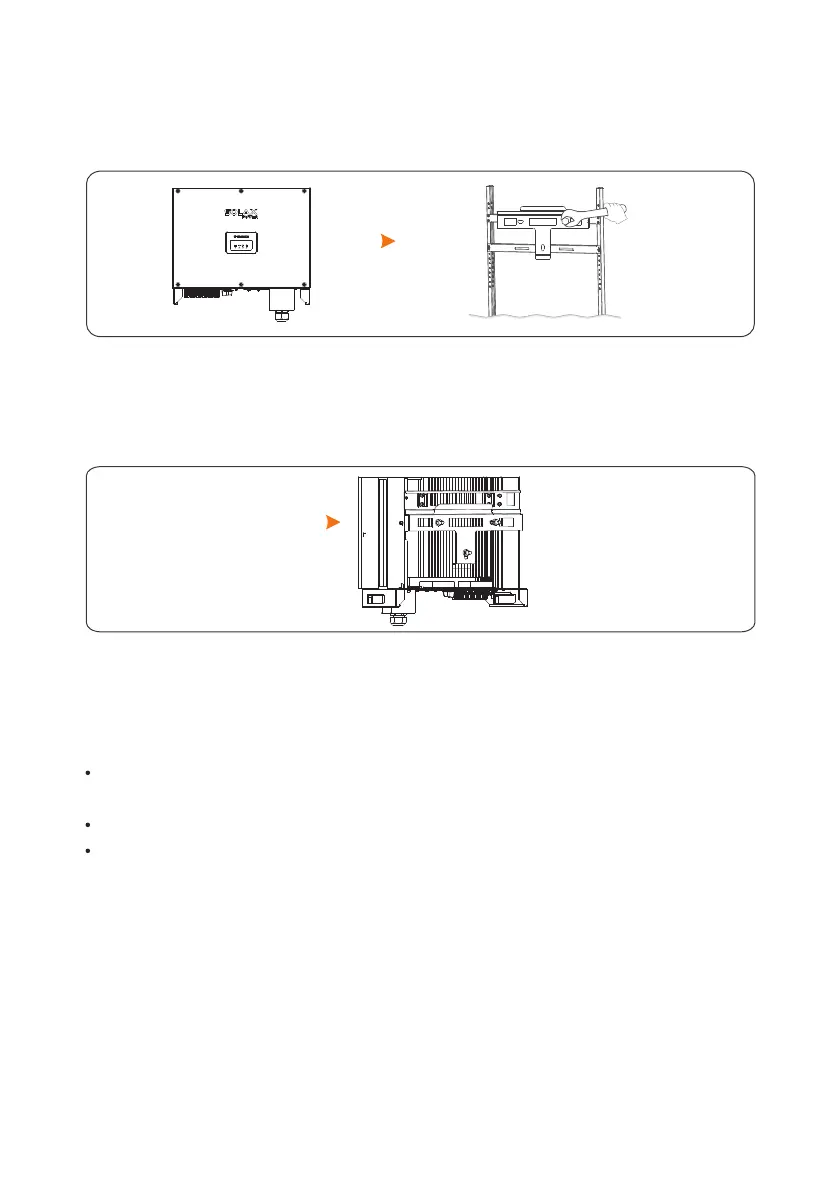
Step 2 , as shown
Mount the inverter on the rear panel and keep them aligned with each other
in Figure 4 11..
Step 3
Tighten one screw at the right of the inverter and the retaining screw on the rear panel,
and ensure that they are secured
, .as shown in Figure 4 12.
Figure 4 11 Mounting the inverter.
Figure 4 12 Securing the inverter.
The required torque is 3 N·m
Ensure that the supporting points (on the rear side of the inverter) align with the holes of
the support
;
;Ensure that the inverter is well fixed
.Ensure that the inverter is locked on the support
4 6 Installation Self-check.

 Loading...


