5-24
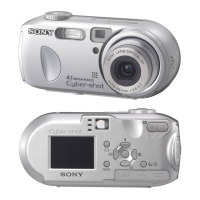
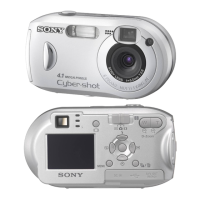
DSC-P31/P31M
12. Auto White Balance 5800K Standard Data Input
Adjust the white balance standard data at 5800K.
Mode CAMERA
Subject Clear chart
(Standard picture frame with the
zoom lens at WIDE end)
Adjustment Page F
Adjustment Address 88 to 8F, A0 to A3, B1, B3
Note 1: Check that the data of page: 6, address: 02 is “00”.
If not, turn the power of unit OFF/ON.
Note 2: “Auto White Balance 5800K Standard Data Input” is
available only once after the power is turned on. Turn the
power off, then on again if the adjustment is retried.
Adjusting method:
Order Page Address Data Procedure
1
Place the C14 filter on the
lens.
2
Perform “Data setting during
camera system adjustment”.
(Refer to page 5-13)
3
Perform “Picture Frame
setting ”. (Refer to page 5-14)
4F A0 2A Press PAUSE button.
5F A1 A0 Press PAUSE button.
6F A2 61 Press PAUSE button.
7F A3 00 Press PAUSE button.
86 B603
97 5D
Read the data, and this data
is named D
5D
.
10 6 13 D
5D
11 6 37 08
12 601A5Press PAUSE button. (Note 3)
13 6 02
Check the data changes to
“01”.
14 6 01 00 Press PAUSE button.
15 6 37 07
16 601C3Press PAUSE button. (Note 3)
17 6 02
Check the data changes to
“01”.
18 6 01 00 Press PAUSE button.
19 7 5E
Read the data, and this data
is named D
5E
.
20 6 13 D
5E
21 6 37 0A
22 601A5Press PAUSE button. (Note 3)
23 6 02
Check the data changes to
“01”.
24 6 01 00 Press PAUSE button.
25 6 37 09
26 601C3Press PAUSE button. (Note 3)
27 6 02
Check the data changes to
“01”.
28 6 01 00 Press PAUSE button.
RadarWRadarWRadarW
Order Page Address Data Procedure
29 7 5F
Read the data, and this data
is named D
5F
.
30 6 13 D
5F
31 6 37 0C
32 601A5Press PAUSE button. (Note 3)
33 6 02
Check the data changes to
“01”.
34 6 01 00 Press PAUSE button.
35 6 37 0B
36 601C3Press PAUSE button. (Note 3)
37 6 02
Check the data changes to
“01”.
Note 3: The adjustment data will be automatically input to page:
F, address: 88 to 8F, A0 to A3, B1 and B3.
Processing after Completing Adjustment:
Order Page Address Data Procedure
16 01 00 Press PAUSE button.
26 1300
36 3700
46 B600
5
Release the data setting
performed at step 2. (Refer to
page 5-13)
6
Remove the C14 filter on the
lens.