1-29
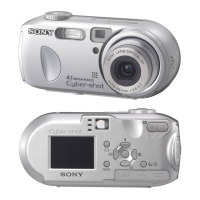
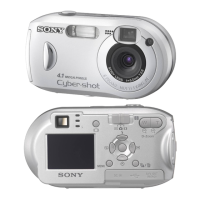
DSC-P31/P31M
62
To cancel Spot light-metering
Press the MENU button again and select
“” using b/B on the control button,
select “OFF” then using v/V. The Spot
light-metering aiming point disappears, and
the camera returns to normal light-
metering.
For the DSC-P31
a Turn the Mode dial to , SCN,
or
.
b Press B () on the control
button to turn Spot light-
metering on.
The Spot light-metering aiming point
is displayed.
c Aim the Spot light-metering
aiming point at the spot you
want to shoot, then shoot your
image.
To cancel Spot light-metering
Press B () on the control button to turn
Spot light-metering off. The Spot light-
metering aiming point disappears, and the
camera returns to normal light-metering.
Shooting multiple
frames
– Clip Motion
Mode dial setting:
You can shoot a number of still images
consecutively (GIF animation). Because the
file size is small, these images are ideal for
use on a home page, or for attaching to an e-
mail message.
• Clip Motion images are restricted to color
levels of 256 colors and below. This is a
characteristic of GIF format recording. For this
reason, the image quality of some images may
deteriorate.
NORMAL (160×120)
The maximum number of frames you can
shoot in one Clip Motion shot is ten. This is
the best choice for use on a home page.
MOBILE (120×108)
Two frames is the maximum number that
can be shot in Clip Motion in this mode.
• MOBILE mode has strict file size limits, so
picture quality falls accordingly.
• For the number of images you can record using
Clip Motion, see page 91.
63
Advanced still image shooting
Before using Clip Motion
In “MOVING IMAGE” in SET UP, select
“CLIP MOTION” (pages 55, 97).
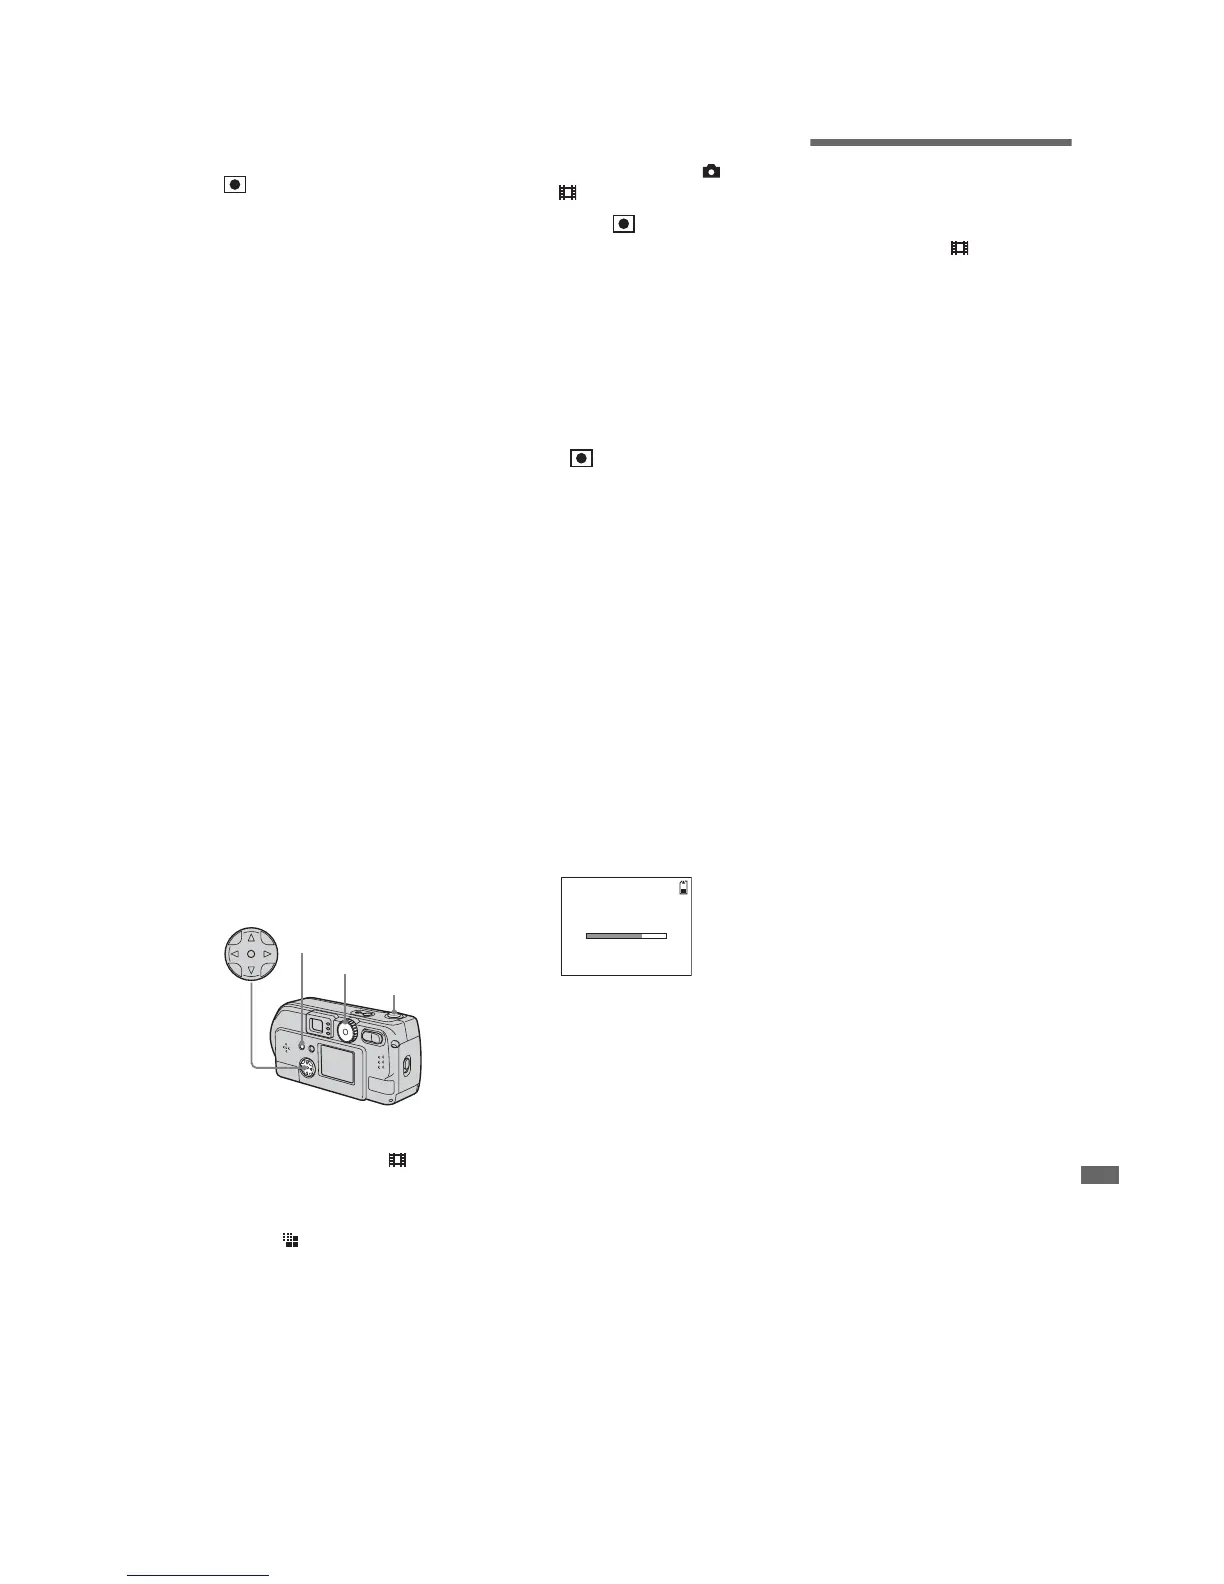
a Turn the Mode dial to .
b Press the MENU button.
The menu appears.
c Select “ ” (IMAGE SIZE)
using b/B, and select the
desired mode useing v/V.
d Shoot one frame.
e Shoot the next frame.
Press the shutter once to shoot the next
frame, then repeat this operation until
you have shot the desired number of
frames.
f Press the center z.
All of the frames will be saved in the
“Memory Stick.”
• If you do not complete Step 6, the image will
not be saved in the “Memory Stick.” Up to that
point, the image is saved temporarily in the
camera.
• In Clip Motion mode, the date and time will not
be recorded.
• When you view Clip Motion images using the
Index screen, the images may appear different
from the actual image recorded.
• GIF files made on other cameras may not
display correctly on this camera.
To delete shot images in the
midst of shooting
1 In Steps 4 or 5 on the previous page,
press b (7)
Shot images will be played back in
order, playback stops when the last
image is reached.
2 Press the MENU button, select either
“DELETE LAST”, or “DELETE ALL”,
and press the center z.
3 Select “OK”, then press the center z. If
you chose “DELETE LAST” in Step 2,
repeat Steps 1 to 3 to delete the images
in order, from the latest one shot.
Mode dial
Control button
Shutter button
MENU button
MAKING “CLIP MOTION”