1-13
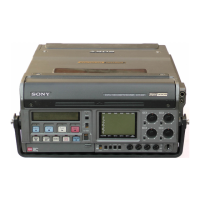
DVW-250/250P
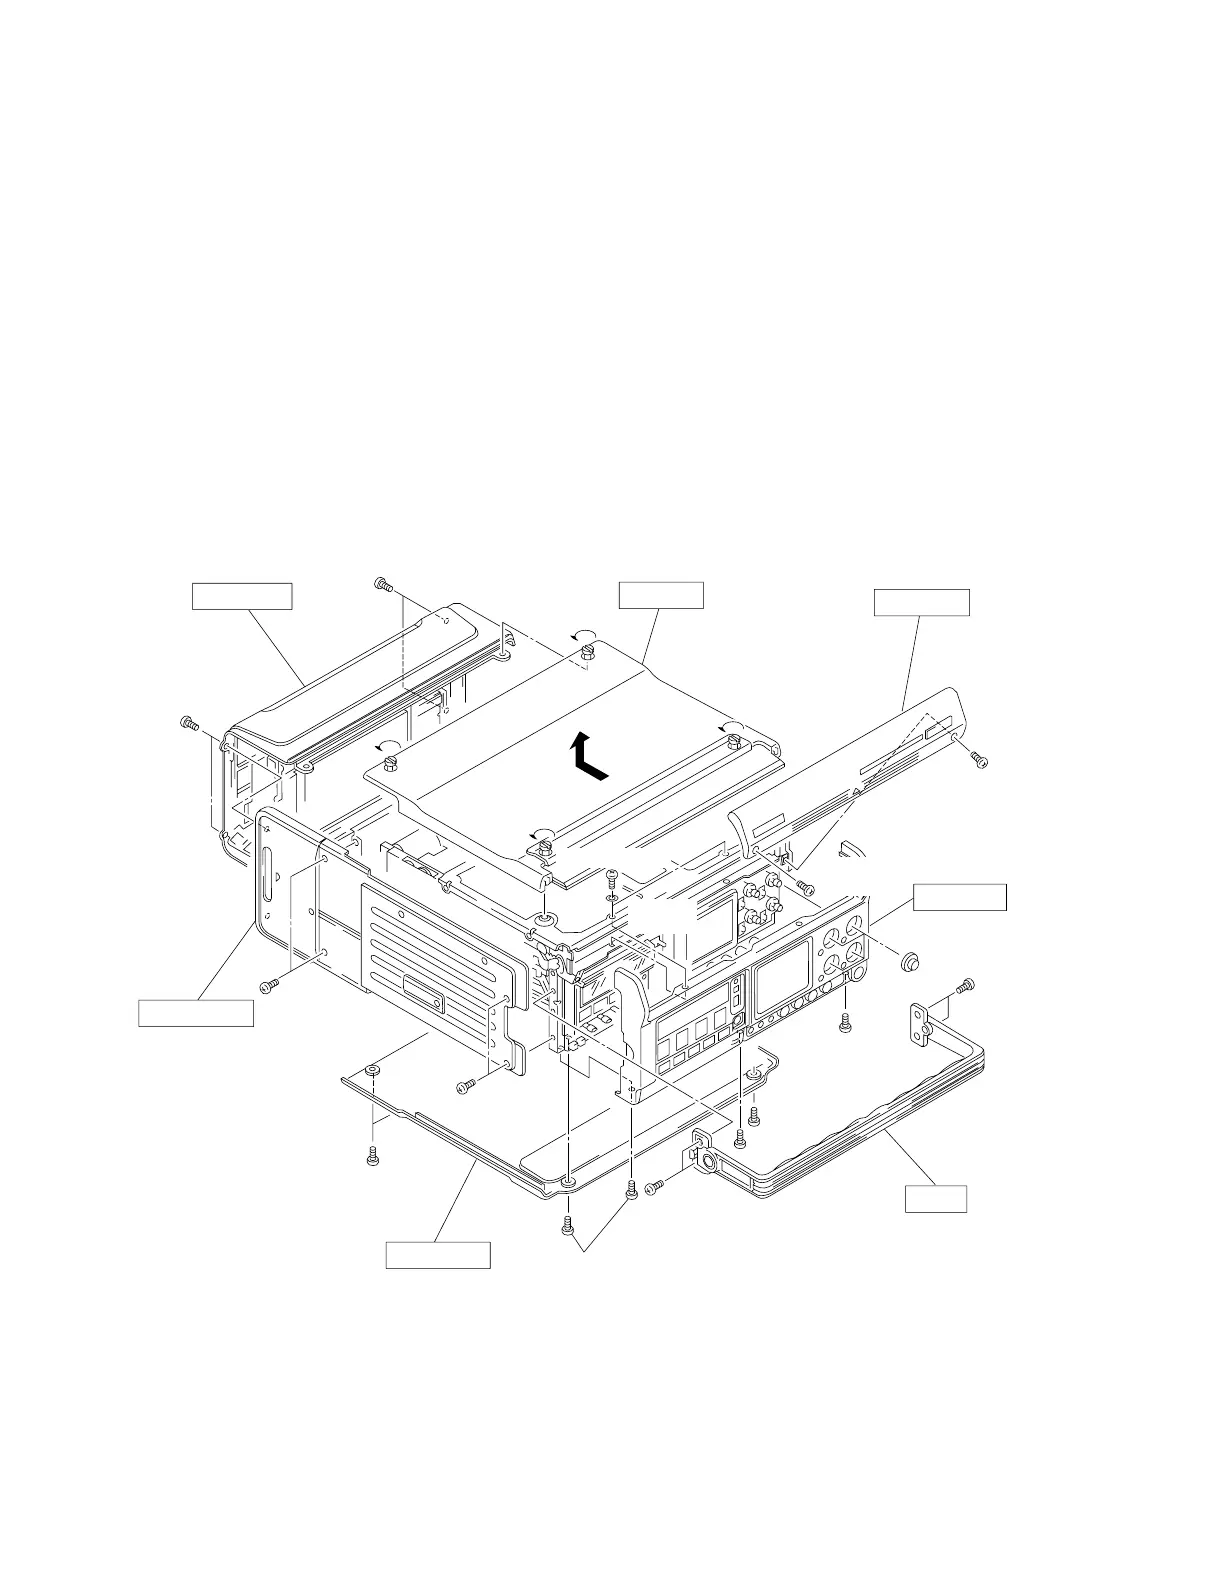
Handle
1. Remove the front panel.
2. Loosen the four screws and remove the handle from the unit.
Bottom Plate
Loosen the four screws and remove the bottom plate from the unit.
Left Side Panel
1. Remove the top panel, bottom plate, handle, front panel and battery case.
2. Remove the cassette compartment. (Refer to Section 1-6.)
3. Remove the four screws and remove the left side panel from the unit.
1-5. Removal/Installation of Cabinet
Left side panel
Battery case
Top panel
Front cover
Front panel
Handle
Screws(B3 × 6)
Screws
(B3 × 6)
Screw
(B3 × 6)
Screw
(B3 × 6)
Screws
(B3 × 6)
Screws
(B3 × 6)
Screw
(B3 × 6)
Screws
(B3 × 8)
Screws
(B3 × 8)
Screws
(B3 × 6)
Screws
(B3 × 6)
Bottom plate
Screws(B3 × 6)
Washar
2 middles
Screw
(B3 × 6)


 To Next Page