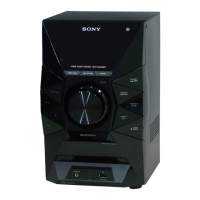
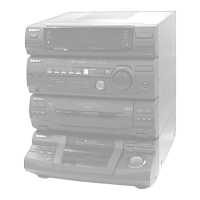
HCD-EC69i/EC79i/EC99i
7
SECTION 2
GENERAL
This section is extracted
from instruction manual.
Operations
To Press
Pause playback
(pause) (or (play/pause)
on the unit)
. To resume play,
press the button again.
Stop playback
(stop)
.
Select a folder on an
MP3 disc
(select folder) +
/
.
Select a track or le
(go back)
/ (go
forward)
.
Find a point in a
track or le
Hold down (rewind)
/
(fast forward)
during playback,
and release the button at the
desired point.
Select Repeat Play
REPEAT
repeatedly until
“REP” or “REP1” appears.
To change the play mode
Press PLAY MODE
repeatedly while the player is
stopped. You can select normal play (“
” for all MP3
les in the folder on the disc), shue play (“SHUF”
or “
SHUF*” for folder shue), or program play
(“PGM”).
* When playing a CD-DA (audio) disc, (SHUF) Play performs the
same operation as normal (SHUF) Play.
Note on the CD compartment (HCD-EC79i (North American
model only) and HCD-EC69i)
Do not open the CD compartment when “READING” appears or
during playback, as this may cause a malfunction.
Notes on Repeat Play
All tracks or les on a disc are played repeatedly up to ve times.
“REP1” indicates that a single track or le is repeated until you stop
it.
Note on shue play mode
When you turn o the system, the selected shue play mode (“SHUF”
or “
SHUF”) is cleared and the play mode returns to normal play
mode (“
”).
Notes on playing MP3 discs
Do not save other types of tracks or les or unnecessary folders on a
disc that has MP3 les.
Folders that have no MP3 les are skipped.
MP3 les are played back in the order that they are recorded onto
the disc.
e system can only play MP3 les that have a le extension of
“.mp3”.
Even when le name has the “.mp3” le extension, if the actual
le diers, playing this le may generate a loud noise which could
damage the speaker system and the system may malfunction.
e maximum number of:
folders is 150 (including the root folder).
MP3 les is 255.
MP3 les and folders that can be contained on a single disc is 300.
folder levels (the tree structure of les) is 8.
Compatibility with all MP3 encoding/writing soware, recording
device, and recording media cannot be guaranteed. Incompatible
MP3 discs may produce noise or interrupted audio or may not play
at all.
Notes on playing multisession discs
If the disc begins with a CD-DA (or MP3) session, it is recognized
as a CD-DA (or MP3) disc, and playback continues until another
session is encountered.
A disc with a mixed CD format is recognized as a CD-DA disc.
Listening to the radio
1 Select “TUNER FM” or “TUNER AM.”
Press FUNCTION +/ (or FUNCTION on the unit)
repeatedly.
2 Perform tuning.
For automatic scanning
Press TUNING MODE
repeatedly until “AUTO”
appears, and then press +
/
(or TUNING +
/
on the unit). Scanning stops automatically
when a station is tuned in, and “TUNED” and “ST”
(for stereo programs only) appear.
If “TUNED” does not appear and the scanning does
not stop, press
to stop scanning, then perform
manual tuning (below).
For manual tuning
Press TUNING MODE
repeatedly until
“MANUAL” appears, and then press +
/
(or
TUNING +
/
on the unit) repeatedly to tune
in the desired station.
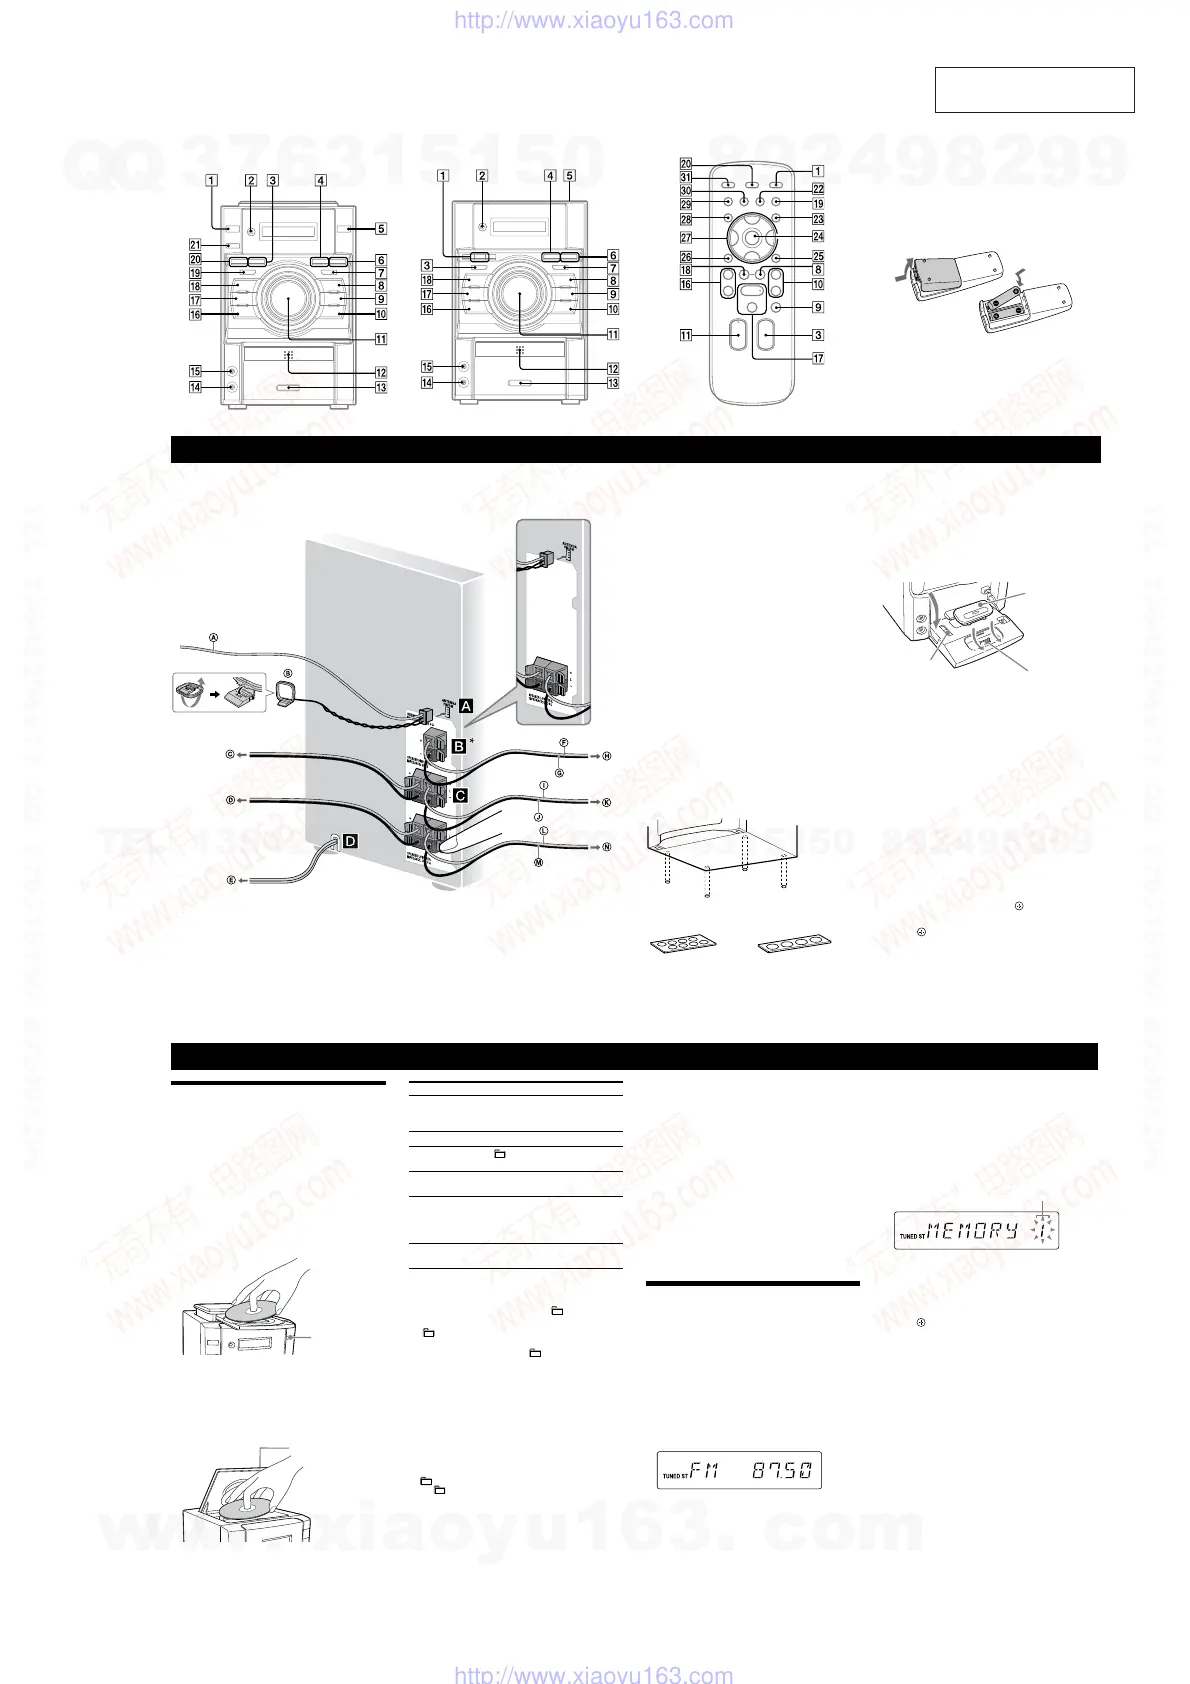
Playing a CD/MP3 disc
1 Select the CD function.
Press FUNCTION +/
repeatedly (or CD
on
the unit).
2 Place a disc.
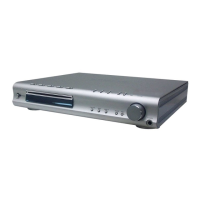
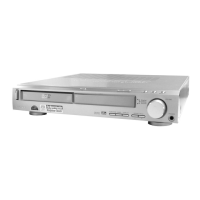
HCD-EC99i
HCD-EC79i (Australian and UK models only)
Press (open/close)
on the unit, and place a disc
with the label side up on the disc tray.
To close the disc tray, press
on the unit.
Do not force the disc tray closed with your nger, as
this may damage the unit.
HCD-EC79i (North American model only)
HCD-EC69i
Press PUSH OPEN/CLOSE
on the unit,
and place a disc with the label side up on the CD
compartment.
To close the CD compartment, press PUSH OPEN/
CLOSE
on the unit.
3 Start playback.
Press (play) (or (play/pause) on the unit)
.
Tip
To reduce static noise on a weak FM stereo station, press FM MODE
repeatedly until “MONO” appears to turn o stereo reception.
Presetting radio stations
Use buttons on the remote to preset stations.
1 Tune in the desired station.
2 Press TUNER MEMORY
to select the tuner
memory mode.
Preset number
3 Press +
/
repeatedly to select the desired
preset number.
If another station is already assigned to the selected
preset number, the station is replaced by the new
stations.
4 Press
to store the station.
5 Repeat steps 1 through 4 to store other stations.
You can preset up to 20 FM and 10 AM stations. e
preset stations are retained for about half a day even
if you disconnect the power cord or if a power failure
occurs.
6 To call up a preset radio station, press TUNING
MODE
repeatedly until “PRESET” appears, and
then press +
/
repeatedly to select the
desired preset number.
(open/close)
PUSH OPEN/CLOSE
HCD-EC99i
HCD-EC79i (Australian and UK models only)
* HCD-EC99i only
*
Getting Started
To use the iPod
Make sure the iPod indicator
lights up (except for
HCD-EC69i).
Press PUSH
on the unit to ip-open the iPod Dock,
slide the LOCK lever to the HOLD position, and insert
an iPod Dock Adapter into the Dock before use.
For details on the iPod Dock Adapters, refer to the
instructions supplied with the Dock Adapters.
iPod Dock Adapter
To remove the iPod
Dock Adapter, pull it
up with your ngernail
or a at object using
the slot inside the
adapter.
iPod Connector
LOCK lever
Notes
e iPod Dock Adapter is not supplied with the system.
You can use the iPod only when the iPod indicator
lights up
(except for HCD-EC69i).
To adjust the volume
Press VOLUME +/ (or turn the VOLUME control on
the unit)
.
To connect an optional headphones
Connect headphones to the PHONES jack
on the
unit.
To set the clock
Use buttons on the remote to set the clock.
1 Press (on/standby)
to turn on the system.
2 Press TIMER MENU
to select the clock set mode.
If “PLAY SET” ashes, press /
repeatedly to
select “CLOCK,” and then press
(enter)
.
3 Press /
repeatedly to set the hour, and then
press
.
4 Use the same procedure to set the minutes.
Note
e clock settings are lost when you disconnect the power cord or if a
power failure occurs.
To display the clock when the system is o
Press DISPLAY
. e clock is displayed for about
8seconds.
Antennas
Find a location and an orientation that provide good
reception, and then set up the antenna.
Keep the antennas away from the speaker cords and the
power cord to avoid picking up noise.
Subwoofer (HCD-EC99i only)
Insert only the stripped portion of the cord.
Place the subwoofer vertically to obtain a better bass
reproduction. Also, position the subwoofer:
on a solid oor where resonance is unlikely to occur.
at least a few centimeters away from the wall.
away from the center of the room or place a
bookshelf against a wall, to avoid generating a
standing wave.
Speakers
Insert only the stripped portion of the cord.
Power
Connect the power cord to a wall outlet.
If the plug does not t the wall outlet, detach the supplied
plug adaptor (only for models equipped with an adaptor).
To attach the speaker pads
Attach the supplied speaker pads to the bottom of the
front speakers and subwoofer to prevent slipping.
Front speakers:
4 pads for each speaker
Subwoofer:
4 pads (HCD-EC99i only)
FM lead antenna (Extend it horizontally.)
AM loop antenna
To right speaker (High freq.)
To right speaker (Low freq.)
To wall outlet
Solid (Gray/)
Solid (Black/)
To subwoofer
Solid (Blue/)
Solid (Black/)
To left speaker (High freq.)
Solid (Red/)
Solid (Black/)
To left speaker (Low freq.)
HCD-EC69i only
* HCD-EC99i only
HCD-EC79i (North American model only)
HCD-EC69i
* HCD-EC79i only
*
*
Remote
is manual mainly explains operations using the
remote, but the same operations can also be performed
using the buttons on the unit having the same or similar
names.
To use the remote
Slide and remove the battery compartment lid, and
insert the two R6 (size AA) batteries (supplied, except
for HCD-EC69i), side rst, matching the polarities
shown below.
Notes on using the remote
With normal use, the batteries should last for about six months.
Do not mix an old battery with a new one or mix dierent types of
batteries.
If you do not use the remote for a long period of time, remove the
batteries to avoid damage from battery leakage and corrosion.
Batteries installed devices shall not be exposed to excessive heat such
as sunshine, re or the like.
w
w
w
.
x
i
a
o
y
u
1
6
3
.
c
o
m
Q
Q
3
7
6
3
1
5
1
5
0
9
9
2
8
9
4
2
9
8
T
E
L
1
3
9
4
2
2
9
6
5
1
3
9
9
2
8
9
4
2
9
8
0
5
1
5
1
3
6
7
3
Q
Q
TEL 13942296513 QQ 376315150 892498299
TEL 13942296513 QQ 376315150 892498299
http://www.xiaoyu163.com
http://www.xiaoyu163.com