2-8 (E)
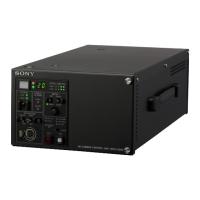
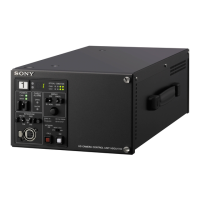
HDCU3300/MM (J, E)
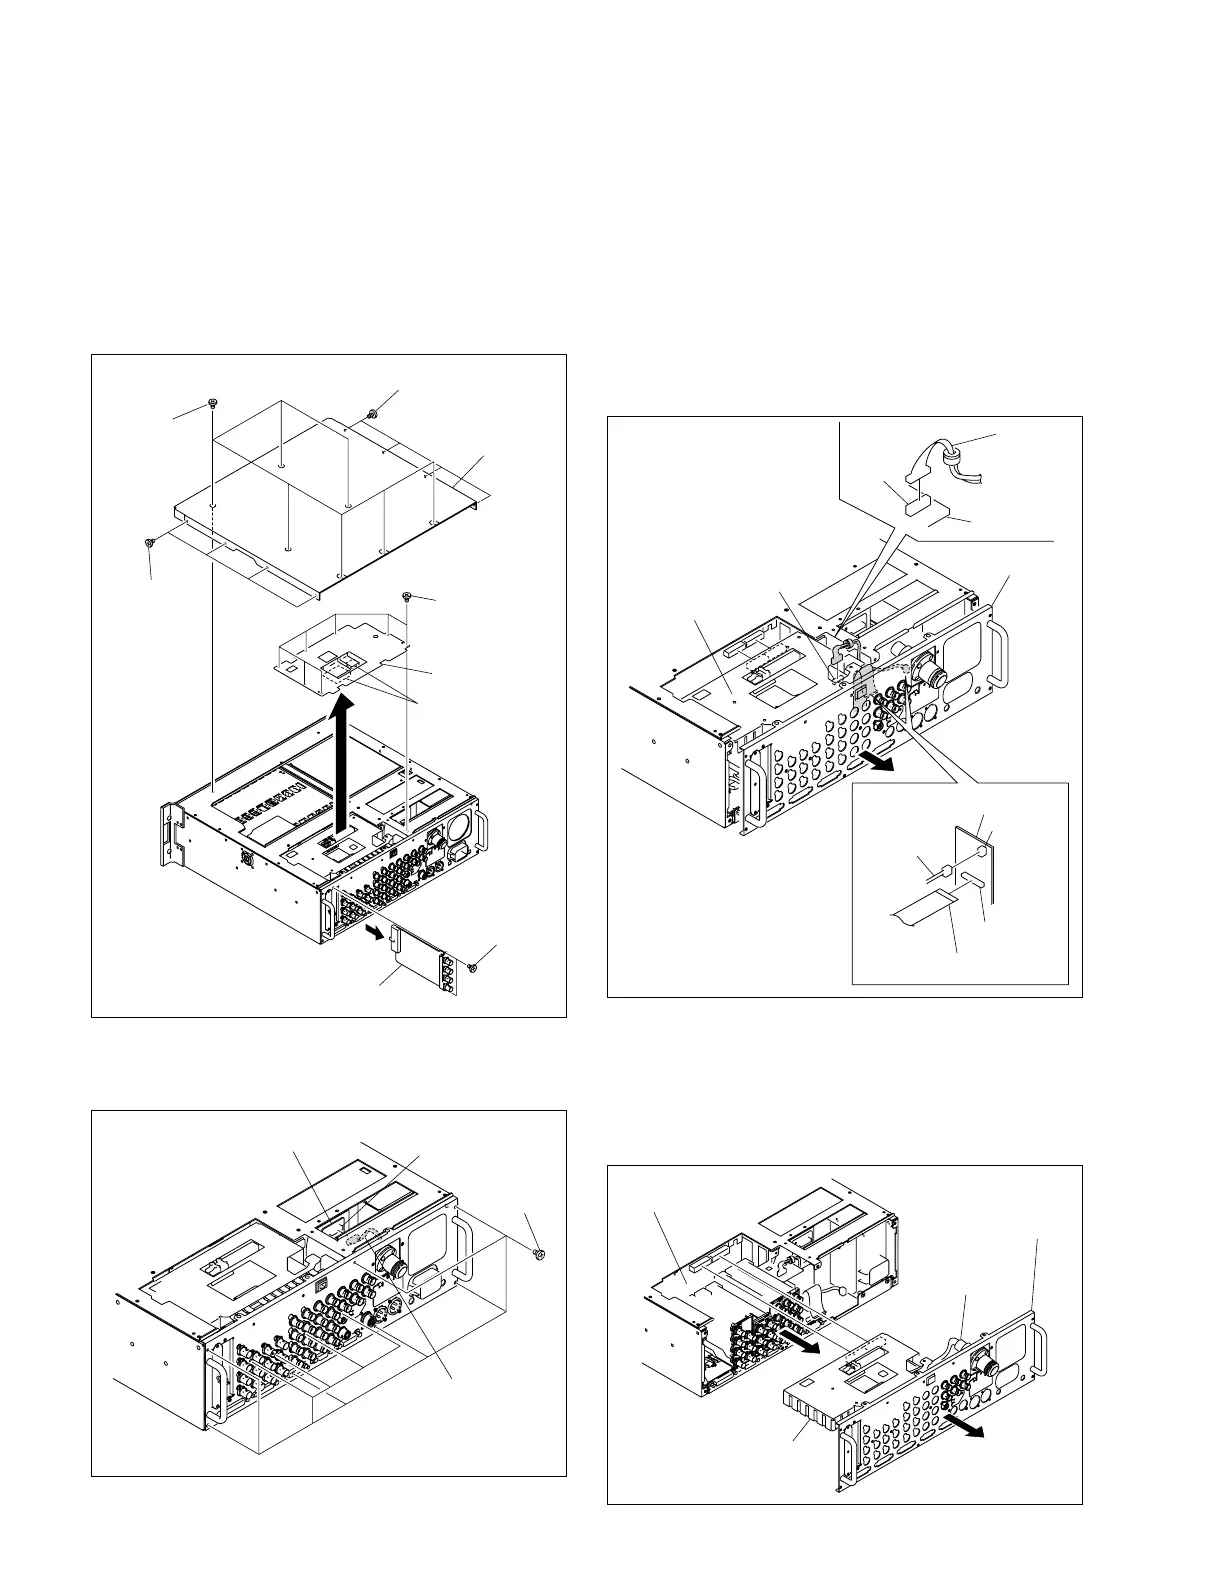
2-1-4. Removing the Rear Panel
1. Remove the front panel.
2. Remove the 15 screws and remove the top cover.
3. Remove the seven screws and remove the heat spread-
er.
4. Remove the two screws and remove the HIF-26 board.
5. Remove the 11 screws and disconnect the harness
from the connector CN1 on the CN-2718 board.
Top cover
Heat spreader
HIF-26 board
Heat transfer
sheets
Screws
(B3 x 5)
Screws
(B3 x 5)
Screws
(B3 x 5)
Screws
(B3 x 5)
Screws
(B3 x 5)
Rear panel
Harness
CN104
CN104
SDP-15 board
SDP-15
board
CN15
CN14
CN-2672G board
Harness
Flexible card wire
OTR-1/
SDP-15 board
Rear panel
Optical cable
MB-1073 board
Screws
(B3 x 5)
CN-2718 board
CN1
Harness
6. Disconnect the harness from connector CN104 on the
SDP-15 board.
7. Slightly draw out rear panel with the SDP-15 board on,
and disconnect the harness and the flexible card wire
from connectors CN14 and CN15 on the CN-2672G
board.
n
Life of flexible card wire will be significantly short-
ened if it is folded. Be very careful not to fold the
flexible card wire.
8. Remove the rear panel and the OTR-1/SDP-15 board
together in the direction of the arrow.
n
Be very careful in handling the optical cable when
removing the rear panel and the OTR-1/SDP-15 board.
 Loading...