1 (E)
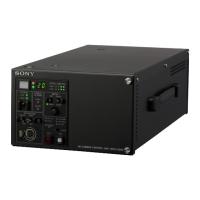
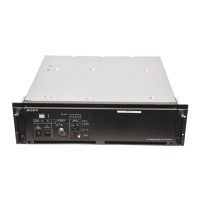
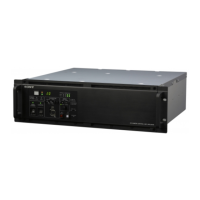
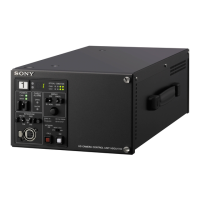
HDCU3300/MM (J,E)
Table of Contents
Manual Structure
Purpose of this manual ........................................................... 5 (E)
Related manuals ..................................................................... 5 (E)
1. Service Overview
1-1. Service Information ................................................. 1-1 (E)
1-1-1. Tools ............................................................... 1-1 (E)
1-1-2. Cautions when Replacing
the Lithium Battery ........................................ 1-1 (E)
1-2. Notes for Replacing the Parts .................................. 1-1 (E)
1-3. Connecting/Disconnecting
the Flexible Card Wire ............................................. 1-2 (E)
1-4. Writing and Rewriting the PLD Internal Data ......... 1-3 (E)
1-5. Circuit Protection Parts ............................................ 1-5 (E)
1-6. Circuit Description ................................................... 1-6 (E)
1-6-1. HDCU3300 Common ..................................... 1-6 (E)
1-6-2. HKCU1001 ..................................................... 1-8 (E)
1-6-3. HKCU1003 ..................................................... 1-8 (E)
1-6-4. HKCU1005 ..................................................... 1-8 (E)
1-7. Notes on Repair Parts .............................................. 1-9 (E)
1-8. Unleaded Solder ....................................................... 1-9 (E)
2. Replacement of Main Parts
2-1. Replacing the Main Parts ......................................... 2-1 (E)
2-1-1. Replacing the Power Supply Unit .................. 2-1 (E)
2-1-2. Replacing the Fuse ......................................... 2-4 (E)
2-1-3. Replacing the DC Fan .................................... 2-6 (E)
2-1-4. Removing the Rear Panel ............................... 2-8 (E)
2-1-5. Replacing the OTR-1 Board ........................... 2-9 (E)
2-1-6. Replacing the SPD-15 Board ......................... 2-9 (E)
2-1-7. Replacing the Right Side Fan ....................... 2-10 (E)
2-1-8. Replacing the MB-1073 Board .................... 2-11 (E)
2-1-9. Replacing the CNB-21G Board .................... 2-12 (E)
2-1-10. Replacing the DC Fan (Rear) ....................... 2-13 (E)
3. Electrical Alignment
3-1. Preparation ............................................................... 3-1 (E)
3-1-1. Required Equipment ....................................... 3-1 (E)
3-1-2. Notes on Adjustments .................................... 3-1 (E)
3-1-3. Connection of Equipment ............................... 3-2 (E)
3-1-4. Initialization Settings ...................................... 3-3 (E)
3-2. Audio System Adjustment ....................................... 3-4 (E)
3-2-1. Microphone Level Adjustment ....................... 3-4 (E)
3-2-2. RTS Intercom Adjustment ............................. 3-5 (E)
3-3. Video and Reference Signal System Adjustment .... 3-6 (E)
3-3-1. 27 MHz VCO Free-run Adjustment ............... 3-6 (E)
3-3-2. Clock (74 MHz) Duty Adjustment ................. 3-6 (E)
3-3-3. Prompter 1/2 Level Adjustment ..................... 3-7 (E)
3-4. Video Signal System Adjustment (Front board) ..... 3-7 (E)
3-4-1. SD-SDI Input VCO Free-run Adjustment ...... 3-7 (E)
3-4-2. STAIR CASE Adjustment ............................. 3-8 (E)
3-5. SD Signal System Adjustment ................................. 3-8 (E)
3-5-1. VBS Output Level Adjustment ...................... 3-8 (E)
3-5-2. PIX Output Level Adjustment ........................ 3-9 (E)
3-5-3. WF Output Level Adjustment ........................ 3-9 (E)
4. Spare Parts
4-1. Notes on Repair Parts ..................................................... 4-1
4-2. Exploded Views .............................................................. 4-2
4-3. Electrical Parts List ......................................................... 4-8
4-4. Packing Materials & Supplied Accessories ................ 4-156
4-5. Optional Fixtures List .................................................4-156
5. Semiconductor Pin Assignments