— 14 —
KV-13FM13 / 13FM14
2-4. SCREEN (G2)
1. Input a dot pattern.
2. Set the PICTURE and BRIGHTNESS controls at minimum and
COLOR control at normal.
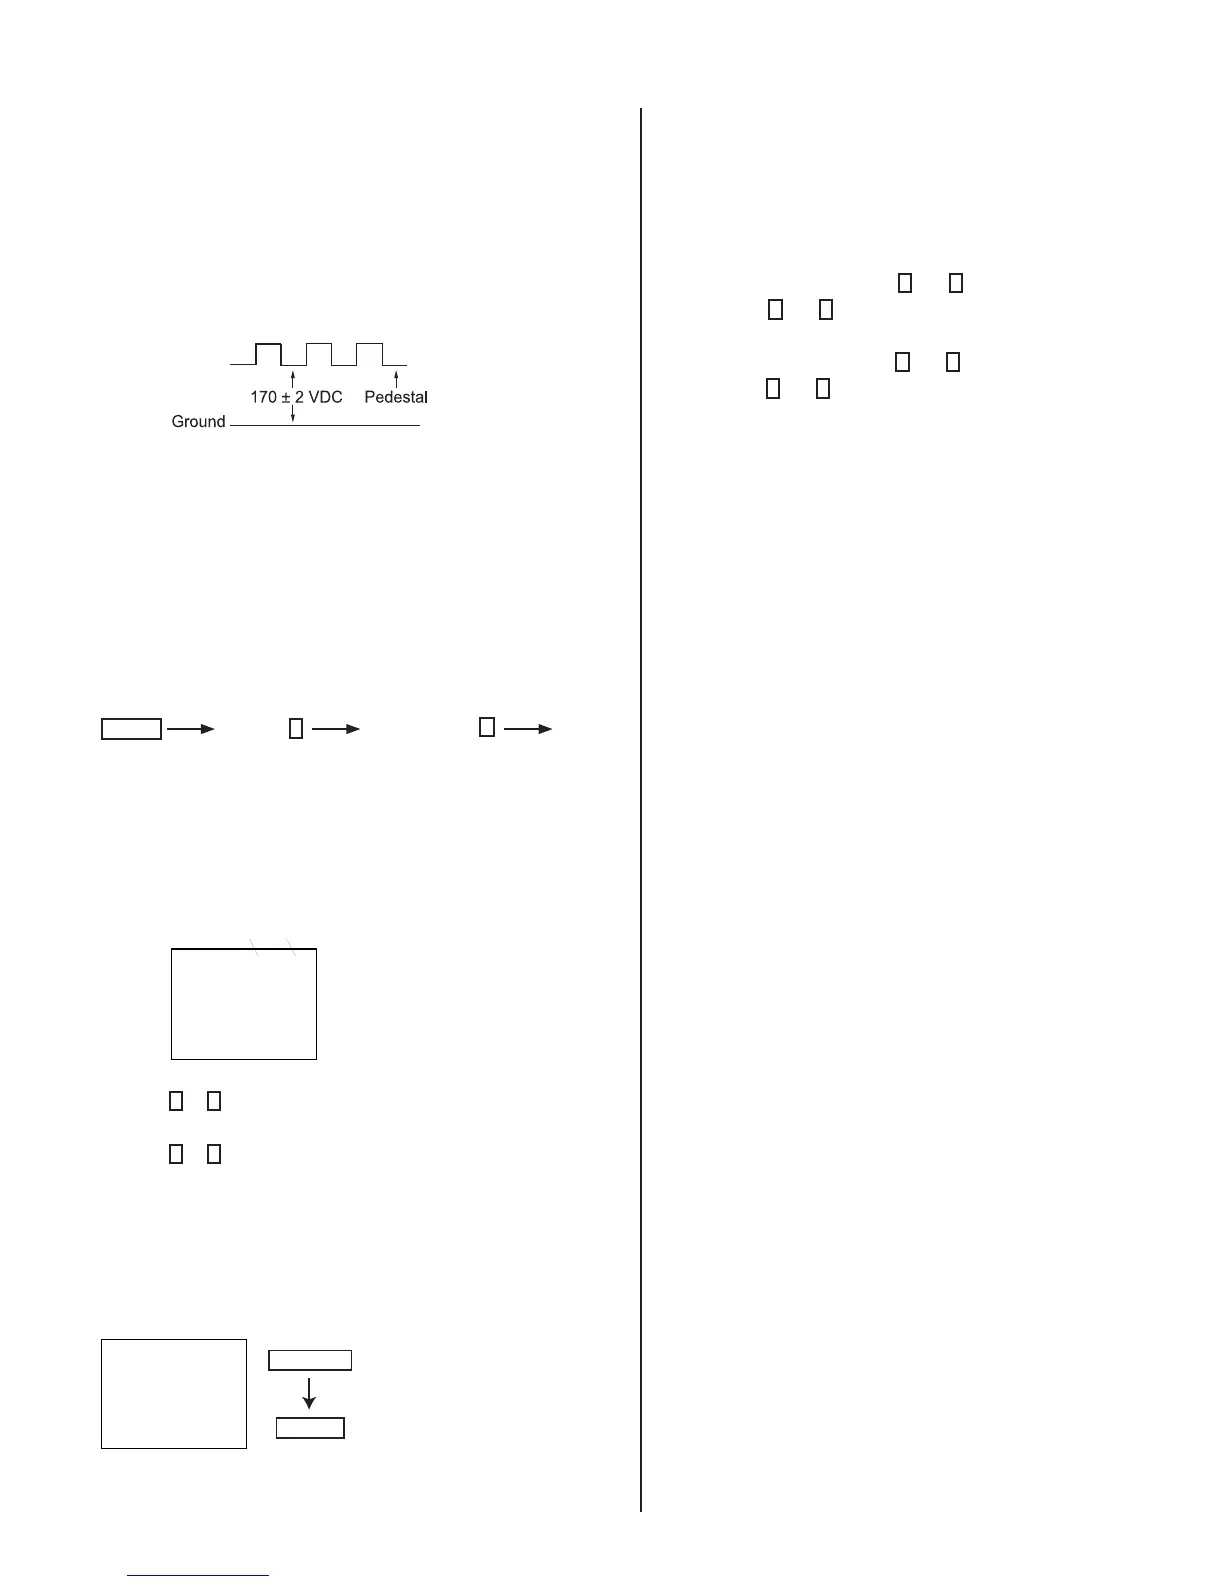
3. Adjust SBRT, GCUT, BCUT in service mode with an oscilloscope as
shown below so that voltages on the red, green, and blue cathodes
are 170 ± 2 VDC.
4. Observe the screen and adjust SCREEN (G2) VR in FBT to obtain the
faintly visible background of dot signal.
2-5. METHOD OF SETTING THE SERVICE
ADJUSTMENT MODE
Service Mode Procedure
1. Standby mode (power off).
2. On the remote commander, press:
Display
Channel
5
Sound Volume
+
Power
(press each button within a second).
Service Adjustment Mode In
1. The CRT displays the item being adjusted.
SERVICE HSIZ 0
Disp.
(Item)
Item
Data
2. Press
1
or
4
on the Remote Commander to select the item.
3. Press
3
or
6
on the Remote Commander to change the data.
4. Press MUTING then ENTER to save into the memory.
Service Adjustment Mode Memory
Turn set off then on to exit service adjustment mode.
SERVICE WRITE
Green
Red
MUTING
ENTER
2-6. WHITE BALANCE ADJUSTMENTS
1. Input an entire white signal with burst.
2. Set to Service Adjustment Mode.
3. Set DCOL to “0”.
4. Set the PICTURE and BRIGHTNESS to minimum.
5. Adjust with SBRT if necessary.
6. Select GCUT and BCUT with
1
and
4
.
7. Adjust with
3
and
6
for the best white balance.
8. Set PICTURE and BRIGHTNESS to maximum.
9. Select GDRV and BDRV with
1
and
4
.
10. Adjust with
3
and
6
for the best white balance.
11. Reset DCOL to “1”.
12. To write into memory, press MUTING then ENTER.