33
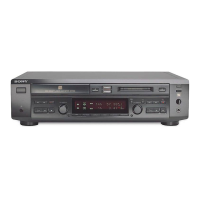
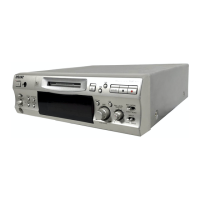
MXD-D40
CD SECTION
Set the CD test mode when performing confirmations (refer to page 12).
After completing confirmation, release the CD test mode.
1. COMMAND TRANSFER MENU
Procedure:
(1) Enter the test mode, then rotate [ AMS ] (MD) knob to display “0> COMMAND”, and press the [ AMS ] (MD)
knob.
(2) Select a command with [ AMS ] (MD) knob, and press the [ AMS ] (MD) knob to set.
(3) Select the edit position with m (MD) and M (MD) buttons, and rotate [ AMS ] (MD) knob for editing, then press the
[ AMS ] (MD) knob for transfer.
(4) To exit from this mode, press the [MENU/NO] button.
2. C1, C2 ERROR DISPLAY
Procedure:
(1) Enter the test mode, then rotate [ AMS ] (MD) knob to display “1> ERROR”, and press the [ AMS ] (MD) knob.
(2) C1 error and C2 error are displayed on the left side and right side with 4-digit codes respectively.
(3) To exit from this mode, press the [MENU/NO] button.
3. DISC SPEED SELECTION
Procedure:
(1) Enter the test mode, then rotate [ AMS ] (MD) knob to display “2> SPEED ×1”, and press the [ AMS ] (MD) knob.
(2) Each time the [ AMS ] (MD) knob is pressed, the speed changes over such as ×1 t ×2 t ×4 t ×1.
(3) To exit from this mode, press the [MENU/NO] button.
4. CHECK 8 DISPLAY
Procedure:
(1) Enter the test mode, then rotate [ AMS ] (MD) knob to display “4> CHECK 8”, and press the [ AMS ] (MD) knob.
(2) The time from spindle kick to GFS detect is displayed.
(3) To exit from this mode, press the [MENU/NO] button.
5. PORT SELECTION
Procedure:
(1) Enter the test mode, then rotate [ AMS ] (MD) knob to display “7> PORT”, and press the [ AMS ] (MD) knob.
(2) Rotate the [ AMS ] (MD) knob to select GFS, ERROR RATE, RFCK and press the [ AMS ] (MD) knob to set.
(3) To exit from this mode, press the [MENU/NO] button.
6. AMS ON/OFF
Procedure:
(1) Enter the test mode, then rotate [ AMS ] (MD) knob to display “8> AMS ON”, and press the [ AMS ] (MD) knob.
(2) Switch the high speed ON/OFF of the track jamp.
(3) To exit from this mode, press the [MENU/NO] button.
7. TRK ON/OFF
Procedure:
(1) Enter the test mode, then rotate [ AMS ] (MD) knob to display “9> TRK ON”, and press the [ AMS ] (MD) knob.
(2) Switch the tracking servo ON/OFF.
(3) To exit from this mode, press the [MENU/NO] button.
lL lL
lL
lL
l
L
lL lL
lL
lL
lL
lL
l
L
lL
lL
lL
lL
lL
lL
lL
lL
lL