1-21
84
2
Select the programme position for which you
want to set or change the TV guide page by
pressing PROG +/–.
• The TV guide page numbers (Example:
P301) appear automatically when the
recorder detects them.
• If no page numbers are detected (P000), you
have to set the appropriate TV guide page
number manually.
3 Select the TV guide page number you want to
modify, and press ENTER.
4 Press the number buttons or </M/m/, to
enter the TV guide page number, and press
ENTER to confirm the setting.
• If you make a mistake, press CLEAR to re-
enter the correct number.
To set or change another TV guide page
number, repeat steps 3 and 4 above.
z Hint
To view Teletext information on your TV screen during
a broadcast, switch to your TV’s tuner by pressing
t TV/VIDEO (page 18).
b Notes
• In step 4 above, enter “000” if you do not want to use
the TV guide page number for automatic labelling. The
recorder will instead store a default title name
(programme position, start time - stop time).
• Refer to the Teletext information on your TV screen to
obtain the TV guide page number with programme
titles and their start times.
• If the Teletext TV guide has a page which always
shows the programmes for the current day, this page
should be input for all days.
• If you start recording more than three minutes before
the programme is scheduled to start, the correct label
information may not be transferred.
• Note that this function may not work correctly with
programmes broadcast from some stations.
• If the broadcast system updates the Teletext
information at the moment recording starts, the title
label may not correspond to the recorded programme.
In this case, you may have to manually enter the correct
title (page 33).
Auto Adjust (Auto Clock Set)
This function cannot be used in your area.
Present Time (Manual Clock Set)
Set the clock manually.
1 Select “Clock” in “Settings,” and press
ENTER.
2 Select “Present Time,” and press ENTER.
3 Press M/m to set the day, and press ,.
Set the month, year, hour, and minutes in
sequence. Press </, to select the item to be
set, then press M/m to set the numbers. The
day of the week is set automatically.
To change the numbers, press < to return to
the item to be changed, and press M/m.
4 Press ENTER to start the clock.
z Hint
To change the numbers in step 3, press < to return to the
item to be changed, and select the numbers by pressing
M/m.
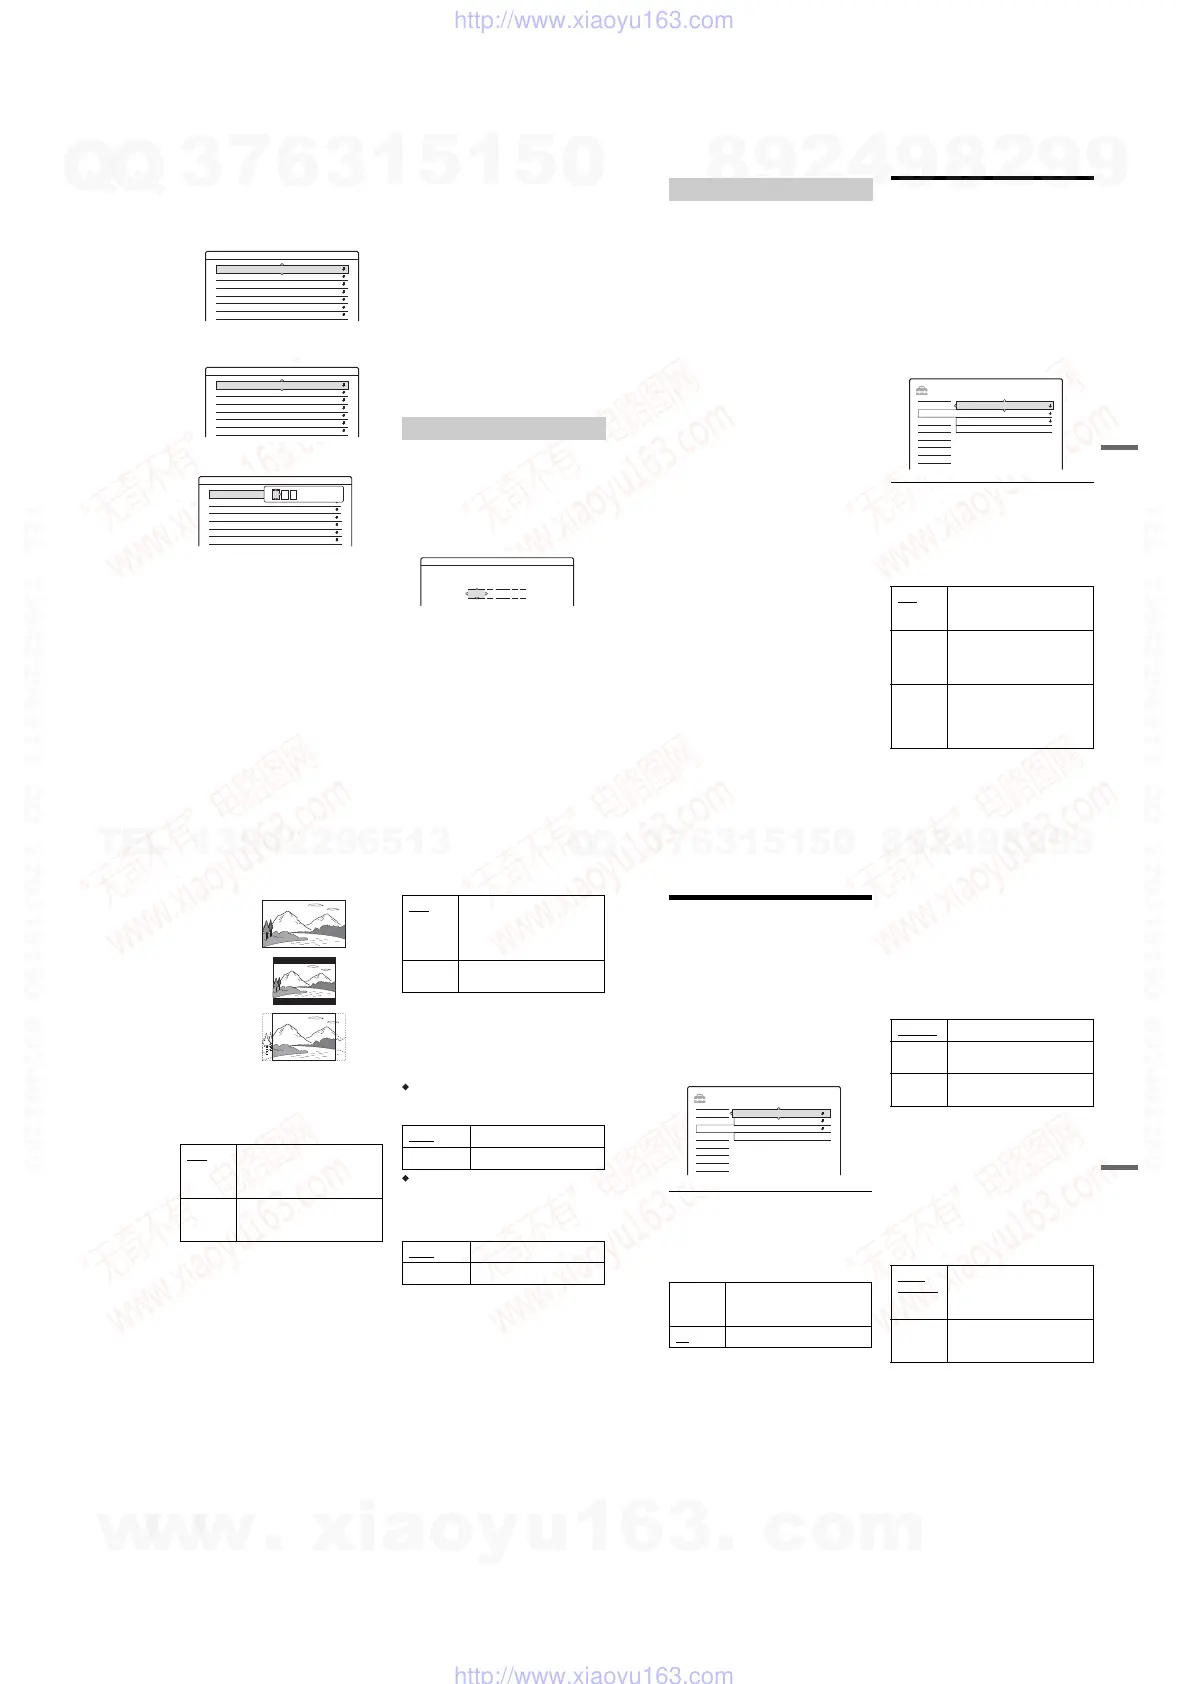
Settings - TV Guide Page
4
Sun P 301
P 302
P 303
P 304
P 305
P 306
P 307
Prog.
Sat
Fri
Thu
Wed
Tu e
Mon
Settings - TV Guide Page
4
P 000
P 000
P 000
P 000
P 000
P 000
P 000
Prog.
Sun
Sat
Fri
Thu
Wed
Tu e
Mon
Settings - TV Guide Page
4
P 000
P 000
P 000
P 000
P 000
P 000
P 000
Prog.
Sun
Sat
Fri
Thu
Wed
Tu e
Mon
0 0 0
P
Clock
Clock - Present Time
Set the time and date manually.
0 00:
1 2005
Sat 1
85
Settings and Adjustments
OSD (On-Screen Display)
Switches the display language on the screen.
DVD Menu (DVD VIDEO only)
Switches the language for the DVD menu.
Audio (DVD VIDEO only)
Switches the language of the sound track.
When you select “Original,” the language given
priority in the disc is selected.
Subtitle (DVD VIDEO only)
Switches the language of the subtitles recorded on
the disc.
When you select “Audio Follow,” the subtitle
language changes according to the language you
selected for the sound track.
z Hint
If you select “Others” in “DVD Menu,” “Subtitle,” or
“Audio,” select and enter a language code from
“Language Code List” on page 108 using the number
buttons.
b Note
If you select a language in “DVD Menu,” “Subtitle,” or
“Audio” that is not recorded on the DVD VIDEO, one of
the recorded languages will be automatically selected.
Video Settings (Video)
Video settings will adjust items related to the
image, such as size and colour.
Choose the settings according to the type of TV,
tuner, or decoder connected to the DVD recorder.
1 Press SYSTEM MENU while the recorder is
in stop mode.
2 Select “SETUP,” and press ENTER.
3 Select “Video,” and press ENTER.
The “Video” setup appears with the following
options. The default settings are underlined.
TV Type
Sets the picture size when playing back a title
recorded from 16:9 size video (page 42) or a 16:9
size commercial DVD video.
Select the playback picture size according to the
type of connected TV (wide-screen/wide mode
TV or conventional 4:3 screen TV).
Language
16:9 Select this when connecting to a
wide-screen TV or TV with a wide
mode function.
4:3 Letter
Box
Select this when connecting to a
4:3 screen TV. Displays a wide
picture with bands on the upper
and lower portions of the screen.
4:3 Pan
Scan
Select this when connecting to a
4:3 screen TV. Automatically
displays a wide picture on the
entire screen and cuts off the
portions that do not fit.
SETUP
TV Type : 16 : 9Settings
Easy Setup
Options
Features
Audio
Video
Line Input
Progressive Mode :
Pause Mode :
Auto
Auto
,
continued
86
b Note
Depending on the disc, “4:3 Letter Box” may be selected
automatically instead of “4:3 Pan Scan” or vice versa.
Pause Mode (HDD/DVDs only)
Selects the picture quality in pause mode.
Progressive Mode
DVD software can be divided into two types: film
based software and video based software. Video
based software is derived from TV, such as
dramas and sit-coms, and displays images at 30
frames/60 fields (25 frames/50 fields) per second.
Film based software is derived from film and
displays images at 24 frames per second. Some
DVD software contains both Video and Film.
In order for these images to appear natural on your
screen when output in
progressive mode (50 or 60
frames per second), the progressive video signal
needs to be converted to match the type of DVD
software that you are watching.
You can fine-tune the progressive 525p/625p
video signal that is output when you press
PROGRESSIVE (“PROGRESSIVE” lights up).
Note that you must connect to a progressive
format TV using the COMPONENT VIDEO OUT
jacks (page 14).
Line Input
Sets the method of inputting video signals from
the LINE IN jacks on the rear panel of the
recorder. Select an option for each of the items
below according to the combination of jacks and
methods that you are going to use.
Line1 Input
Selects a method of inputting video signals for the
LINE IN 1 jack on the rear panel of the recorder.
Line3 Input
Selects a method of inputting video signals for the
LINE IN 3 jack on the rear panel of the recorder.
The pictures will not be clear if this setting does
not match the type of video input signal.
Auto The picture, including subjects
that move dynamically, is output
with no jitter. Normally select this
position.
Frame The picture, including subjects
that do not move dynamically, is
output in high resolution.
16:9
4:3 Letter Box
4:3 Pan Scan
Auto Automatically detects the software
type (Film-based or Video-based)
and selects the appropriate
conversion mode. Normally select
this position.
Video Fixes the conversion mode to the
mode for Video-based software.
Video
Inputs video signals.
S Video Inputs S video signals.
Video
Inputs video signals.
S Video Inputs S video signals.
87
Settings and Adjustments
Audio Settings (Audio)
The “Audio” setup allows you to adjust the sound
according to the playback and connection
conditions.
1 Press SYSTEM MENU while the recorder is
in stop mode.
2 Select “SETUP,” and press ENTER.
3 Select “Audio,” and press ENTER.
The “Audio” setup appears with the following
options. The default settings are underlined.
Audio ATT (attenuation)
If the playback sound is distorted, set this item to
“On.” The recorder reduces the audio output level.
This function affects the output of the following
jacks:
– LINE OUT R-AUDIO-L jacks
Audio DRC (Dynamic Range Control) (DVDs
only)
Makes the sound clear when the volume is turned
down when playing a DVD that conforms to
“Audio DRC.” This affects the output from the
following jacks:
– LINE OUT R-AUDIO-L jacks
– DIGITAL OUT (OPTICAL or COAXIAL) jack
only when “Dolby Digital” is set to “D-PCM”
(page 88).
Downmix (DVDs only)
Switches the method for mixing down to two
channels when you play a DVD which has rear
sound elements (channels) or is recorded in Dolby
Digital format. For details on the rear signal
components, see “4. Displaying the Playing Time
and Play Information” on page 31. This function
affects the output of the following jacks:
– LINE OUT R-AUDIO-L jacks
– DIGITAL OUT (OPTICAL or COAXIAL) jack
when “Dolby Digital” is set to “D-PCM”
(page 88).
On Select this when the playback
sound from the speakers is
distorted.
Off
Normally select this position.
SETUP
OffAudio ATT :
Easy Setup
Settings
Options
Features
Audio
Video
Audio Connection
Downmix :
Audio DRC :
Dolby Surround
Standard
Standard Normally select this position.
TV Mode Makes low sounds clear even if
you turn the volume down.
Wide
Range
Gives you the feeling of being at a
live performance.
Dolby
Surround
Normally select this position.
Multi-channel audio signals are
output to two channels for
enjoying surround sounds.
Normal Multi-channel audio signals are
downmixed to two channels for
use with your stereo.
,
continued
w
w
w
.
x
i
a
o
y
u
1
6
3
.
c
o
m
Q
Q
3
7
6
3
1
5
1
5
0
9
9
2
8
9
4
2
9
8
T
E
L
1
3
9
4
2
2
9
6
5
1
3
9
9
2
8
9
4
2
9
8
0
5
1
5
1
3
6
7
3
Q
Q
TEL 13942296513 QQ 376315150 892498299
TEL 13942296513 QQ 376315150 892498299
http://www.xiaoyu163.com
http://www.xiaoyu163.com