71
System Configuration Menu
Chapter 3 Menu
System Configuration Menu
Overview
This menu is used to set the system such as the network, parallel remote control function, etc.
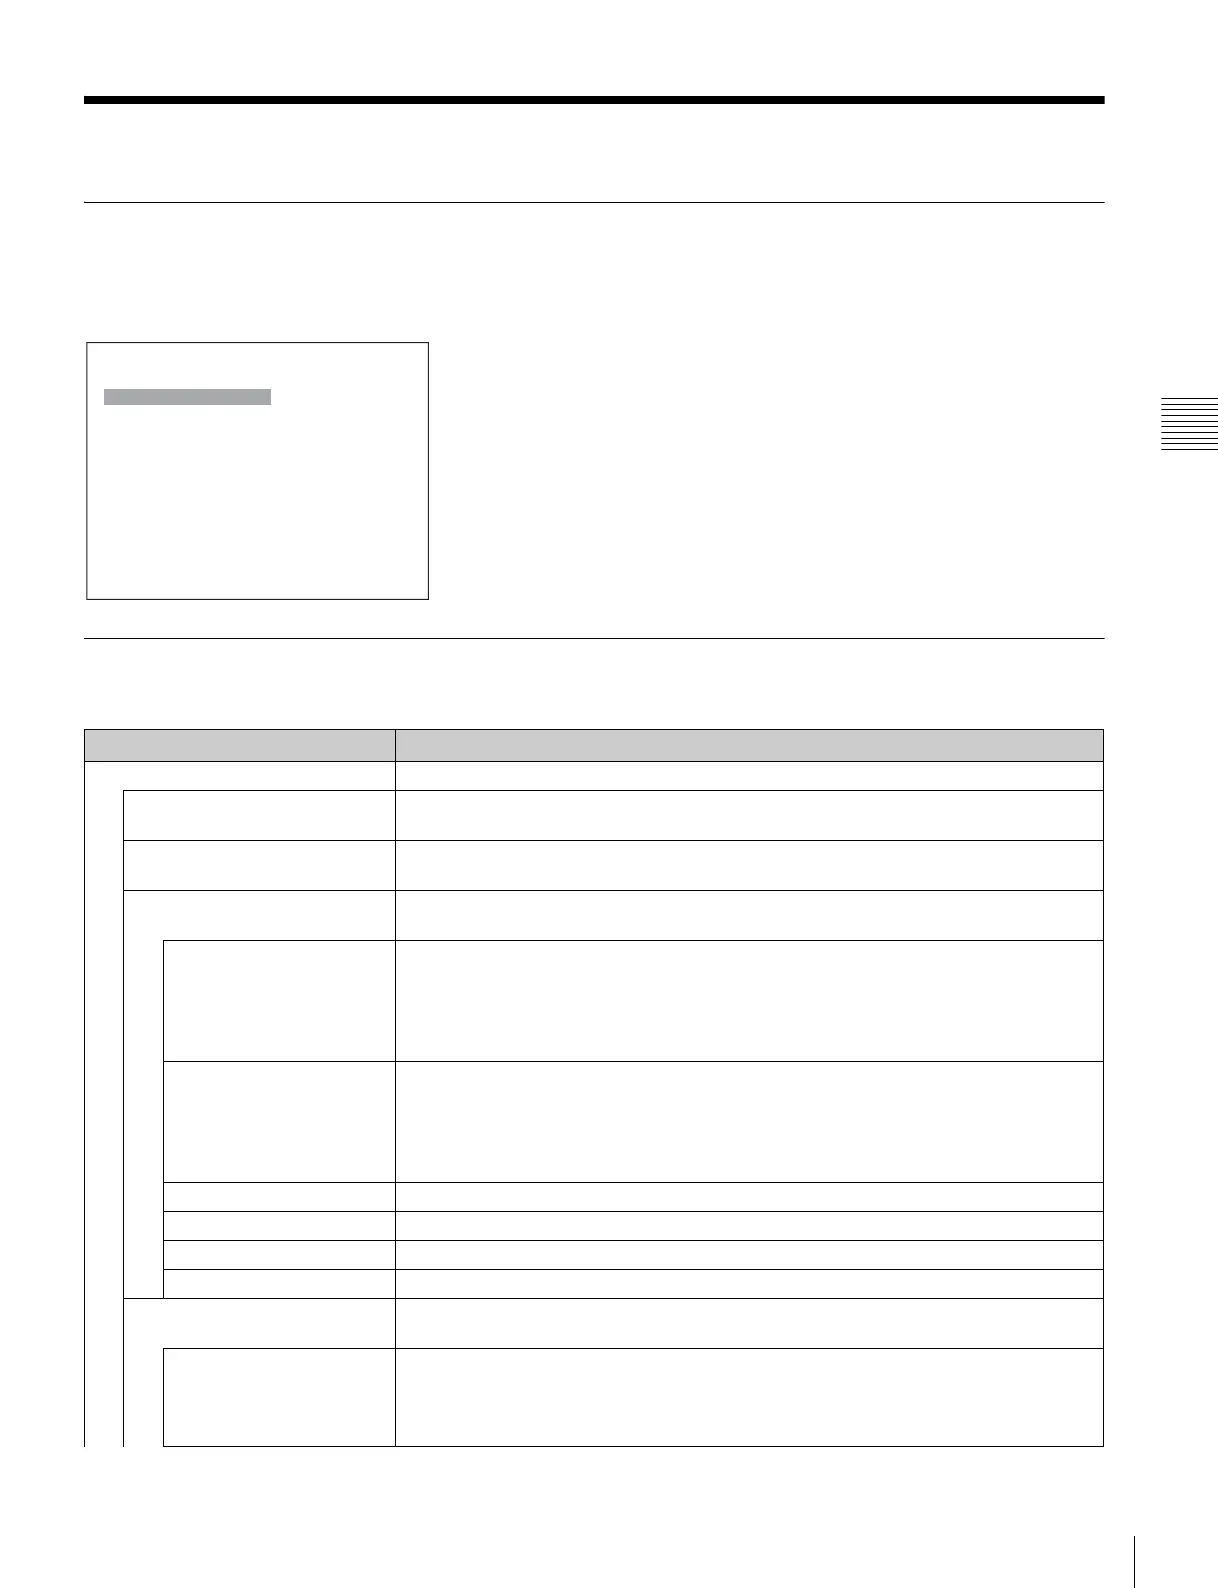
When System Configuration is selected, the following menu is displayed.
Menu Function and Operation
Menu Function and operation ([ ]: factory setting)
Network Sets the remote control function of the network.
Monitor ID Enter a monitor ID number.
Set to 01 to 99. [01]
Group ID Enter a group ID number.
Set to 01 to 99. [01]
Network Setting Sets the IP address, subnet mask and default gateway.
For the setting value, consult the network administrator.
IP Address Sets the IP address. [192.168.000.001]
Note
When the NETWORK switch is set to PEER TO PEER, the IP address is set to “192.168.0.1”
regardless of the display.
When the NETWORK switch is set to LAN, the IP address is set to the displayed one.
Subnet Mask Sets the subnet mask. [255.255.255.000]
Note
When the NETWORK switch is set to PEER TO PEER, the subnet mask is set to
“255.255.255.000” regardless of the display.
When the NETWORK switch is set to LAN, the subnet mask is set to the displayed one.
Default Gateway Sets whether or not to set the default gateway ([Off] or On).
Address Sets the address of the default gateway. [---.---.---.--- (no setting)]
Cancel Cancels the changed or confirmed setting.
Confirm Saves the changed or confirmed setting.
Protocol Setting Sets the required items for communications such as the port number.
For the setting value, consult the network administrator.
SDCP/SDAP Community Sets the SDCP/SDAP community name.
When the item is selected, you can enter the community name (four characters).
SONY: SONY is entered as a community name.
New Name: Enter a new name.
iSystem Configuration
Network B
Parallel Remote B
Power B
On Screen Set B
Password B
Date/Time B
Scan Mode Skip: xxx
Screen Saver: xxx
Monitor Upgrade B
Maintenance B



 To Next Page