If a lower blade carrier is required to be
replaced as well as the blades, replace the
removed fasteners and loosely tighten up
again after removing the blade. Carry out
the same process on the opposite side.
Proceed to remove each of the blade
fasteners, firmly holding the blade carrier
as you do so and remove the blade carrier.
Spearhead recommends removing the
blades and carrier as two separate
processes as the safest way in removing
lower blade carriers. It removes the danger
of the falling blades and allows personnel
the easiest and safest way of managing
the task with heavy items.
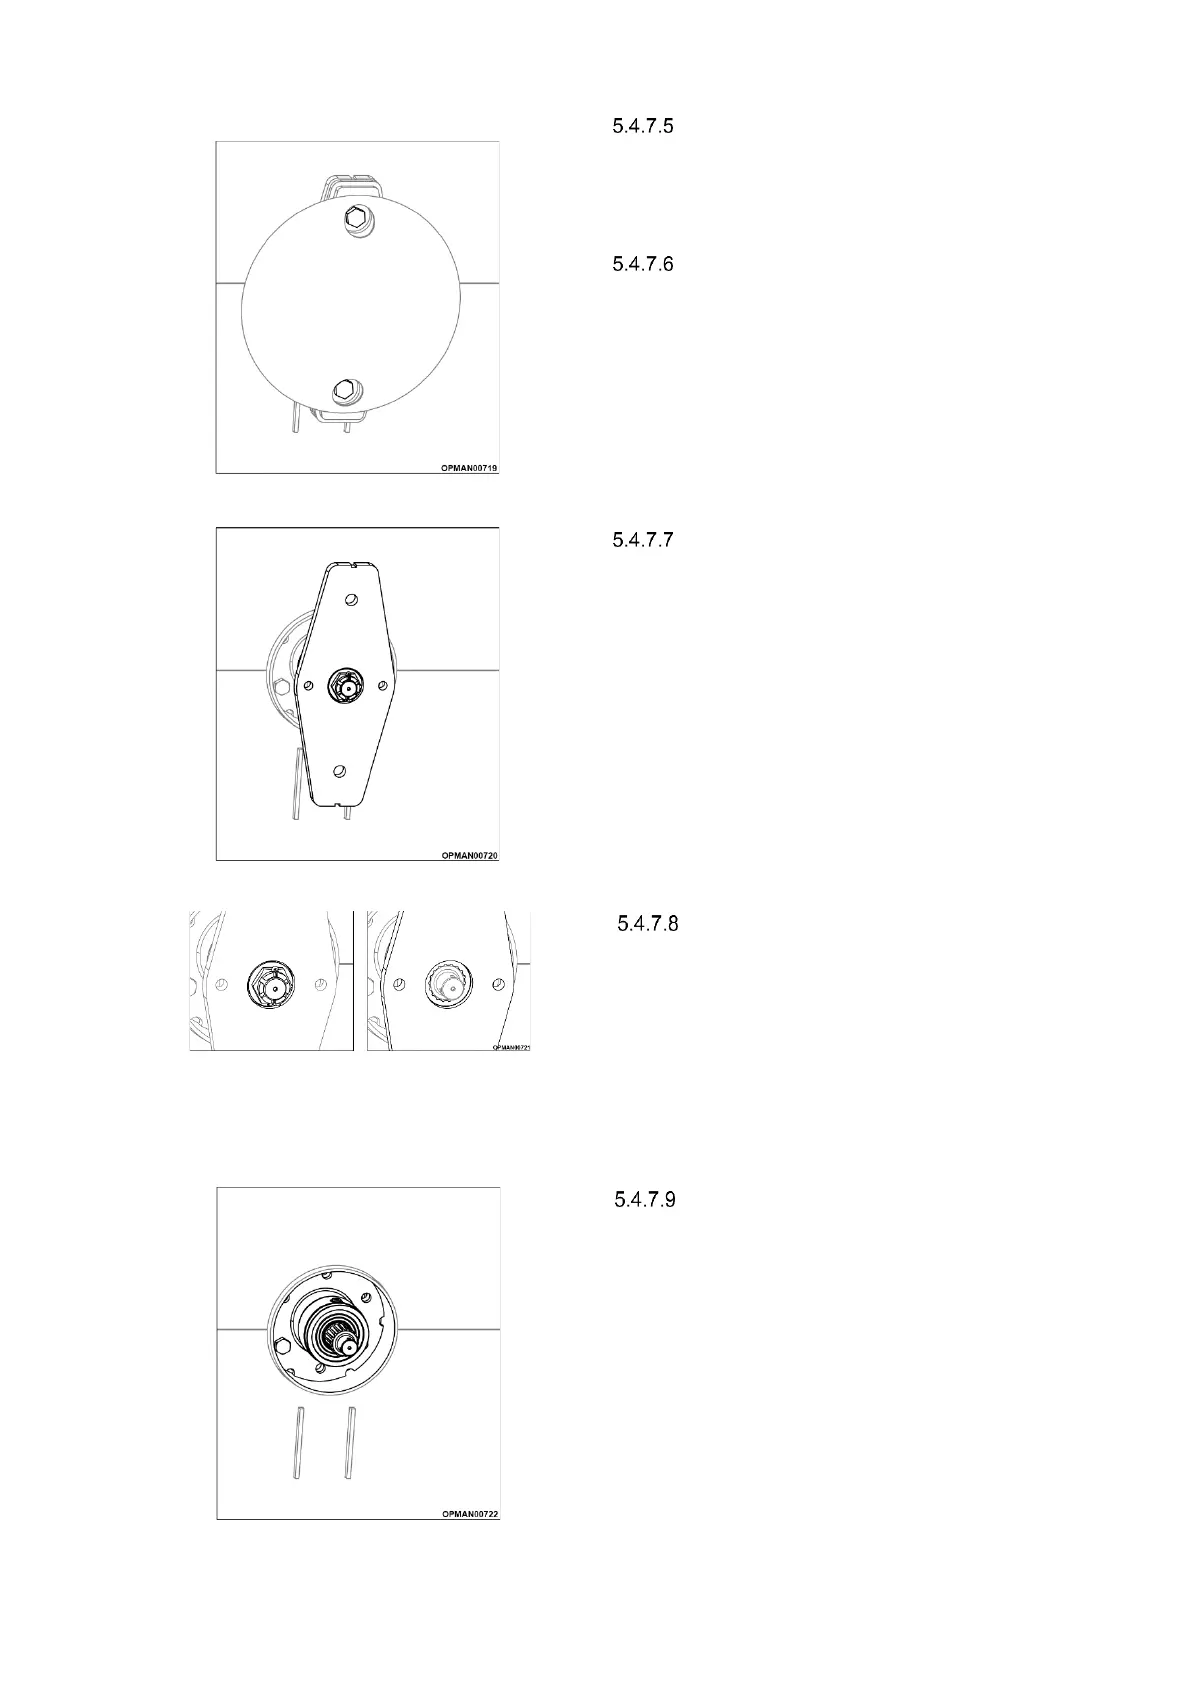
To remove the upper blade carrier, use
needle nosed pliers to unbend the cotter
pin found slotted through the output
shaft/castle nut and remove it.
Loosen the castle nut and fully remove all
accompanying components. Gently slide
the carrier from the splines of the output
shaft of the gearbox. Inspect the splines
for damage on both the upper blade
carrier and the gearbox output shaft.