15
7 SPECIAL FEATURES - VERTICAL SETUP
7.1 Z-Axis Automatic Spot Align
TheSpotFinderSF601guidestheplumbbeamtothetargetpointinthehorizontalaxis,while
theZ-axisgradevaluewillbemaintained.UsingSpotAlignment,theplumbbeamcanbealigned
automaticallytoonedirectionhub(upto80m(260ft)locatedinfrontoftheplumbbeam.
1. Set up the laser over the start point.
2.Adjustthedisplaybubbletothecenteredposition.
3.TurnonandattachtheSF601SpotFinderatthedesireddirectionhub.
4.PressandreleasetheMENUbuttonattheStandardDisplay;selectSpotAlign(Pic50)andstartthefunction
using button 4 (fan beam will be activated).
Note:SpotAligncanalsobestartedusingtheRC603Nviainfrared.
Note:ThedisplayfallsbacktothestandarddisplaywhileaSpotFindersymbol(Pic51)isashing.
Pic51
SpotFinder
TheplumbbeamwillbeautomaticallyalignedtothecenteroftheSF601.
5.Afteralingmentiscomplete(all4redLEDsattheSF601areon),theplumbbeamwillmoveverticallytothe
previousdialedinZ-axisgradevalue.
Note:AutomaticSpotAligncanbeexitedanytimebypressingandreleasingbutton3(ESC).
7.2 Z-axis Automatic Spot Lok
Automatic SpotLok (likePlaneLok)canbeusedtoalignandholdtheplumbbeamautomaticallytotheSF601’s
centerpointandcontinuouslyadjustingtheZ-andX-axisuntilexitingthismode.TheULlooksalwaystothe
centerpositionoftheSF601andre-adjuststhebeamimmediatelytothecentertoavoidanysetup/alignment
driftcausedbyvibrationsortemperatureinuences(e.g.whenworkingonconcretepads,facadeapplications).
UsingSpotLok,theplumbbeamcanbealignedautomaticallytoonedirectionhub(upto80m(260ft)located
in front of the plumb beam.
1. Set up the laser over the start point.
2.PlacetheSF601SpotFinderatthesecondreferencepoint.
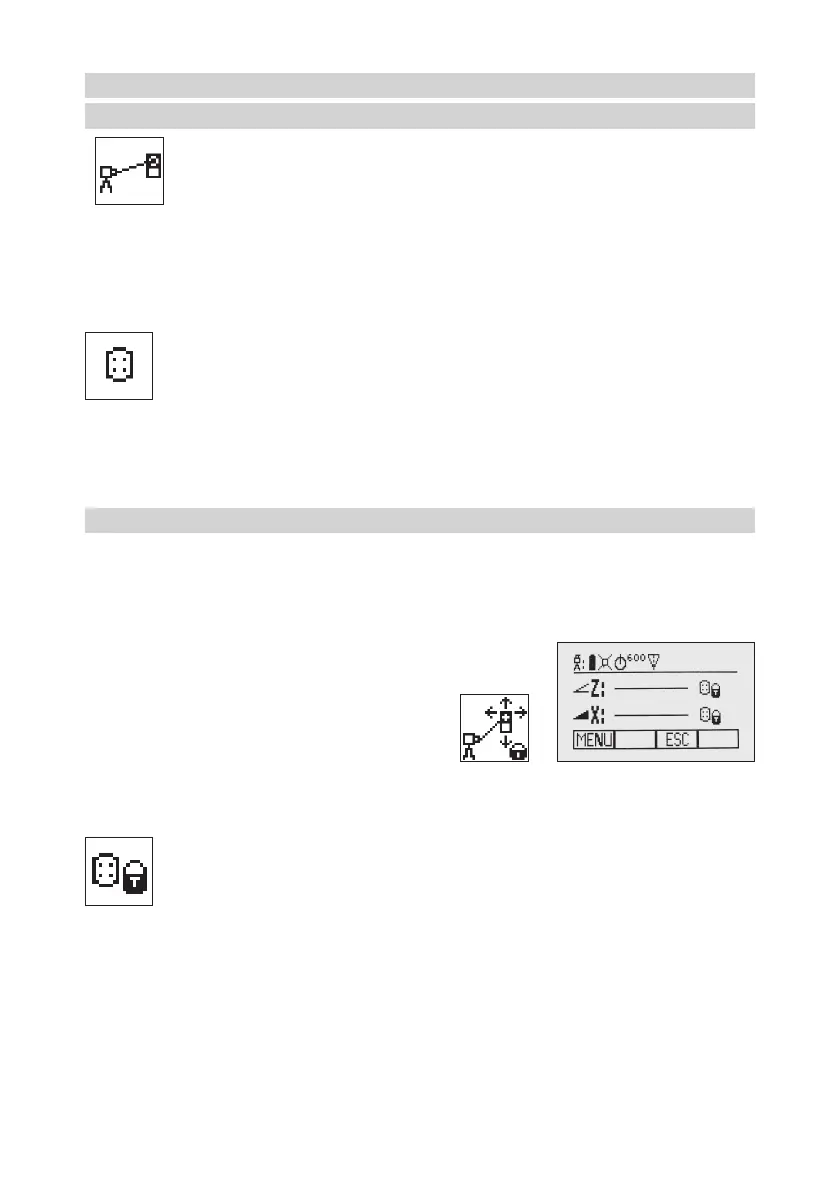
3.Press and release the MENU button at the Standard
Display, select SpotLok (Pic52) and startthe function
using button 4 (fan beam will be activated).
Note:SpotLok canalso bestarted viainfrared using the
RC603N.
Note:ThedisplayfallsbacktothestandarddisplaywhileaSpotFinderandlockicon(Pic53)isashing.The
plumbbeamwillbeautomaticallyalignedtothecenteroftheSF601.
Pic53
LockMode
4.AfterSpotLokiscompleteall4redLEDsattheSF601areonandtheiconsstopashing.Thetransmitter‘s
plumbbeamisalwayscheckingforperfectalignmenttothecenteroftheSF601.All4LEDsashevery5
secondstoconrmthecorrectalignment.
Note:AutomaticSpotLokcanbeexitedanytimebypressingandreleasingbutton3(ESC).
Pic50
SpotAlign

 Loading...