16
7.3 Z-axis Automatic Spot Match
Automatic-Spot-Match canbeusedformeasuringanunknowngradevaluebetweentwoexistingelevations
e.g.,inanexistingpipewhichneedstobereplacedoranopentrenchwithanunknowngradevalue.
TheplumbbeamwillbeautomaticallyalignedtotheSF601centerpoint(Z-andX-axis)andswitchesback
toautomaticZ-axisgrademodewhiledisplayingthemeasuredZ-gradevalue.
UsingSpotMatch,theplumbbeamcanbealignedautomaticallytoonedirectionhub(upto80m(260ft)
located in front of the plumb beam..
1. Set up the laser over the start point.
2.Place the SF601 Spot Finder at thesecond reference
point.
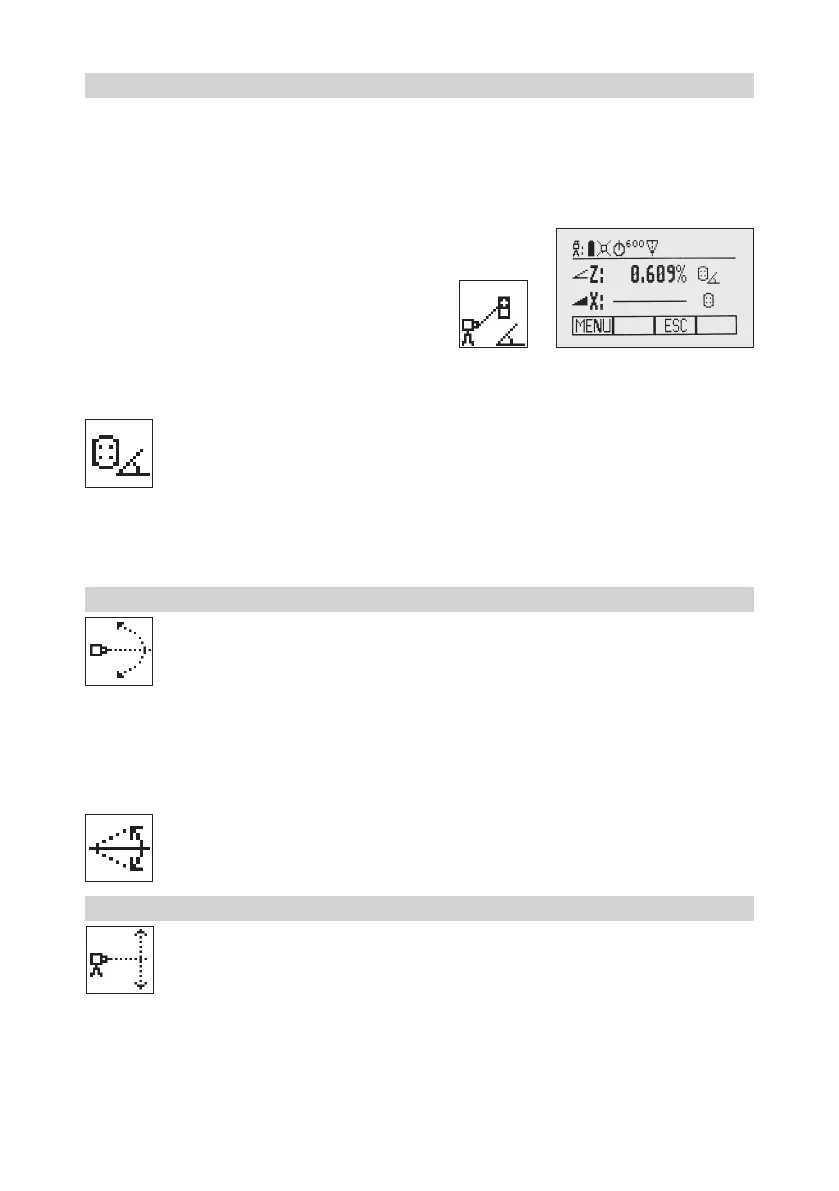
3.Press and release the MENU button at the Standard
Display,selectSpotMatch(Pic54)andstartthefunction
using button 4 (fan beam will be activated).
Note:SpotMatchcanalsobestartedviainfraredusingtheRC603N.
Note:ThedisplayfallsbacktothestandarddisplaywhileaSpotFinderandanglesymbol(Pic55)isashing.
TheplumbbeamwillbeautomaticallyalignedtothecenteroftheSF601.
Pic55
AngleSymbol
4.WhenSpotMatchhasbeencompleted,thefanbeamwillbeturnedoffandtheULcalculatesthegrade
valuebetweenbothelevationpoints.ThecalculatedgradevaluewillbedisplayedattheUL‘sandRC‘sdisplay.
Note:AutomaticSpotMatchcanbeexitedanytimebypressingandreleasingbutton3(ESC).
7.4 Line Scan
LineScan(Pic56)centerstherotorhorizontallyandcanbeusedtoaligntheplumbbeamto
adesiredhorizontalposition.PressandreleasetheMENUbuttonattheStandardDisplayand
select Line Scan. Pressing and releasing button 4 activates the Line Scan mode while the rotor
checksthelimitsoftheX-axisandstopsatthecenterposition.
Pressing button 3(ESC)stopsthemovementandchangestheunitintomanualmode.
Correctionsupanddowncanbedoneusingbutton5/8;forleft/rightcorrectionsusebutton6/7.
Press and release the manual button to change the unit back to full automatic mode.
DuringtheLineScanprocessthecentermovesymbol(Pic57)isashing.
7.5 Beam Plunge
BeamPlungecenterstherotorverticallyandcanbeusedtoaligntheplumbbeamtoadesired
verticalposition,e.g.,whendoingInteriorlayout.
PressandreleasetheMENUbuttonattheStandardDisplayandselectBeamPlunge(Pic58).
Pressing and releasing button 4activatestheBeamPlungemodewhiletherotorchecksthelimits
oftheY-axisandstopsatthecenterposition.
Pressing button 3(ESC)stopsthemovementandchangestheunitintomanualmode.
Correctionsupanddowncanbedoneusingbutton5/8;forleft/rightcorrectionsusebutton6/7.
Press and release the manual button to change the unit back to full automatic mode.
Pic56
Line Scan
Pic57
CenterMove
Pic58
BeamPlunge
 Loading...