5
4.3 ST802/ST805 SIGNAL TRANSPORTER
4.3.1 POWERING THE ST802/ST805
1.Open the battery door using a coin or similar pry device to release the battery door tab on the
ST802/ST805.ST802/ST805willbeshippedwithalkalinebatteries.Rechargeablebatteriescan
beusedoptionalbutneedtobechargedexternally.
2.InserttwoAAbatteriesnotingtheplus(+)andminus(-)diagramsinsidethebatteryhousing.
3.Closethebatterydoor.Pushdownuntilit“clicks”intothelockedposition.
4.3.2 Turning On/Off the ST802/ST805
Thesignaltransporter(ST)isahand-helddevicethatextendstheradiorangeofalaserwhichispairedwith
theST.Pressthepowerbuttontopoweronthesignaltransporter.AllLEDsturnonforthreeseconds.Finally
aashingyellowstatusLEDshowsthesignaltransporterhasbeenpairedwithalaserbutthislaserisnot
available.AsolidblinkingyellowstatusLEDisshowingthattheradioconnectionbetweenthesignaltransporter
and the paired laser has been established.
5 LASER SETUP
Position the laser horizontally (tripod mount and rubber feet downward!) on a stable platform, wall mount or
tripod at the desired elevation.
The laser recognizes automatically whether it is used horizontally or vertically when switched on.
5.1 Turning On/Off the laser
Press the power button for one second to turn On the laser.
Press the power button for two seconds to turn Off the laser.
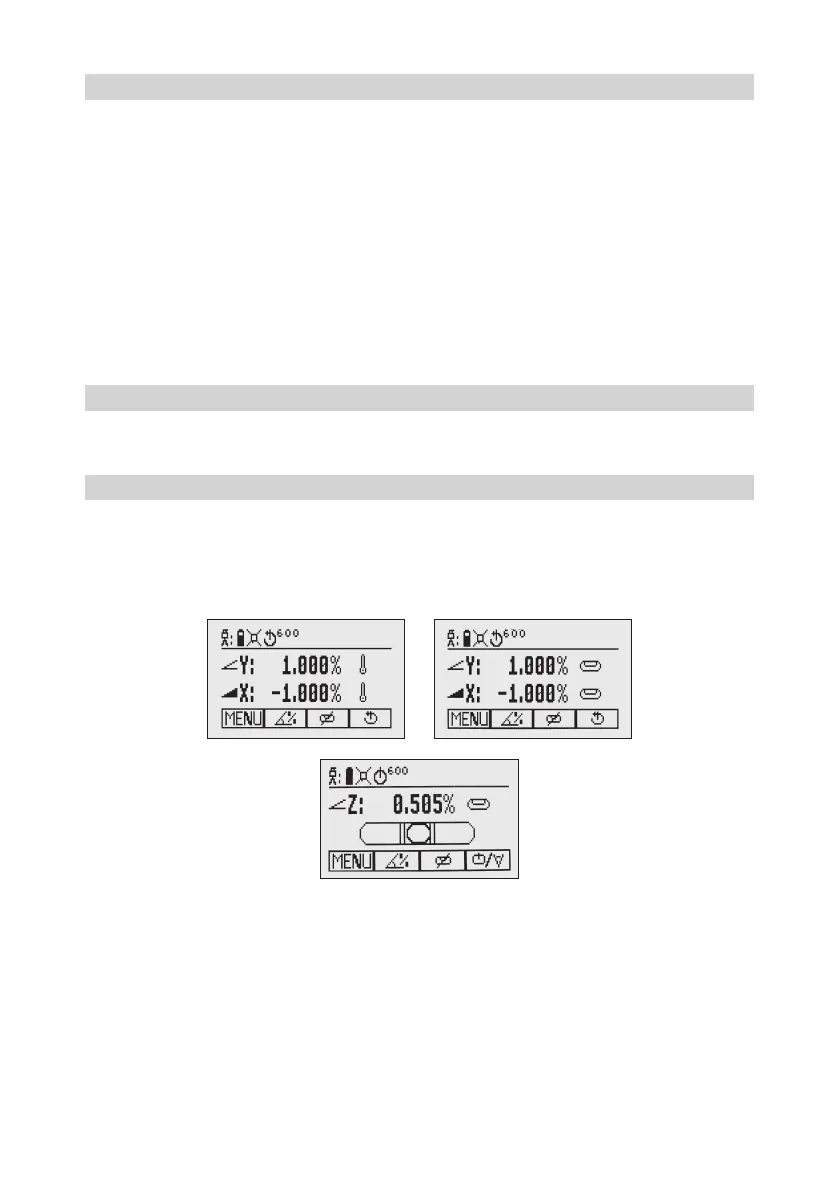
Note:Whenagradevaluehasbeenenteredandaftertemperaturechangeofmorethan9°F(5°C),theunit
startsthetemperature/referencecheckwhilethethermometersymbolisashing(Pic1).
Anothertemperaturechecktakesplaceafter20min.andnallyevery60min.Whenthetemperature/reference
checkhasbeennished,thestandarddisplayappearsandthebubblesymbolsashuntilself-levelinghas
beencompleted(Pic2).
Iftheself-levelingcan’tbenishedbasedontheselectedsensitivity,anerrormessageappears.
AbubblesymbolhelpstoadjusttheunitatthecrossaxiswhensetupverticalforautomaticSpotAlignorin
vertical manual mode.
Pic 1 Reference check
Pic 2 Standard display horizontal
Pic 3 Standard display vertical
 Loading...