Waukesha Cherry-Burrell Installation
10/2010 95-03009 Page 25
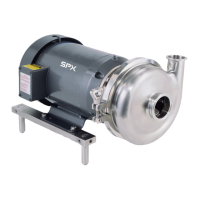
• The pump casing may be rotated with the discharge connection
pointing in any direction. The best pump performance will be with the
outlet up, to the left, or positions in between; these positions ensure a
flooded casing and prevent problems caused by air in the system
(Figure 14).
• All joints in the suction line must be we
ll-sealed to prevent air from
being sucked into the system.
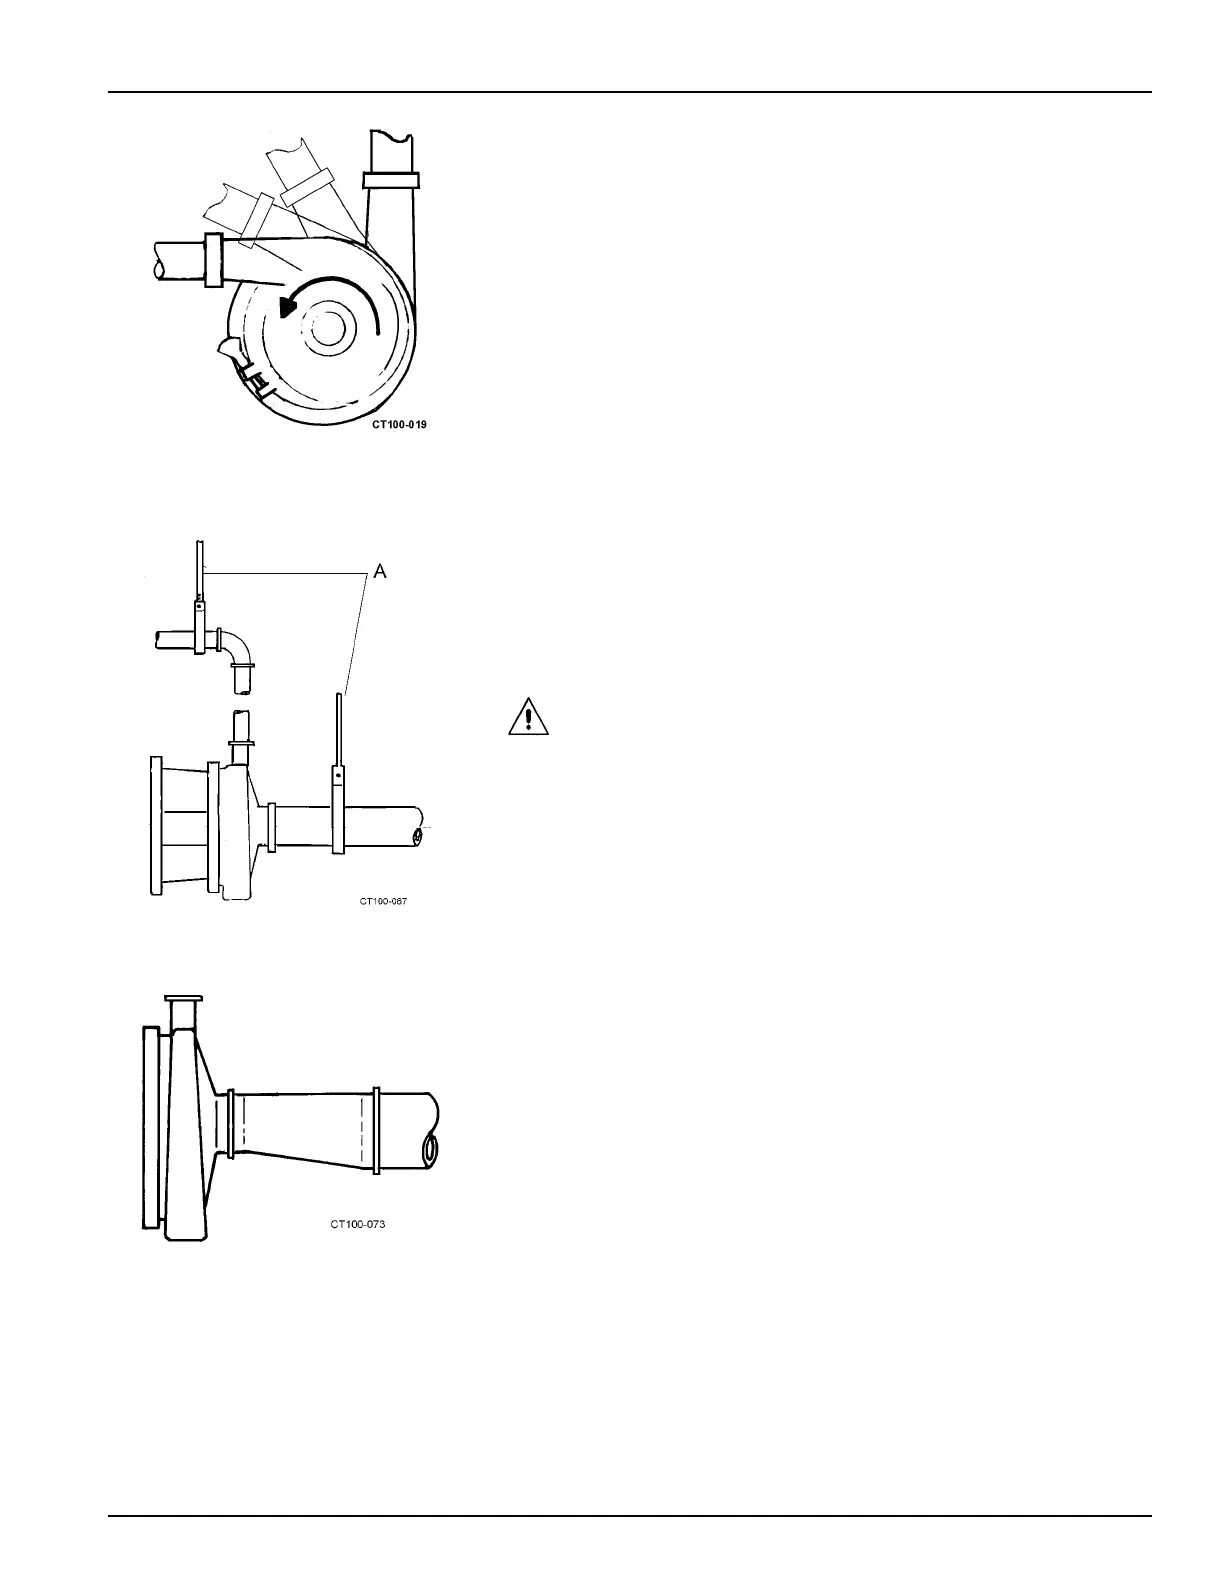
• Support the supply and discharge piping near the pump so that no
strain is put on the pump casing.
• If an expansion joint is used, insta
ll a pipe anchor between the joint
and the pump.
• If a reducer is connected to an inlet, use an eccentric-type reducer to
prevent
problems caused by trapped air (Figure 16).
CAUTION:
The pump and piping may contain sharp edges. Wear
gloves while installing and servicing the pump to help avoid injuries
fro
m these hazards.
• The line slope will depend on application requirements; the best
pump operation is with the supply line sloped slightly upward toward
the pump to prevent trapping air. If the system must drain into the
pump casing, keep the downward slope to a minimum or priming
problems may occur.
• Install shutoff valves to isolate the pump from the supply and
discharge lines. This will allow
the pump to be serviced without
draining the system.
Figure 14 - Recommended Discharge
Positions
Figure 15 - Pipe Supports
Figure 16 - Correct Eccentric Installation