65
742.221 | 12.04
EN
8.9 Deinstalling the inverter
Danger
Risk of death by electrocution! Only technical professionals may perform the work described in Sec-
tion Deinstalling the inverter. Observe the warning notes in Section 8.1, p. 58.
Switching off the AC and DC supplies
1. Make sure that no neighbouring parts are carrying
voltage.
2. Switch off all AC line circuit breakers and secure
them against being switched on again.
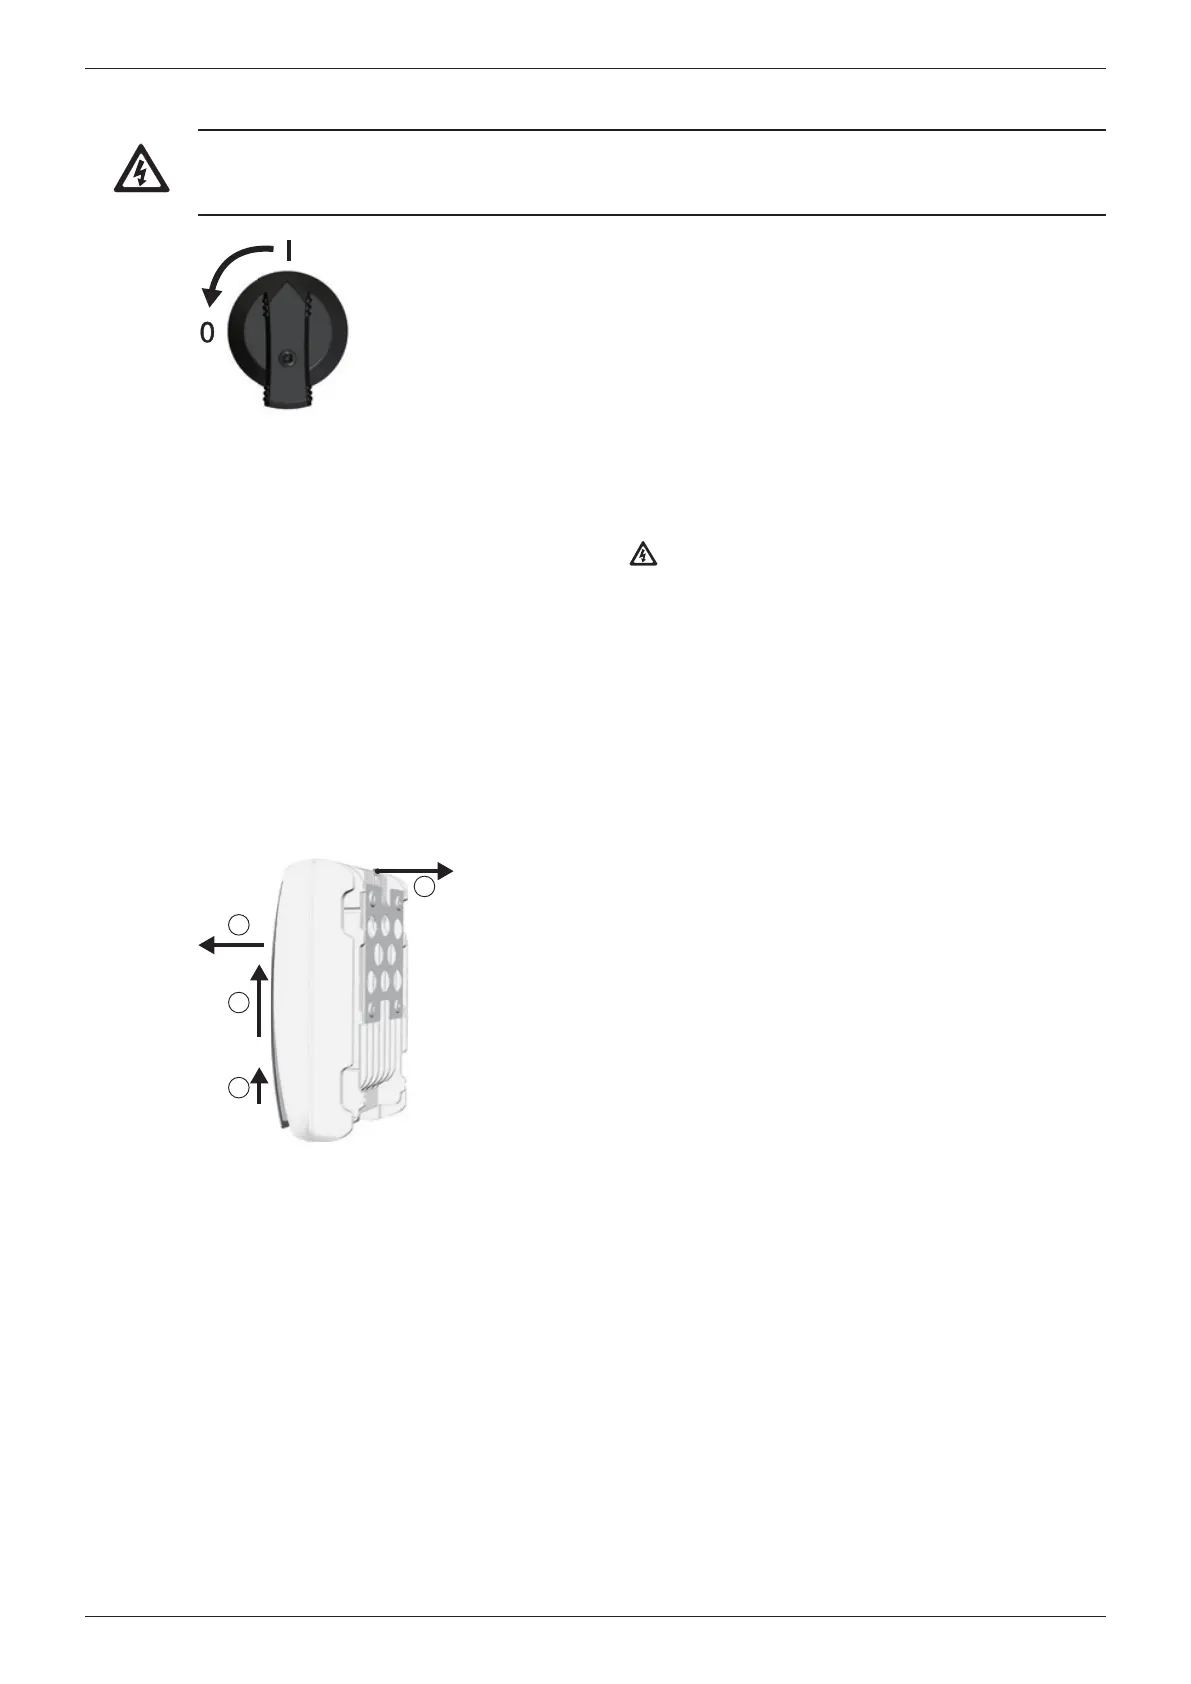
3. Set the DC circuit breaker on the inverter to position
0 and secure it against being switched on again (Fig.
left).
Disconnecting the DC connections from the inverter
Remove the DC connections (Multi-contact MC4)
from the inverter according to the manufacturer's
instructions. A special tool is required for this.
Warning: The DC cables carry voltage when the
solar modules are subjected to sunlight.
Disconnecting the AC plug from the inverter
1. Release the AC plug from the coupling as described
in p. 122 onwards.
2. Check that all pins of the AC plug are free of volt-
age. Use a 2-pole voltmeter for this (do not use a
simple neon phase checker); first check the voltme-
ter for correct operation.
Open the AC plug (only if required)
Open the AC plug as described in p. 122 onwards.
3
1
2
4
Removing the inverter from the mounting surface
1. Use one hand to press the retaining plate on the
mounting plate approx. 5 mm towards the mount-
ing surface (Fig. left).
2. Use the other hand to push the inverter upwards,
far enough so that the retaining plate no longer
latches . Release the retaining plate.
3. Lift the inverter with both hands until the hooks on
the rear side of the inverter are free .
4. Remove the inverter from the mounting surface .