9
E. Routine Operations
Precautions:
Do not use the Celerity HP Incubator to incubate and read any biological indicator other than the Celerity 20
HP BI. Examples of BIs that should not be used in the Celerity HP Incubator include, but are not limited to:
• VERIFY
®
Assert
®
Self-Contained Biological Indicator for steam sterilization (Clear cap)
• Celerity 20 STEAM Biological Indicator (Blue cap)
• VERIFY
®
V24 Self Contained Biological Indicator
• 3M™ Attest™
1
Rapid Readout Biological Indicator for Vaporized Hydrogen Peroxide Sterilization
• ASP
®
STERRAD
®
CYCLESURE
®2
24 Biological Indicators
BI Activation and Incubation
1. Activate the Celerity 20 HP BI following the BI’s instructions for use. Place the activated Celerity 20 HP BI into
an empty well of the incubator. The Incubator will automatically detect and begin reading the BI. Alternatively,
press the corresponding well number to initiate incubator measurements.
NOTE: BIs processed through gaseous hydrogen peroxide sterilization may contain residual hydrogen peroxide.
Always wear gloves when handling the BI.
2. A slow flashing green light will indicate that the well is actively in use. At any point in the process the user may
insert additional BIs into any remaining unoccupied wells. Remaining incubation time is displayed on the LCD
screen next to the corresponding well number for each incubating BI.
3. Activate and read at least one unprocessed Celerity 20 HP BI (positive control). Biological controls should be
performed each day an BI is used and whenever a new BI lot is used. This will ensure both the validity of the
current BI lot and the proper functioning of the Incubator.
a. Label the sample as the positive control.
b. Once placed in the well, the incubator will automatically detect and begin reading the BI. Alternately, press
the corresponding well number to initiate incubator measurements.
WARNING - Do not remove BI from well or open the lid during incubation for more than
30 seconds until result is shown. Removal of BI may invalidate test.
1
3M and Attest are trademarks of 3M Corporation
2
ASP, STERRAD and CYCLESURE are registered trademarks of Advanced Sterilization Products
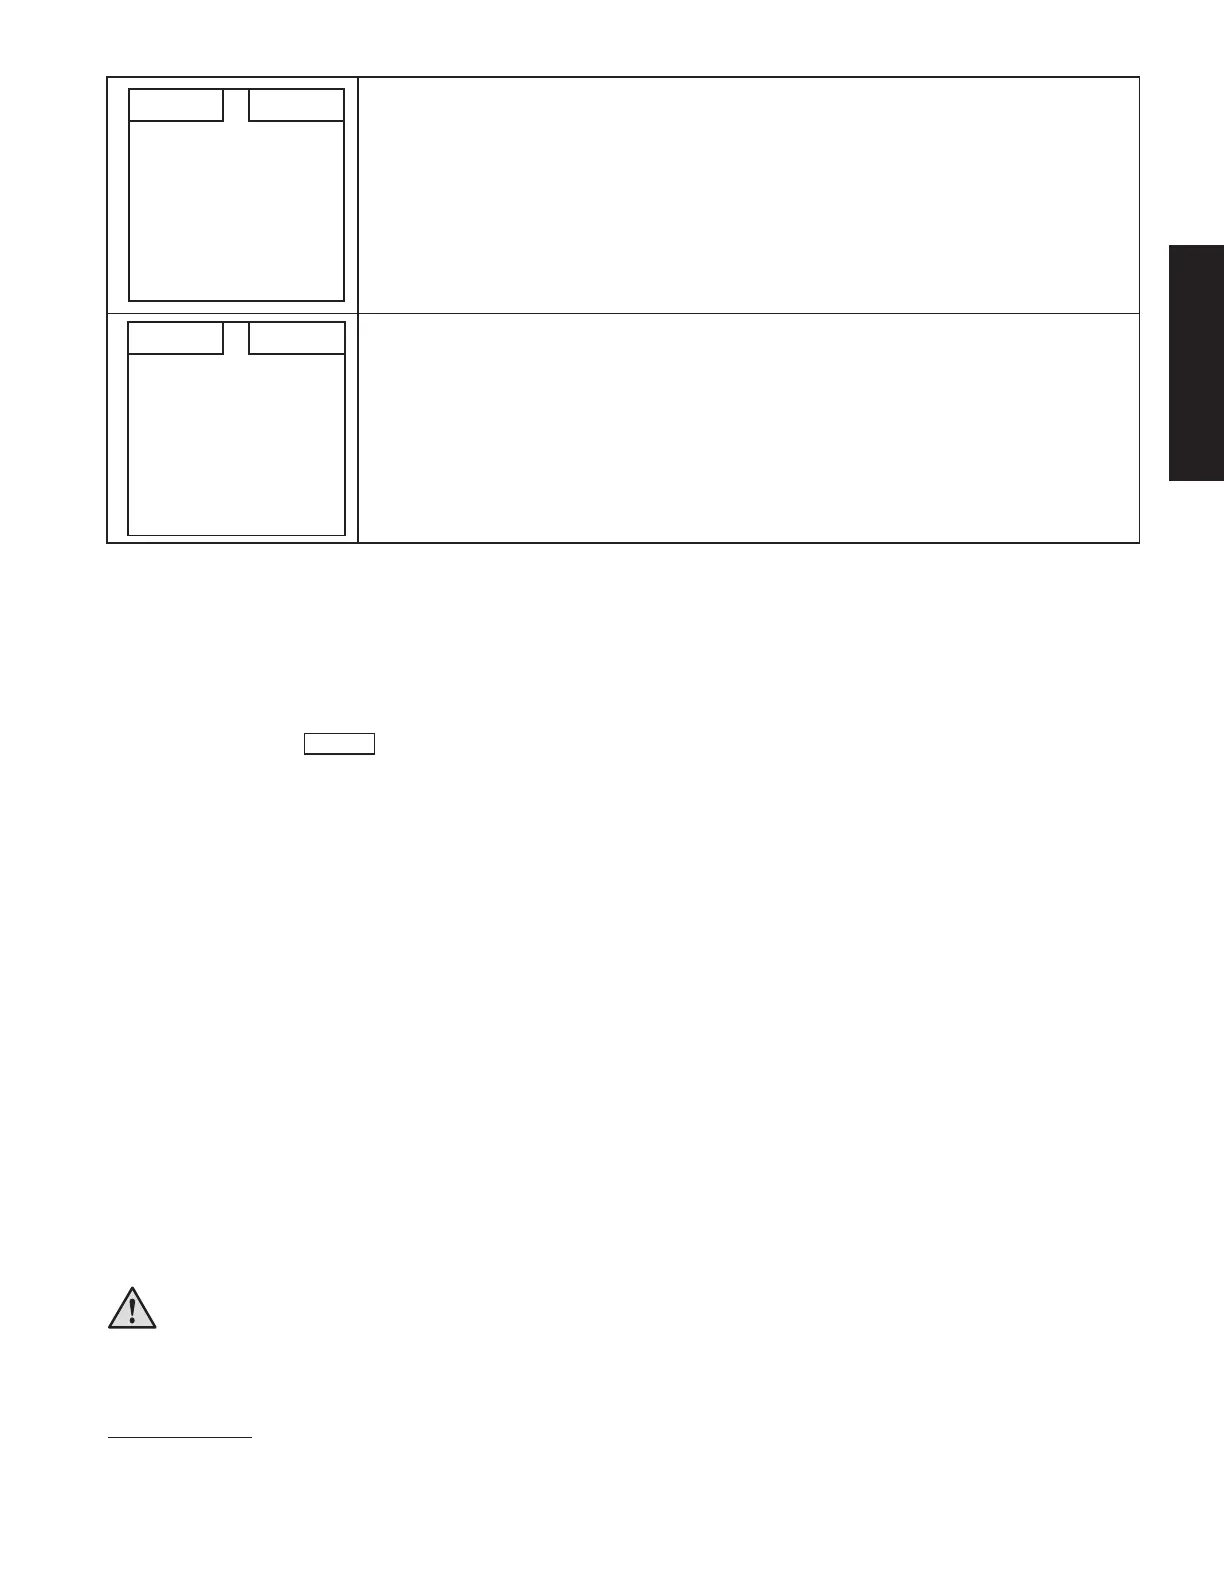
Warming Up
30:00
57 C57 C
13. When the target temperatures have been reached and the self-check is complete, a
30 minute countdown time is displayed on the screen to allow the unit to warm up.
14. After the warm up has been completed, the screen to the left will display on the
LCD screen. The Incubator is now ready for routine operations.
1 5
2 6
3 7
4 8
57 C57 C
ENGLISH




 To Next Page